Setting up an email client on Android smartphone.

As you already know, setting up Gmail on your Android smartphone is easy. It is enough just to specify the mailbox and enter the password, and the rest Android will do for you. But with boxes in other mail services, everything does not always work out as smoothly.
Let's consider setting up mail using the example of a mail client in the firmware MIUI. Setting up other programs for working with mail will be almost identical.
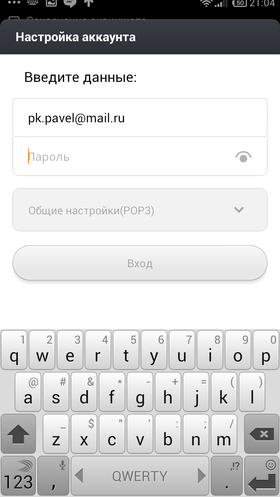
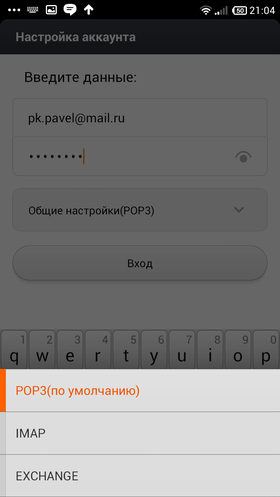
At the first step, you need to enter the name of the mailbox and password, as well as select the protocol for receiving mail. Basically, mail services support two protocols – POP3 and IMAP. The first protocol is the most common and allows you to simply copy the mail stored on the server to the phone. The second protocol can do a little more and allows you to work with mail directly on a remote server. If the email service you are using supports both options, it is better to choose IMAP.

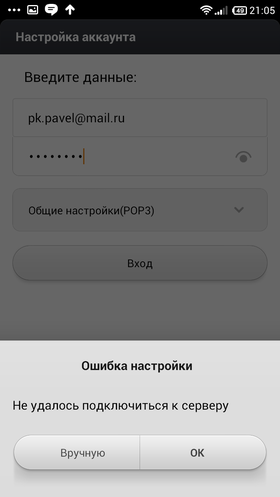
After the settings have been entered, it remains to click on the 'Login' button. Ideally, the program will automatically select all the necessary settings and connect to your mailbox. But in practice, this is not always the case. If the connection failed, then you need to click on the 'Manual' button and enter all the necessary data yourself. You can find them in the help section of the web interface of your mailbox.
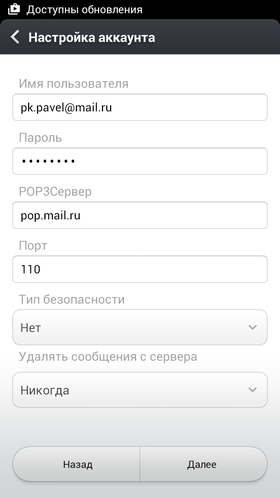
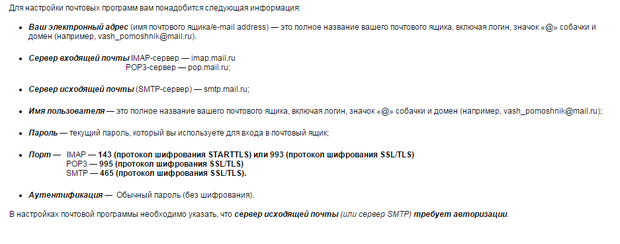
Pay particular attention to the username. Sometimes here you need to specify the full name of the mailbox, and sometimes only its first part, which comes before the '@' symbol. For example, this is how the settings for mail.ru look like: