If I had my way, I would remove the wires from everywhere. The first was a table equipped with a wireless charging module, and today an external battery is next in line. We continue to experiment with the integration of wireless technologies where necessary and not necessary.
Once, while reading another piece of news about accessories, I came across a description of a Samsung external battery equipped with a wireless charging module. Cool, I thought. “I wish I could have something like that.” Very quickly I forgot about it, and the desire remained a desire. And the other day, while planning a trip on vacation, I remembered the need for an external battery for the road, as well as that I have an old external battery with a capacity of 4000 mAh lying around, which once unsuccessfully fell on the grill and received cosmetic damage. Do not be alarmed, it was not the battery itself that did it, it fell unsuccessfully.
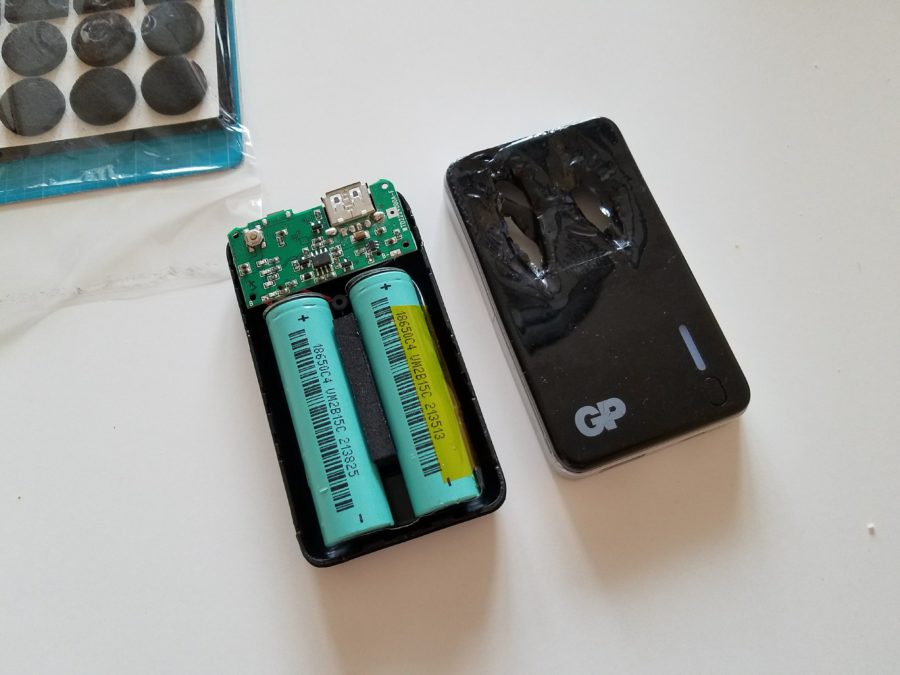
I don't mind him. The stars converged – there will be an experiment! This means that today we will add the wireless charging function to the external battery. In this particular case, it will be more of an experiment in order to fill a hand for the future, since it is impossible to take a 4000 mAh battery seriously with all the desire.
Let's start.
First, we buy a wireless charging module from an unknown Chinese manufacturer who is diligently trying to be like Samsung. The design is just copied. Moreover, neither the materials nor the accuracy can be compared with the original. This pleasure cost 150 rubles in space.
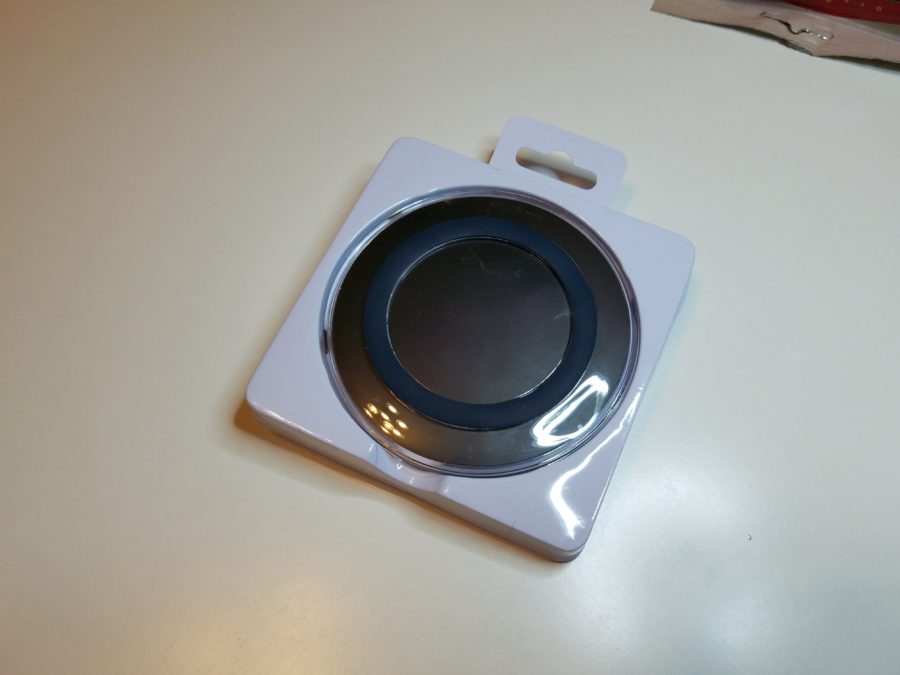
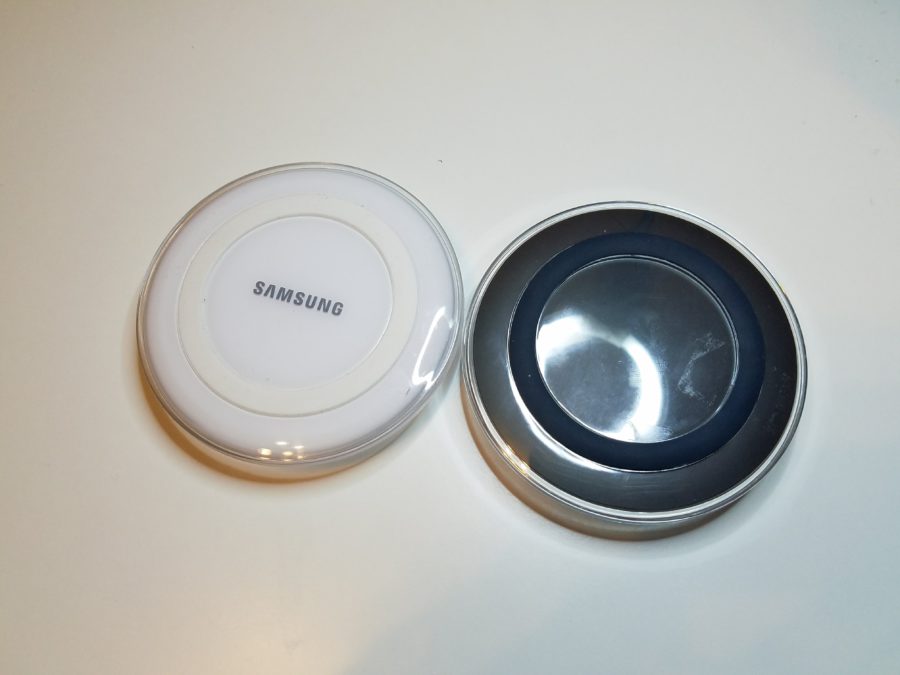
Comparison with Samsung
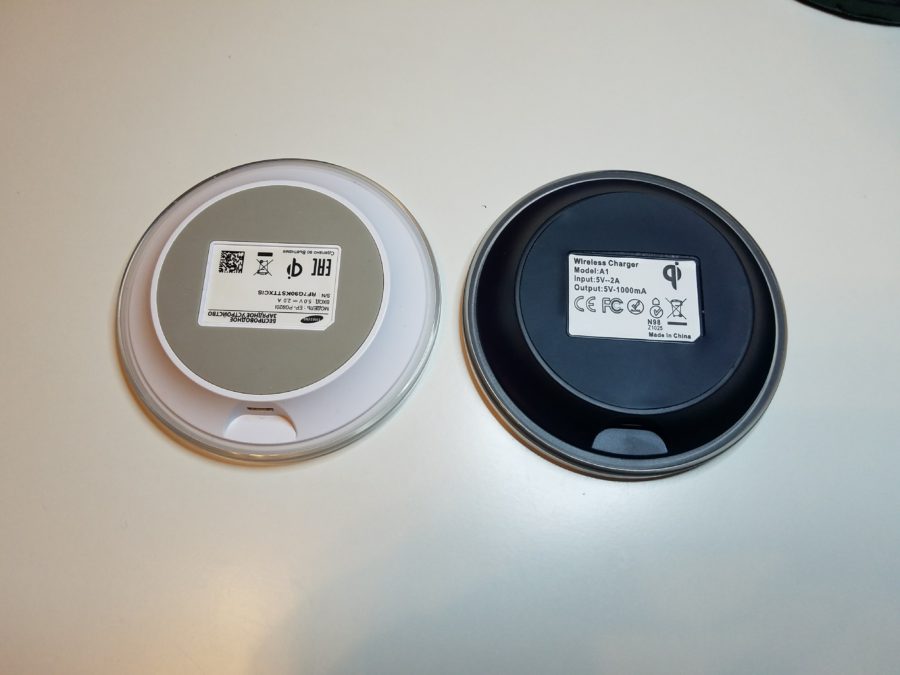
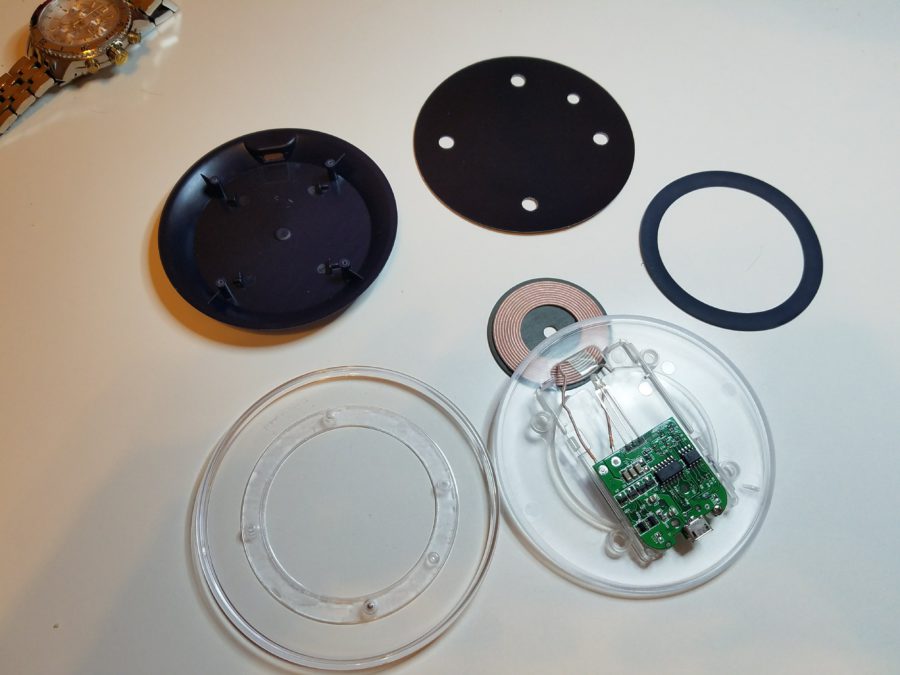
We disassemble it to assess the size of the internals, and once again make sure that everything inside is also not like Samsung's.
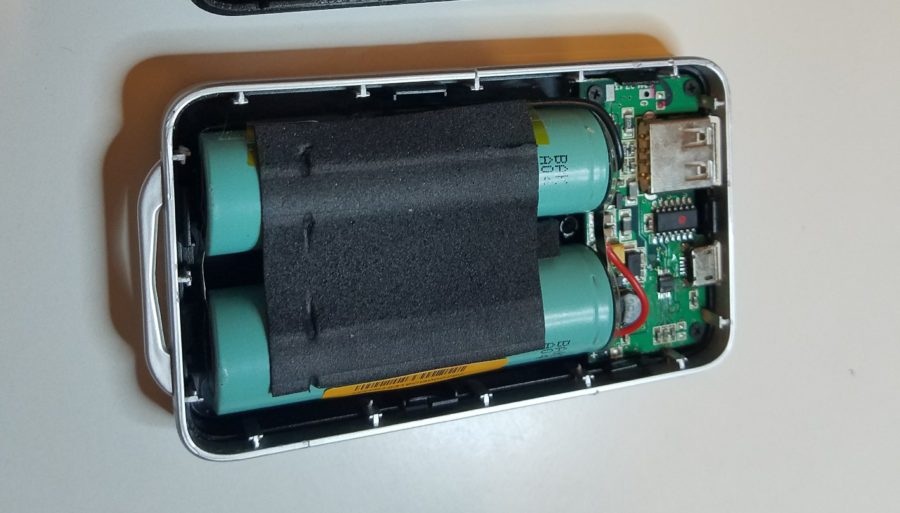
The next step is to disassemble the wounded external battery to assess the internal space. Yes, sparsely. We immediately refuse the idea of shoving everything inside – places are even close to our own insides. Damage comes in handy – at this place we cut out a hatch, which we will then close with something. The damage is not entirely successful, since it would be better on the other side, but you have to deal with what is.
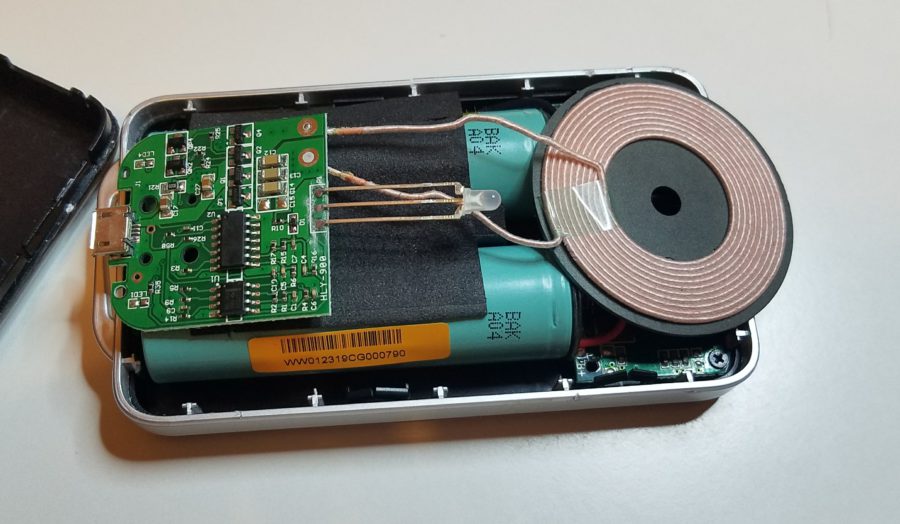
Trying on.
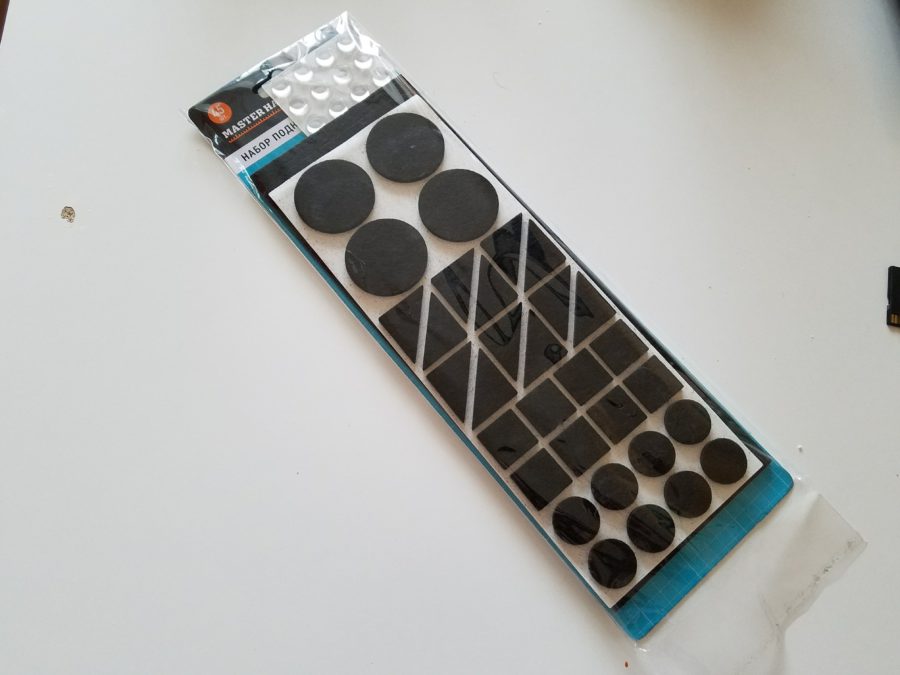
As a material for building up the top, I chose felt, which is sold in fixprice stores and is used as legs for furniture and appliances. It is equipped with an adhesive layer, which is great – you don't have to be smart with fasteners. Cut out a rectangle from it under the battery case. On the reverse side, we cut out recesses into which the Qi board with a coil will also fit (the most time-consuming task).
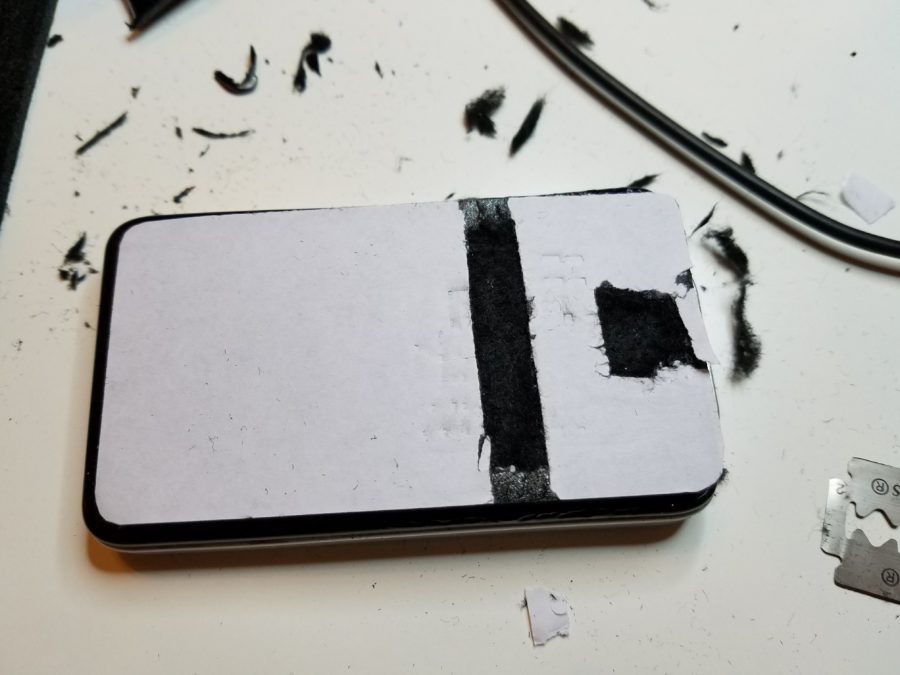
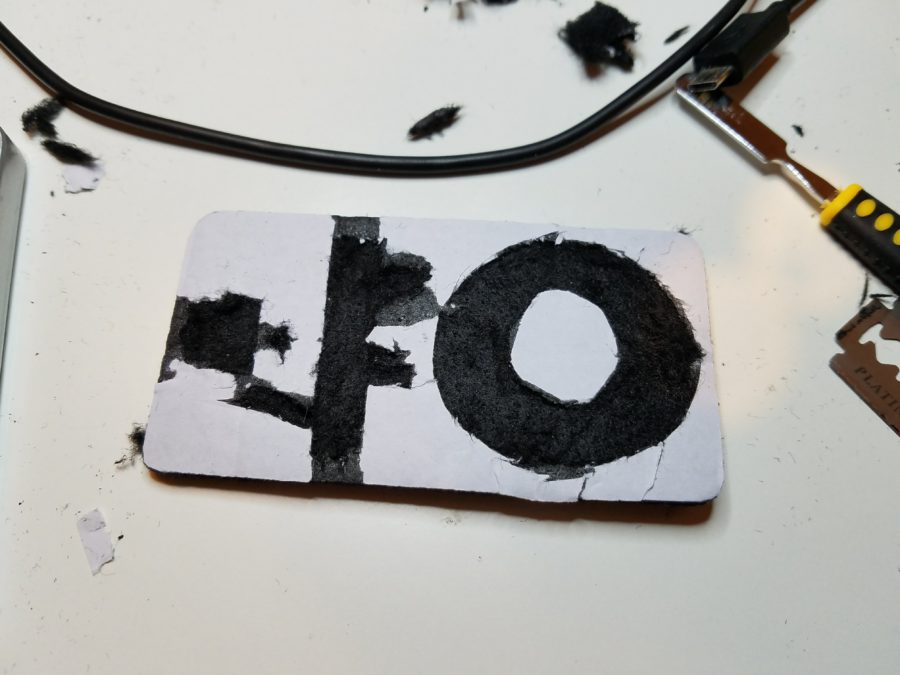
Now you need to think about how to connect the module to the battery. It was possible to 'blow off' the connector and solder directly, but for a test run I was too lazy to tinker, so I took the old MicroUSB connector from the broken cable, removed the protective cover from the connector and soldered two wires with which we will connect the external battery to our Qi module.
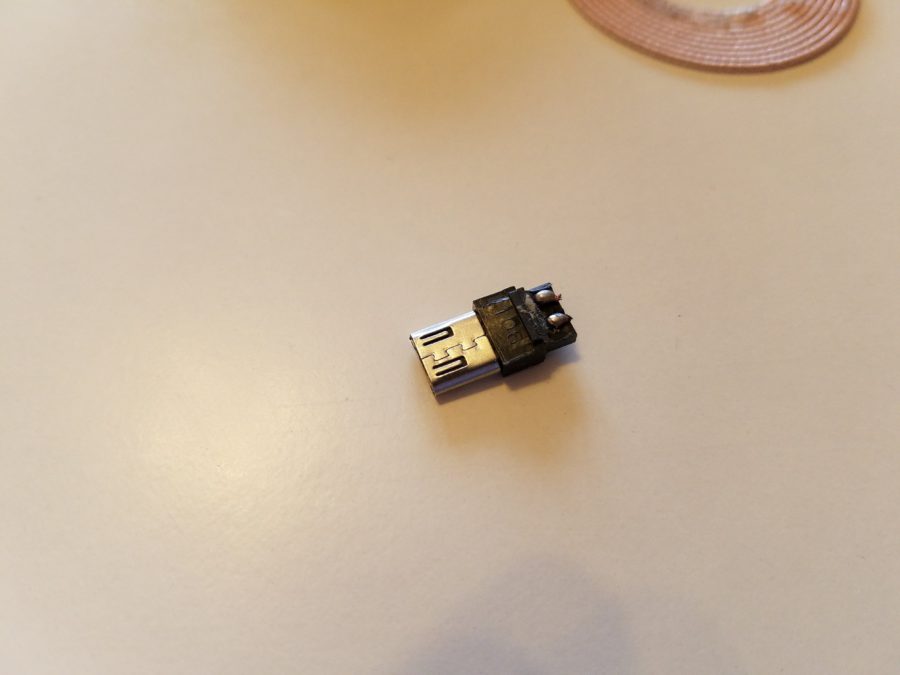
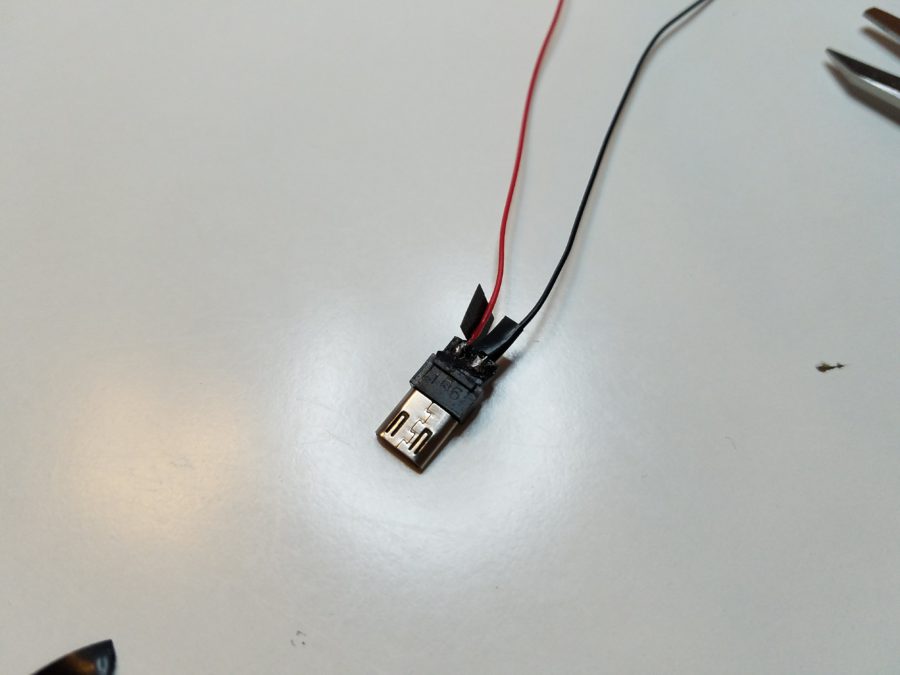
We isolate the resulting structure so that there is no accidental short circuit.
We solder the Qi module to the board from the battery and check for operability. There is a contact.
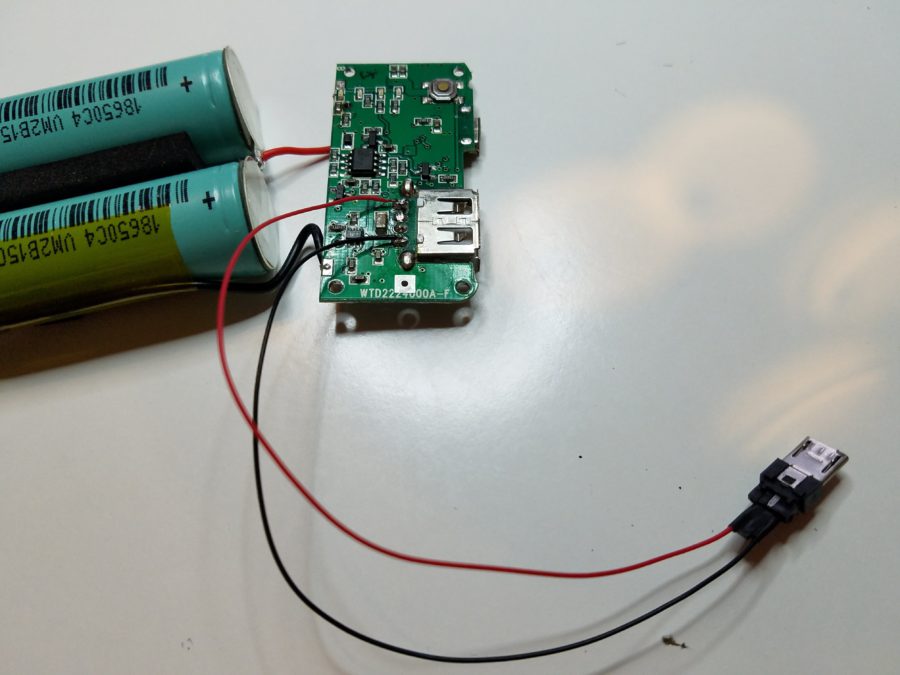
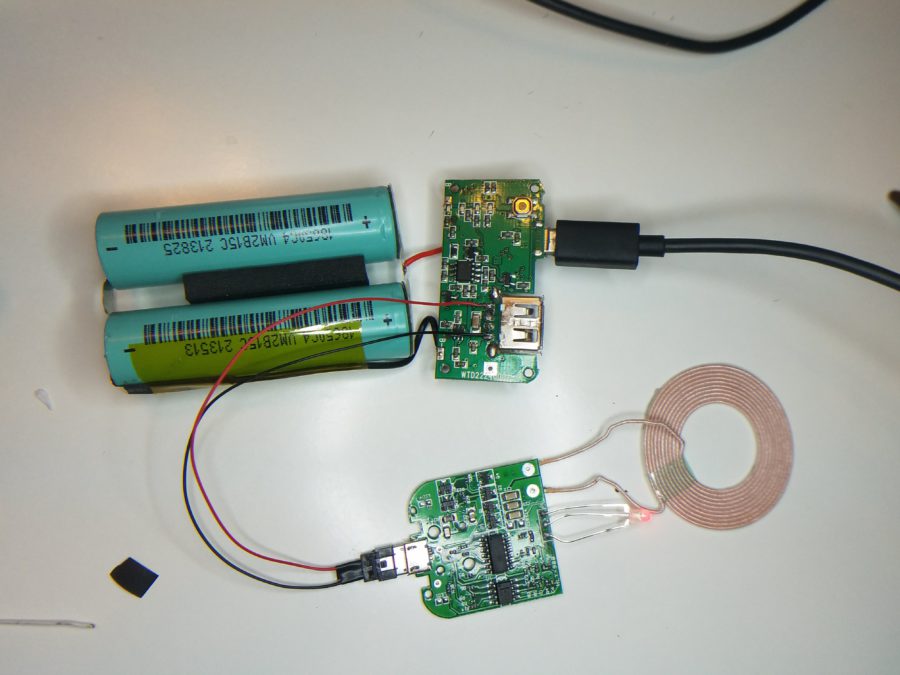
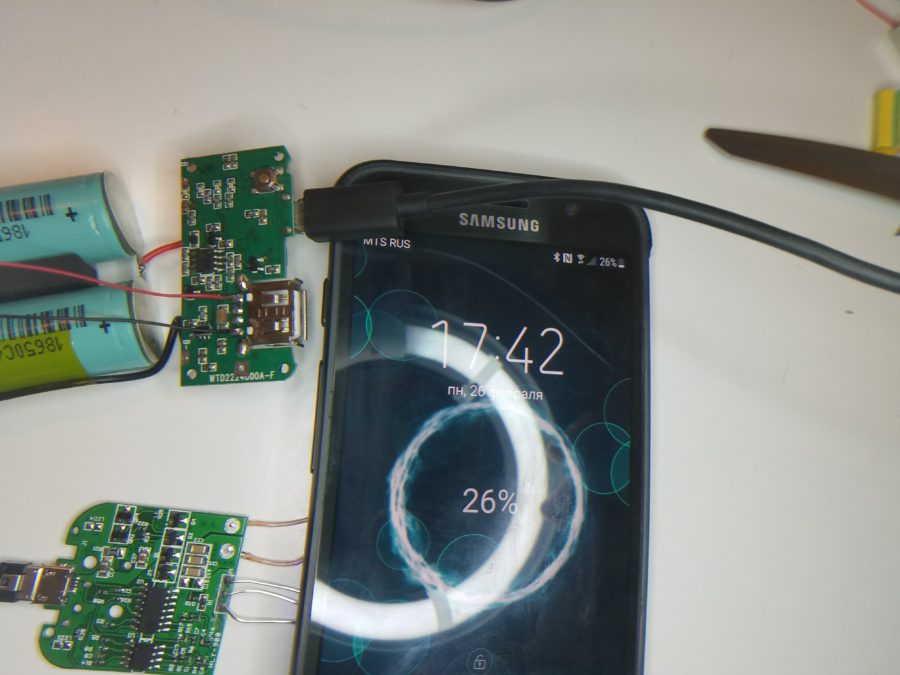
We remove the LED that has become unnecessary and takes up valuable space. Everything works without it.
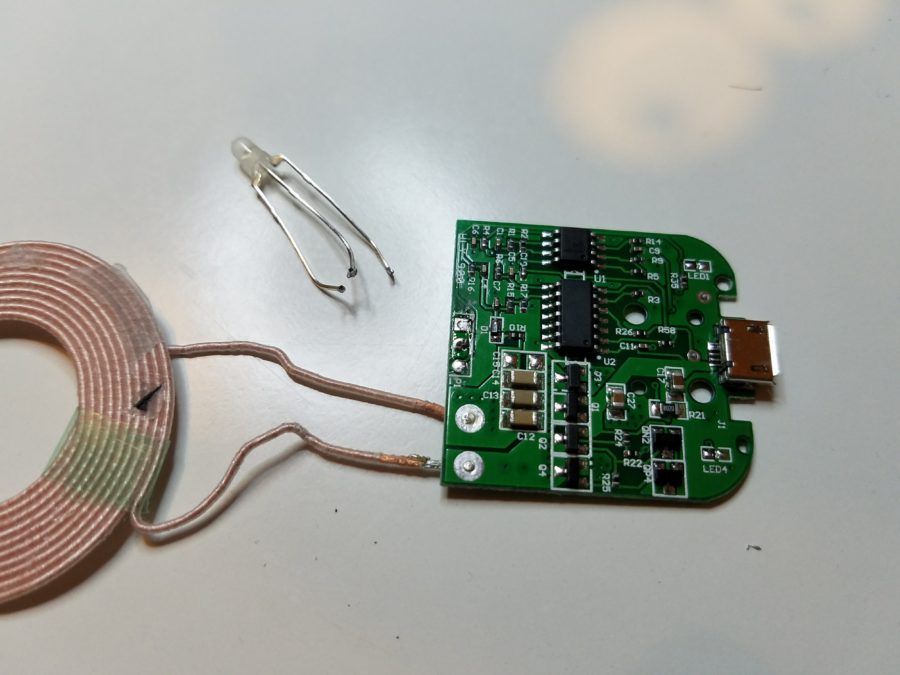
Now it's up to the small thing – to put everything together and hope that nothing will burn and explode.
Before assembling, I drove the resulting structure for about an hour for the appearance of excessive heating. It turned out that the module, powered by a DC power source, hardly heats up. Therefore, at my own peril and risk, I will mount the board directly on the battery, and the coil on the plastic case.

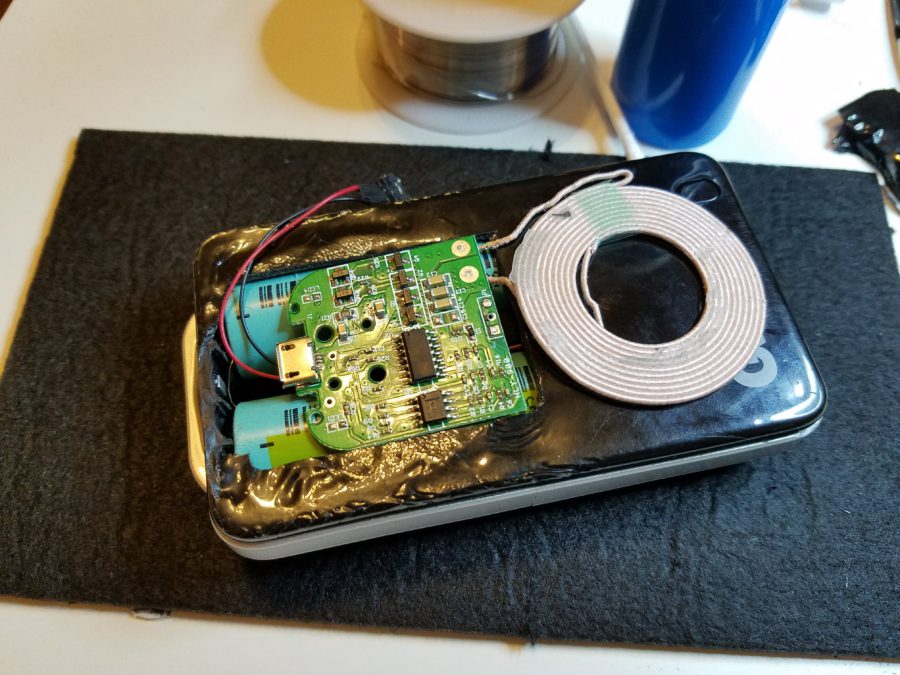
Yes, I know you can't do that, and you don't. But, firstly, this is only a trial, test version, and secondly, to look for an insulator and to be wise with this is frankly lazy. On the other hand, if it explodes, it will be fun. ?
In general, I will thoroughly approach this issue already at the next installation on a large external battery with a capacity of 20,000 mAh, which I will make for permanent use. Everything will be there according to the rules.
We collect the shaitan machine. After assembly, we evaluate the resulting structure in terms of appearance. The final result doesn't look as bad as you might expect.
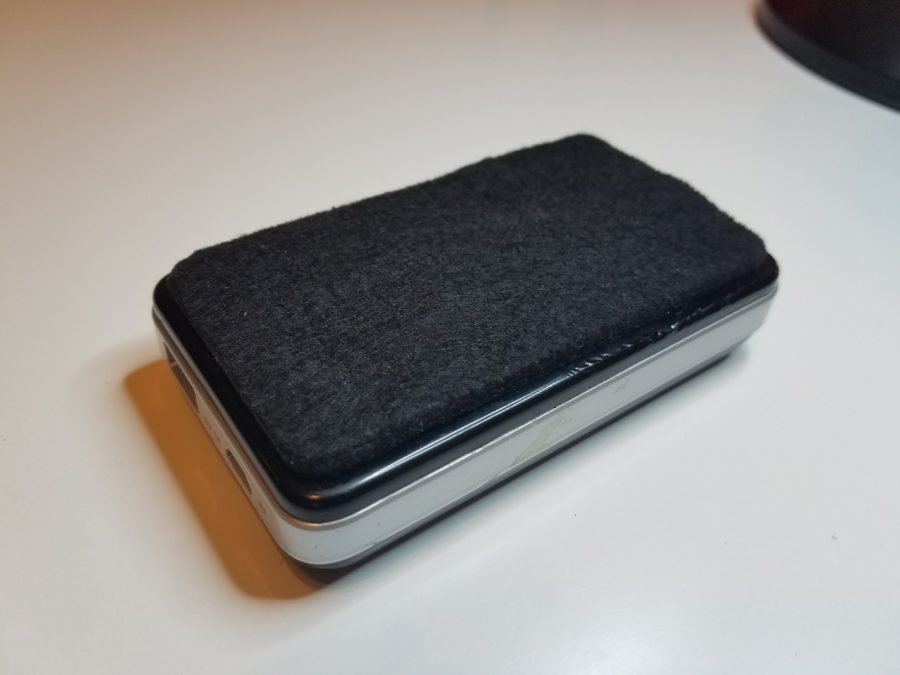
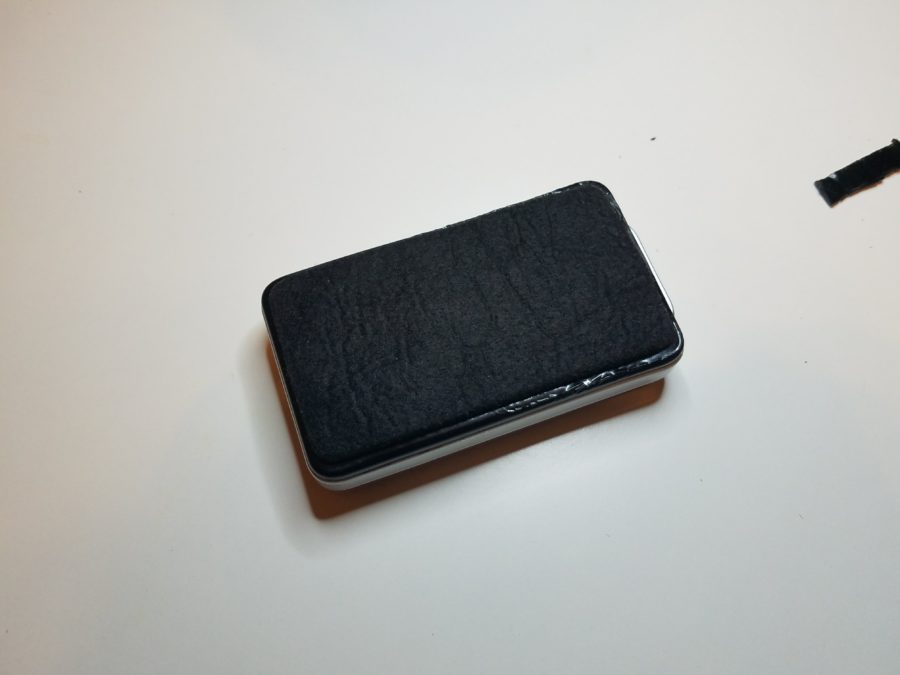
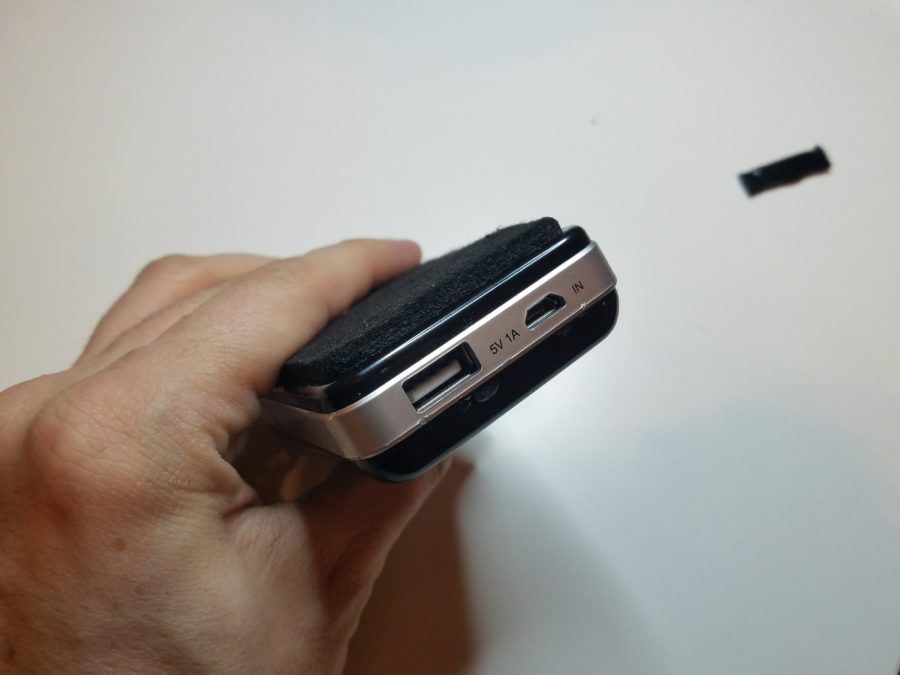
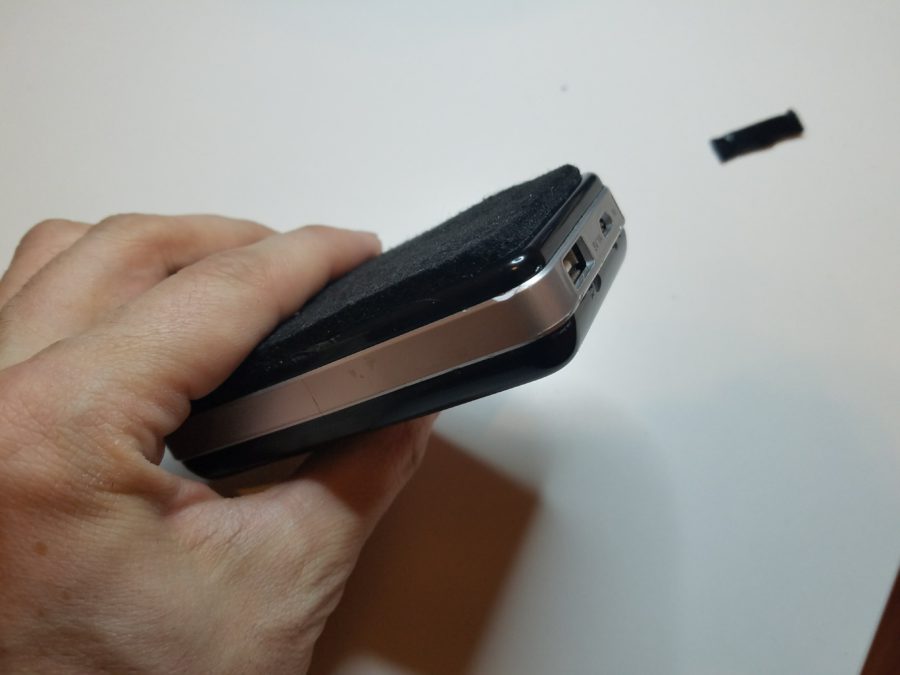
The battery has added a little in thickness, but it has got a non-slip surface that is pleasant to the touch, which is also a wireless charger.
Checking. Works! Charging is in progress.
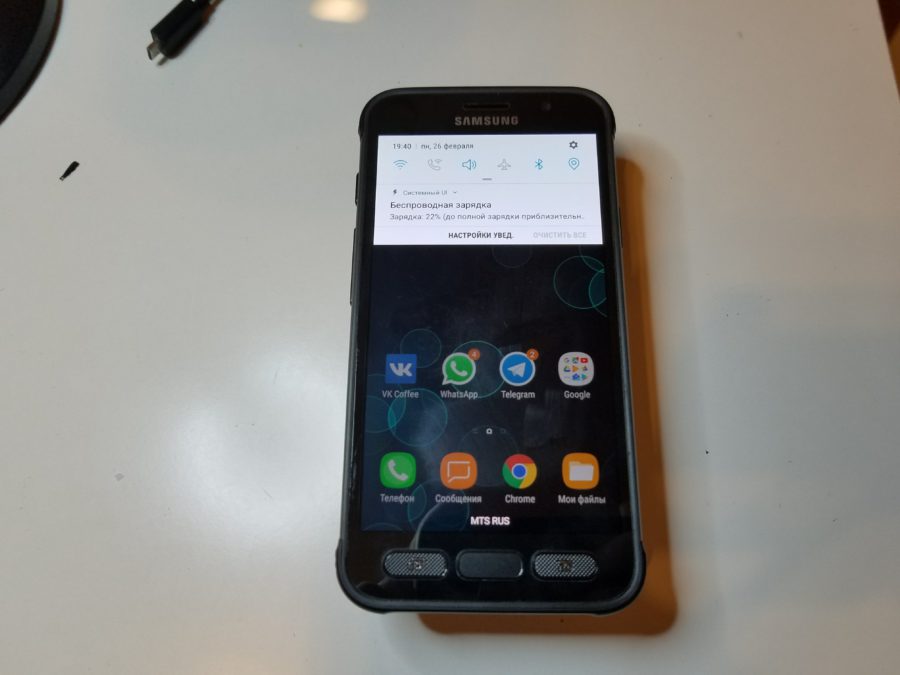
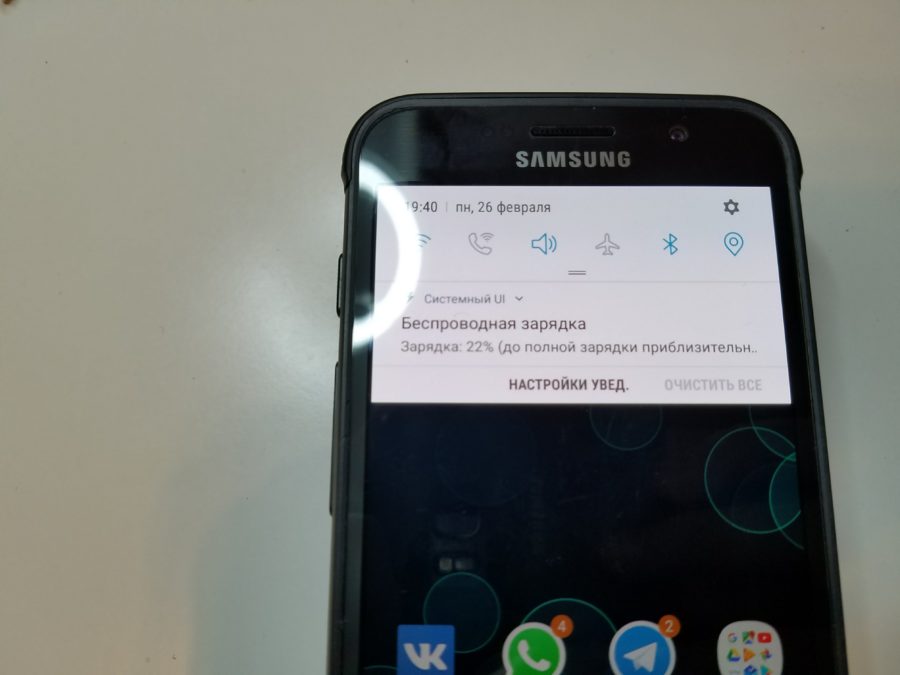
By the way, since the entire module was used, the battery turns itself off after removing the phone from it. This means that the charge will not be used up just like that.
Conclusion
Another experiment was completed relatively successfully. Yes, I could have tried a little better and done everything more accurately and thoroughly. You could have come up with a different, more aesthetic case. But, the main goal was achieved – the skill was obtained and the efficiency of such a solution was proved. Now I need to think about whether I need such a miracle Yudo or whether it's easier to buy a ready-made solution. But the answer is known in advance – why buy, when you can do it, and even provide yourself with exciting leisure time. Maybe someday I'll get tired of reinventing the wheel and stop messing things up, or maybe I'll come up with something new. Who knows.
With this in mind, I went to read about the novelties of the Barcelona exhibition, which appear on Mobile-Review every day.
