We continue break disassemble non-separable devices and see how they work from the inside.
Today, the next bracelet is from Huawei – Honor Band 3. The model is not new, but very common, and is also made according to the same scheme with its follower Honor Band 4, and this means that this material can be useful to those who are going to disassemble and 'four'.
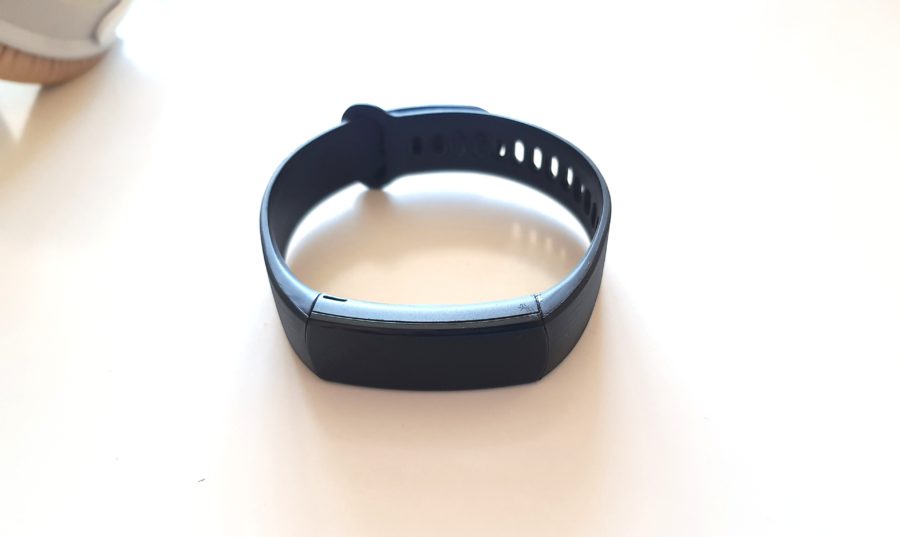
Why would you need to disassemble such a fitness bracelet? You never know reasons, for example, to replace the battery or, I don't even know, just wondering. ?
So let's get started.
To begin with, we examine the bracelet in order to better understand the design and decide which side it is best to approach it from. It looks like the bracelet is made by analogy with Xiaomi Band 3, which means that the plastic capsule containing all the electronics is simply covered with a protective glass on top, like a lid. Our task is to open this lid.
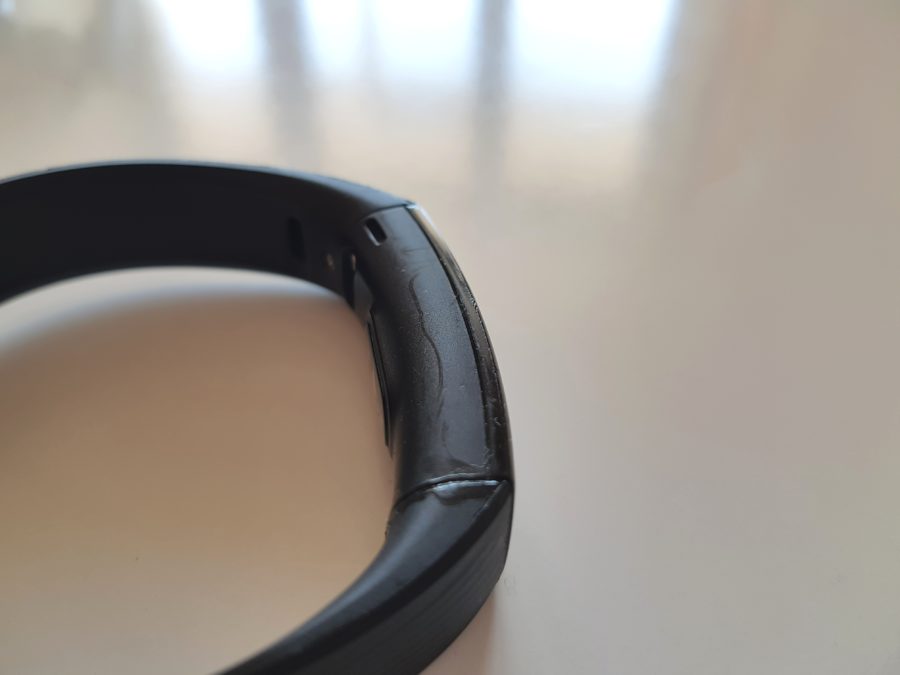
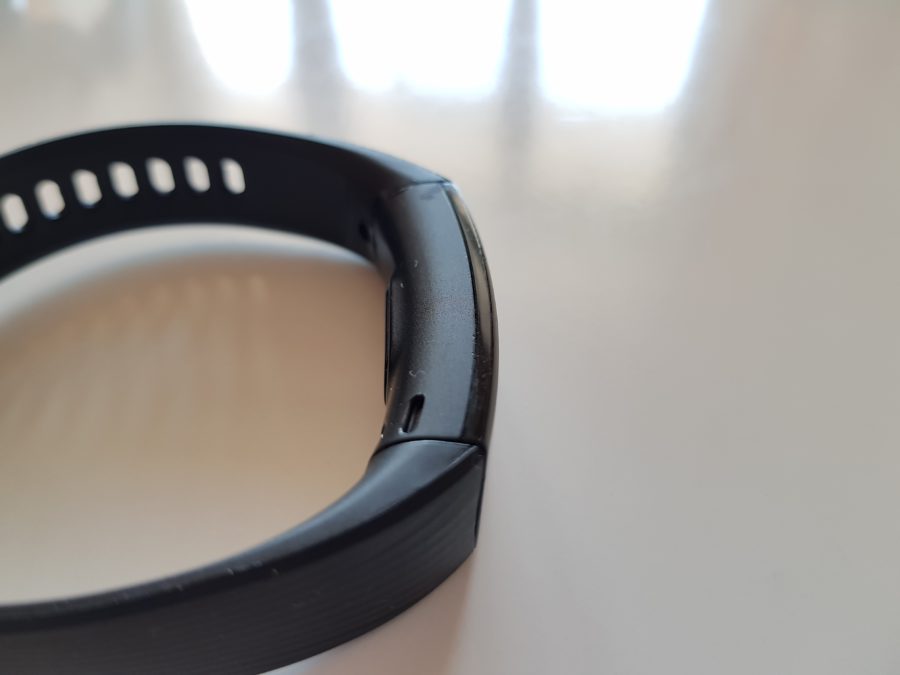
And we will do it traditionally for such operations with an ordinary household hairdryer and a stationery knife.
First, remove one side of the strap. One, so that it is convenient to hold the bracelet for the second when we separate it.
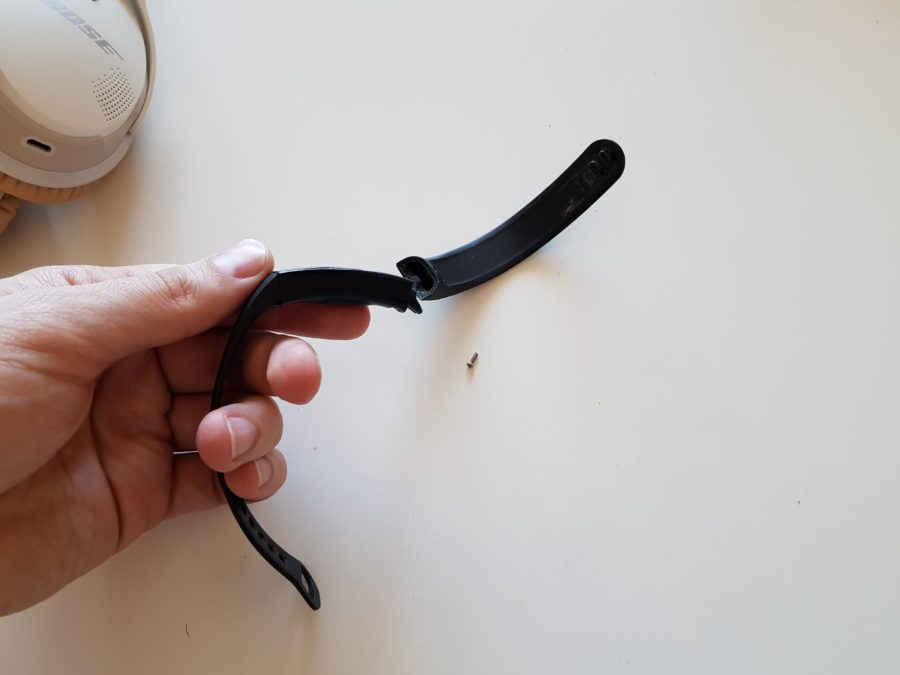
We are looking for a joint and decide on the place from which we will start the autopsy. This will be the butt as the most comfortable in terms of effort.
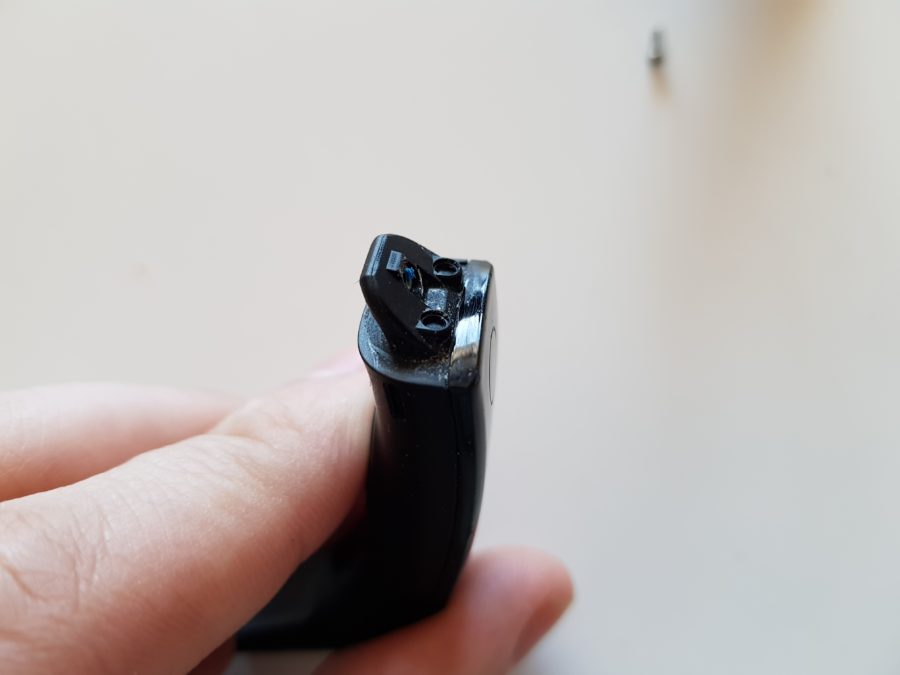
Before starting the autopsy, heat the capsule on top with a hairdryer. So that the lid burns your fingers a little.
Well, then we put the knife end-to-end and slowly, slowly, separate the lid and the capsule.
Our task is to achieve the appearance of a gap between the cover and the body.
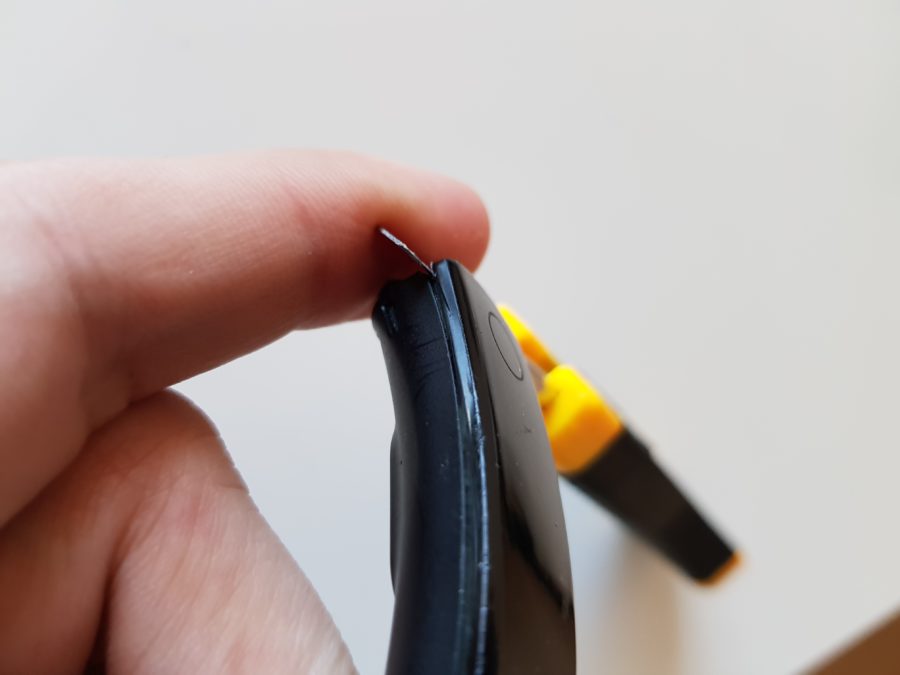
Once the lid has given way, the process will be easier.
The main thing is not to rush so that there are no deep seizures on the case (we still have to collect it back). Also, do not rush, so as not to damage the lid – from too diligent actions it can crack (in this model it is plastic). In case of disassembling Honor Band 4, it is better to use a plastic tool, as there the cover is glass and the metal tool can crush it.
Gradually we pass along the perimeter, dividing the bracelet into two halves.
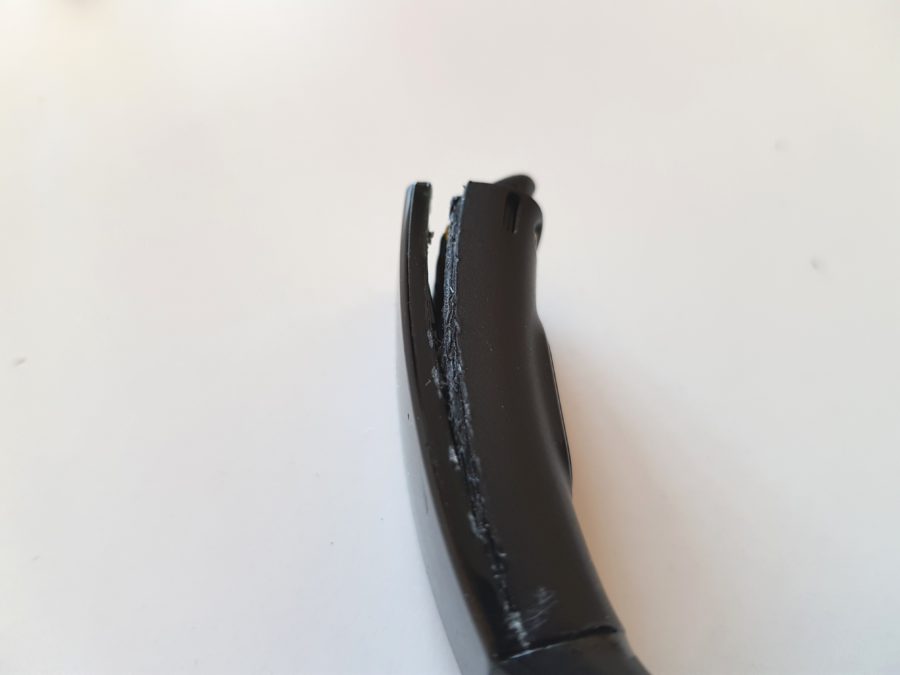
In the case of Honor, the cover can be removed without fear of damaging the cables – it is not connected to the electronics in any way.
Finally, the lid gave in.
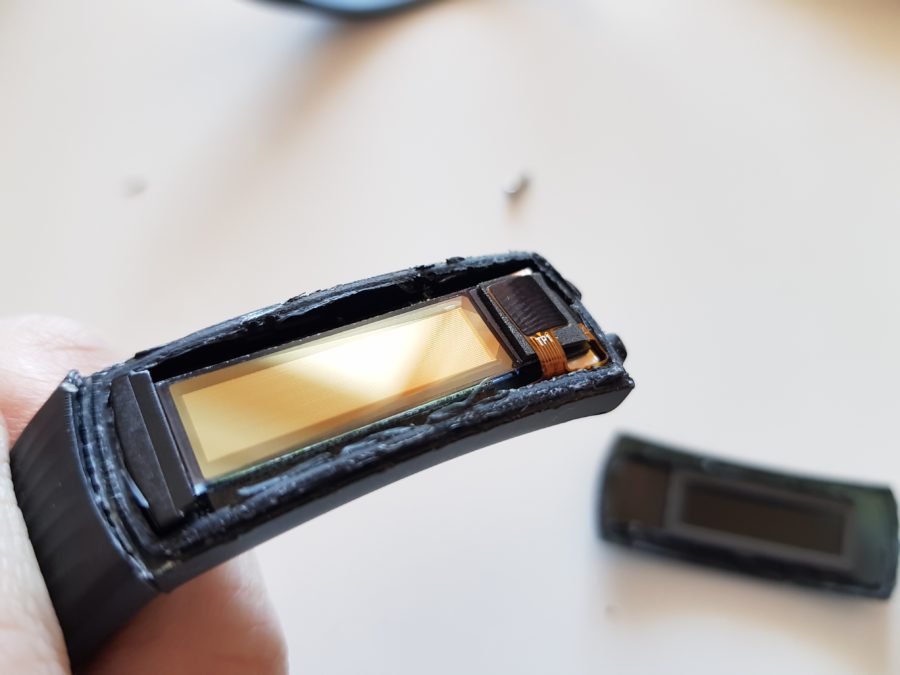
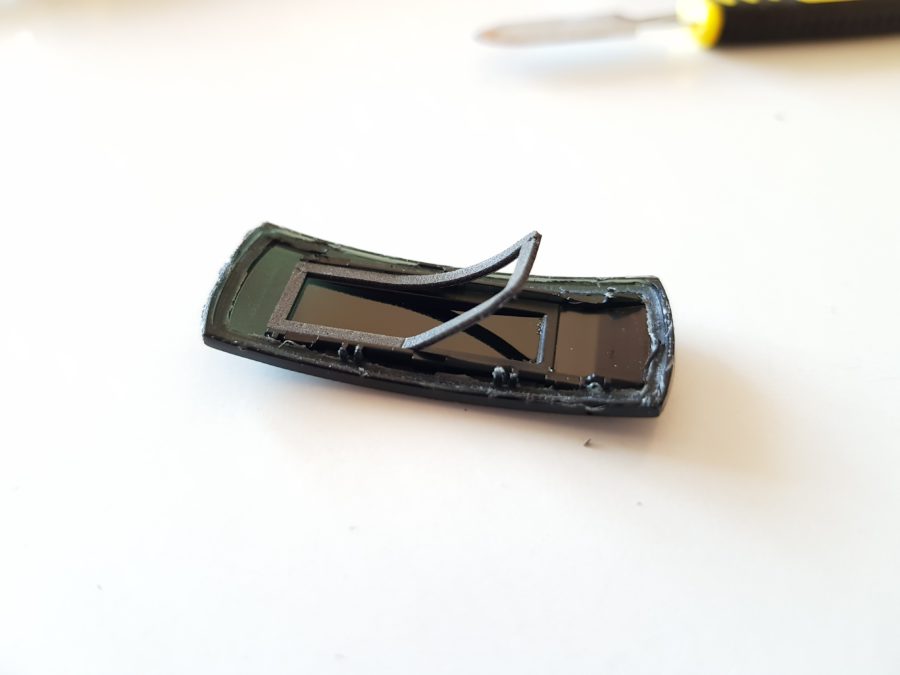
Under it we see the pad of the capacitive contact of the button and the display, under which all the rest of the filling is hidden.
We check if the bracelet survived such vandalism.
Hooray, everything works. Go ahead.
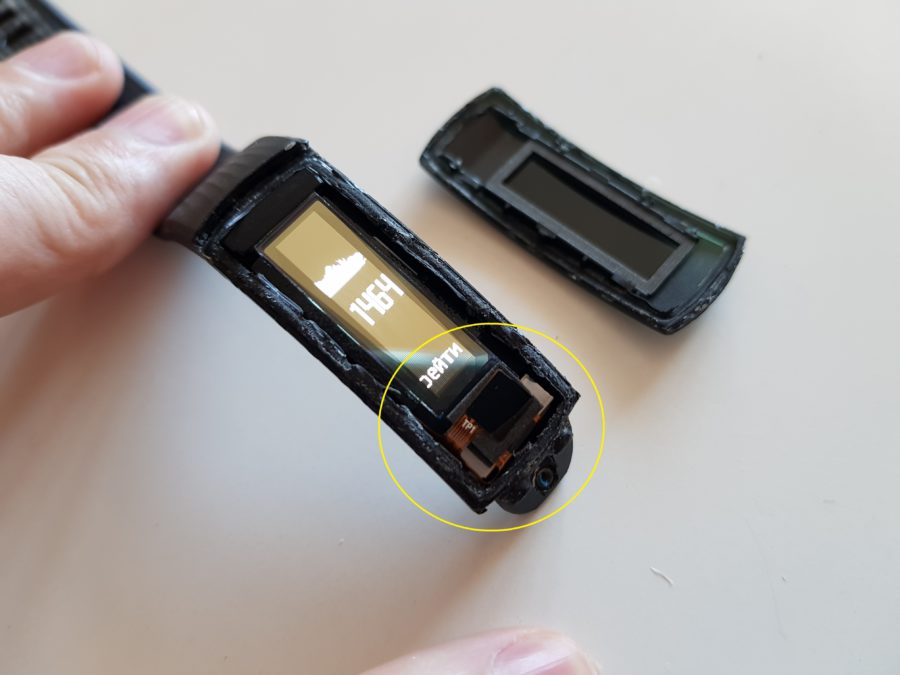
Now you need to remove the giblets.
To do this, it is better to first peel off the display so that it does not split from kinking when removing.
Peel off the capacitive cable that was under the button. We warm the display with a hairdryer.
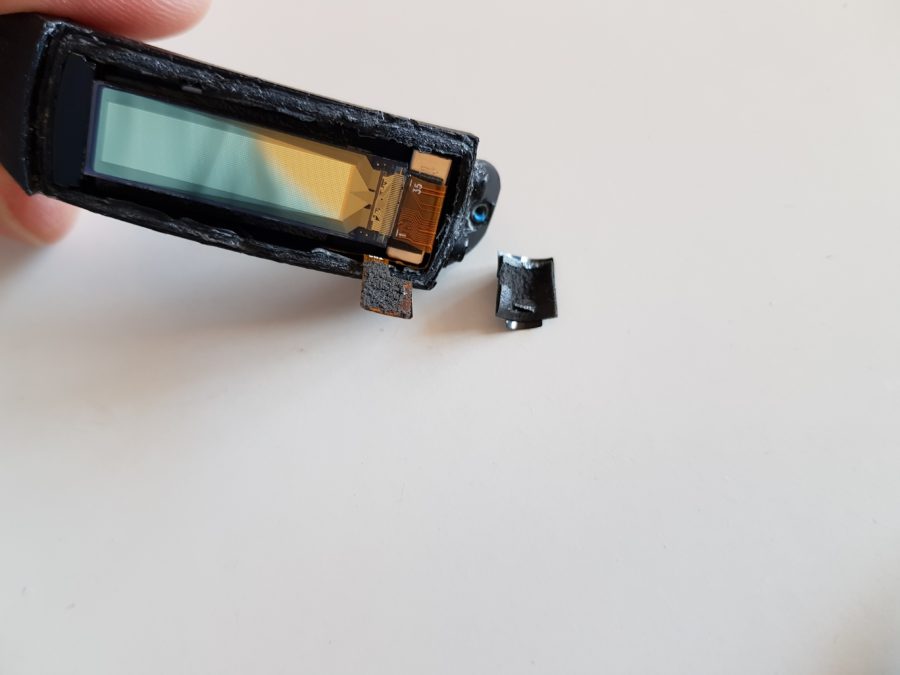
Then we pry it on the side with a plastic pick, or better with a soft finger, and slowly begin to peel it off.
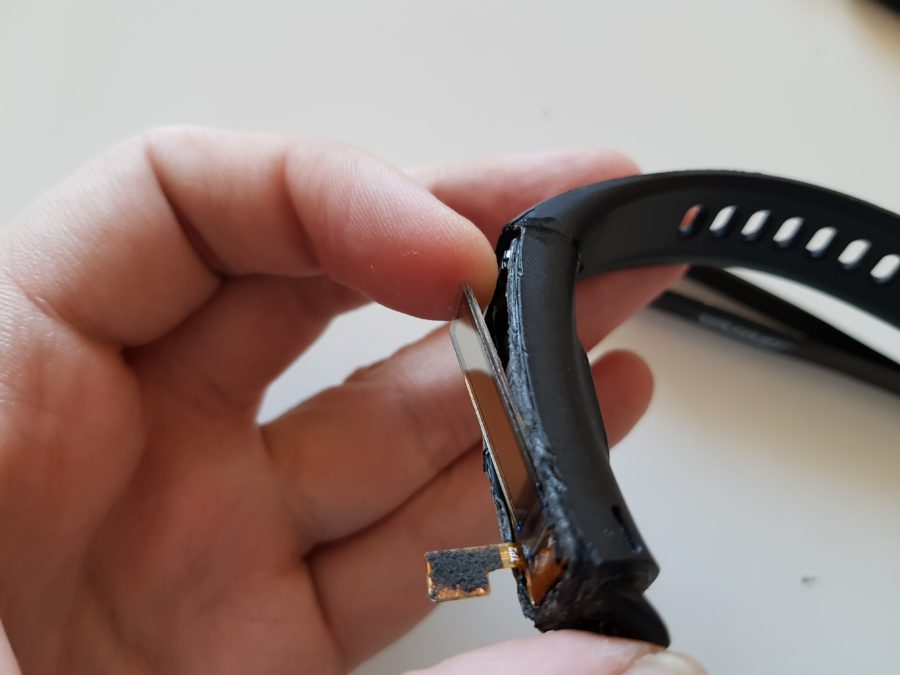
Take your time, the display is fragile.
After the display is peeled off, under it we see a part of the battery markings.
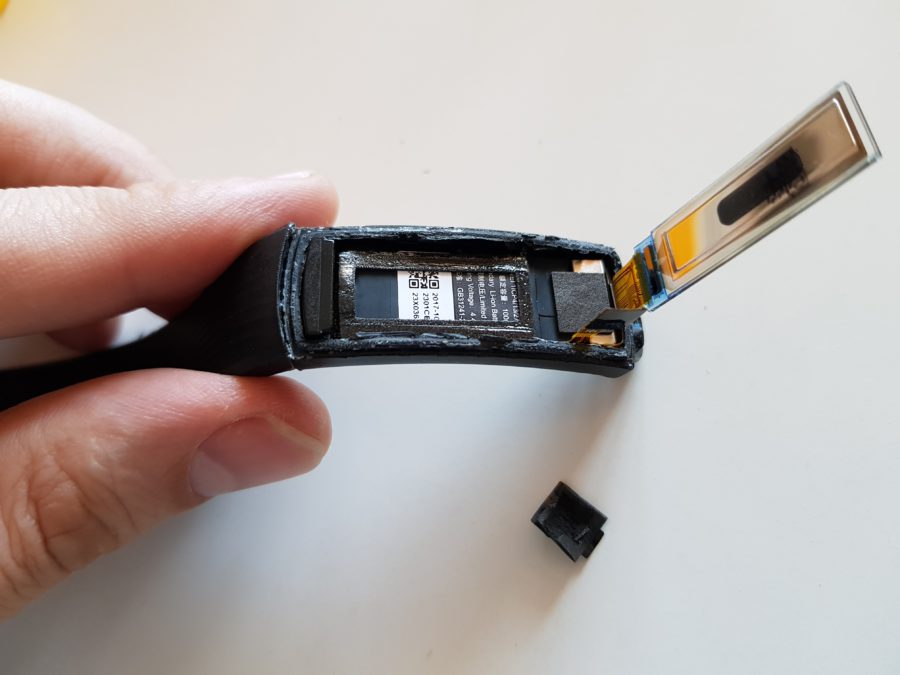
In the upper part there is a separate unit Bluetooth – antennas, which is connected to the board with pressure contacts.
We pry it off and extract it.
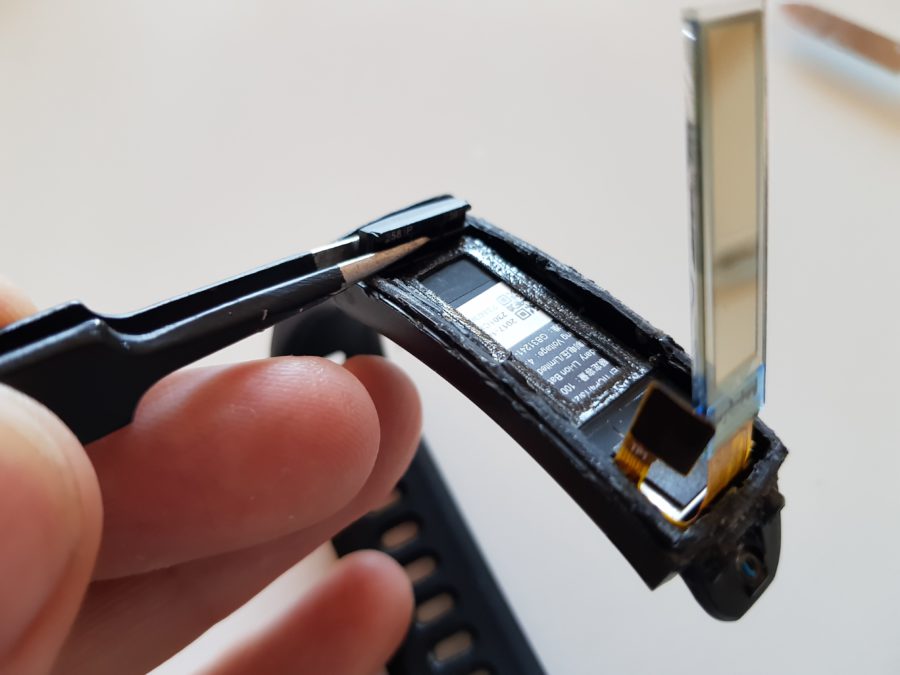
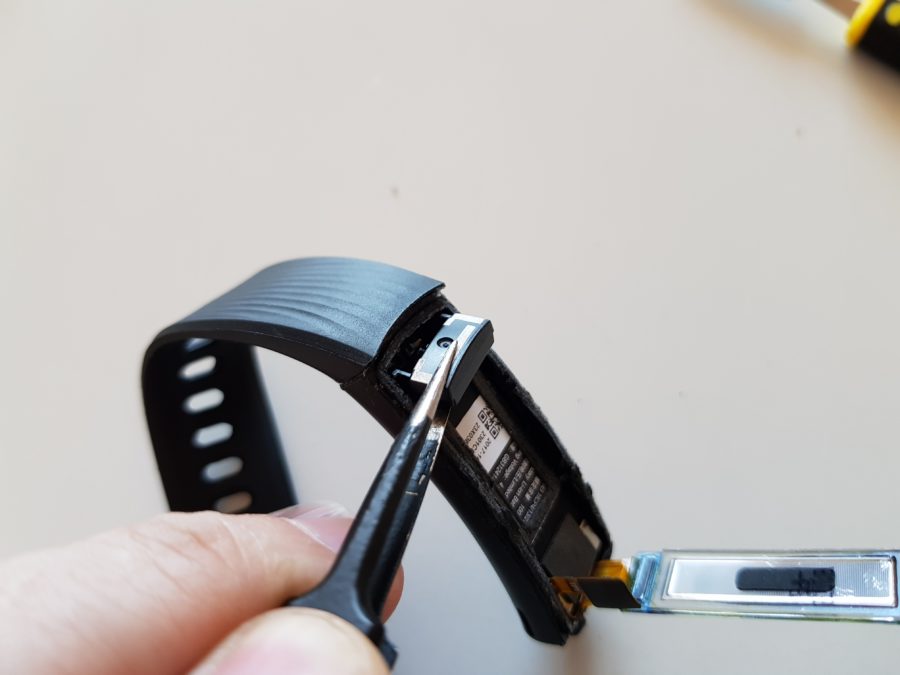
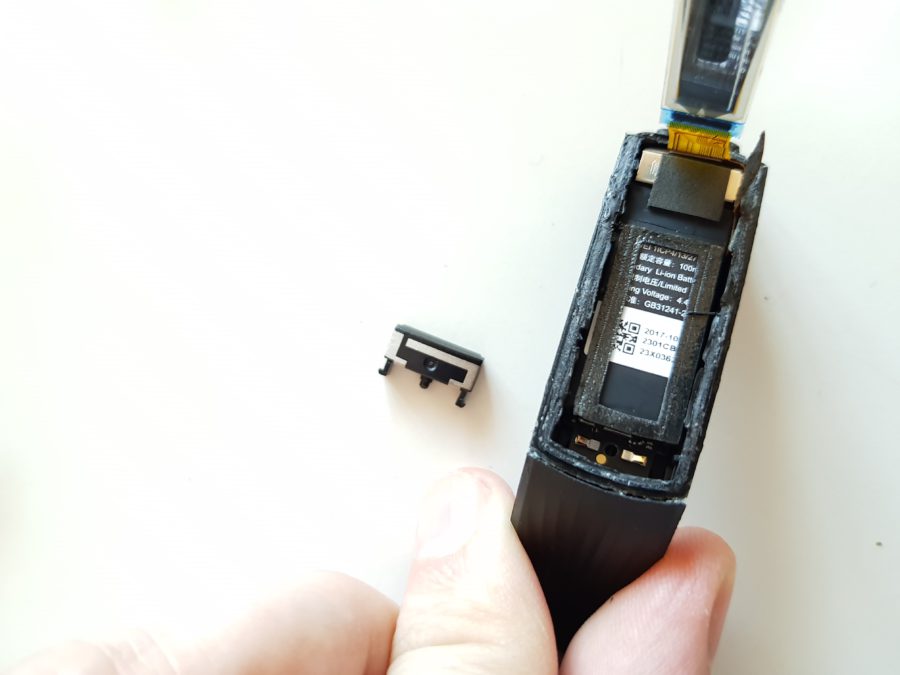
Now we need to remove everything else – we hook it up to the battery and take out the entire filling of the bracelet.
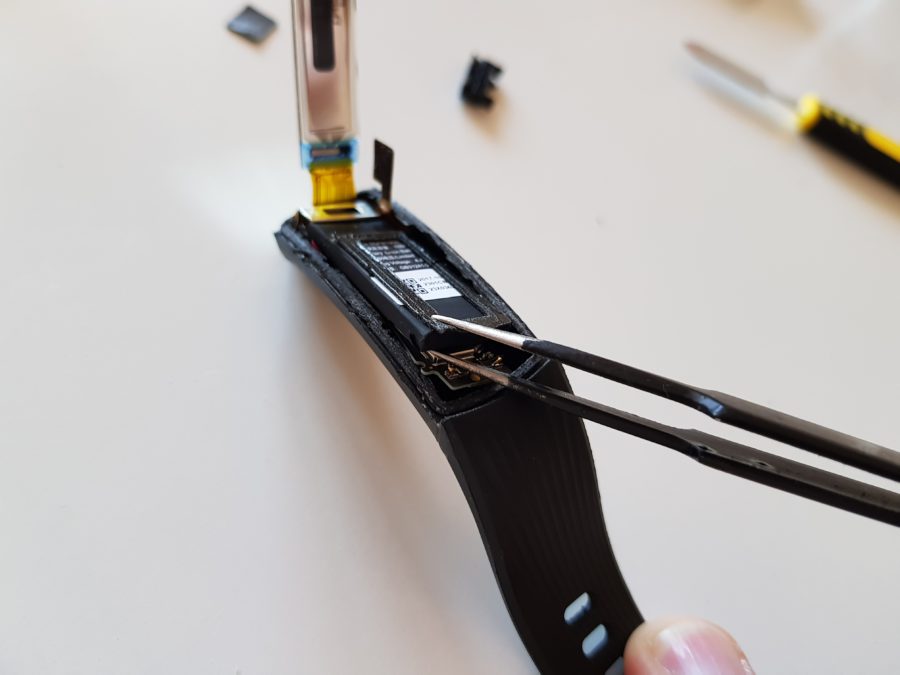
And inside there is a rather small board to which the battery is glued.
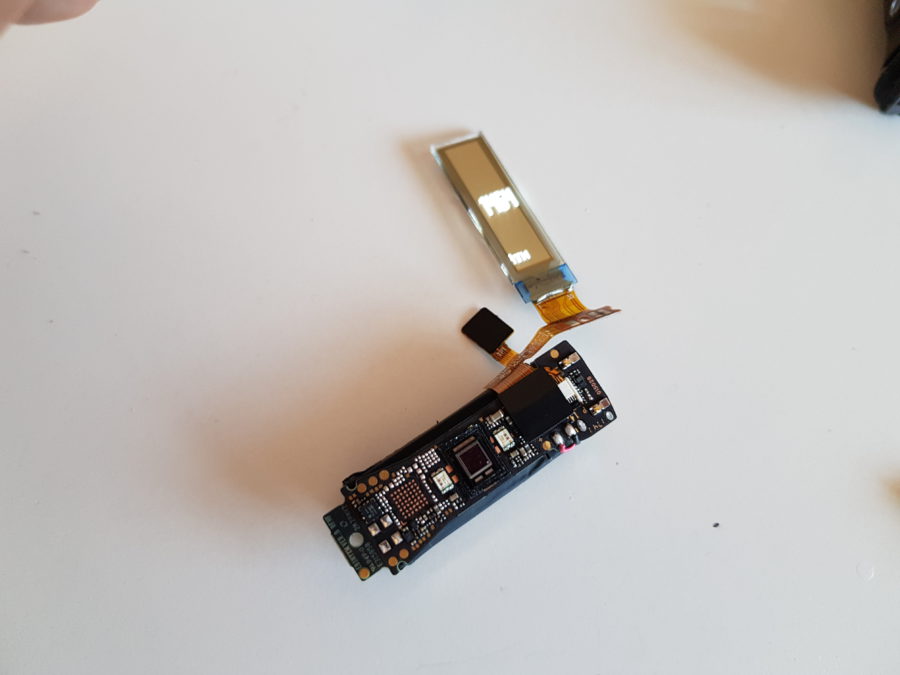
The battery is larger than that in the bracelet from Xiaomi: its capacity is 100 mAh versus 75 mAh in Mi Band 3.
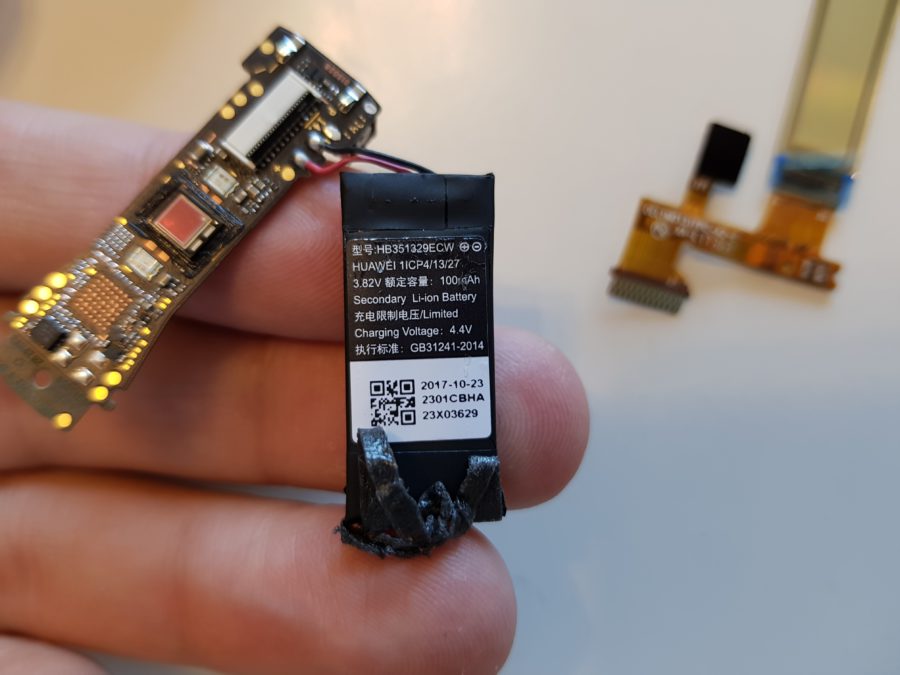
The battery has an inscription stating that this is the second battery. Where is the first one then?
It seems that this battery is used not only in the bracelet as the main one, but also as a secondary one in some other product Huawei. Interesting.
Of the interesting, you can select a separate place for some kind of planar microcircuit. Curious what should have been there?
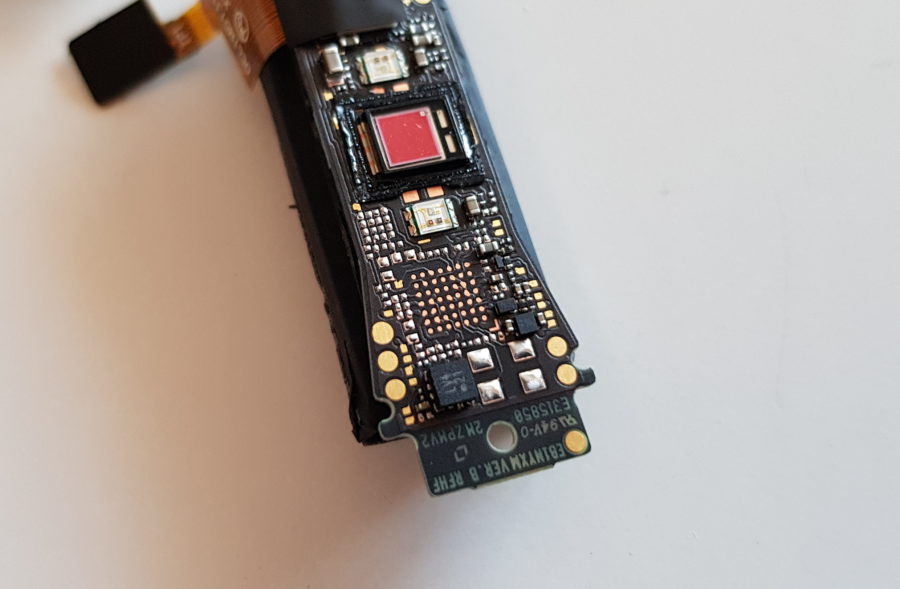
It looks like this is the place for the NFC chip. But, alas, I do not have an NFC version to test this guess, so let's leave it at the level of assumptions. On the other hand, what else is there to be?
Another point that distinguishes the bracelet Huawei is the heart rate sensor soldered on the board. In Xiaomi it is designed as a separate module on the loop. The fewer loops, the stronger the structure.
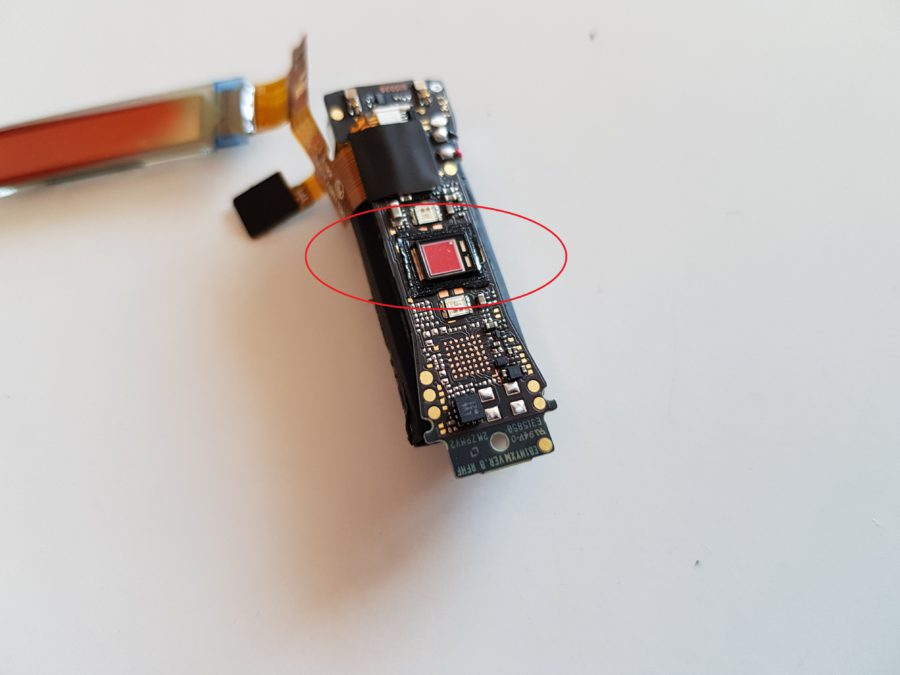
Carefully remove the display module by unfastening the ribbon cable. The button remains on the same loop.
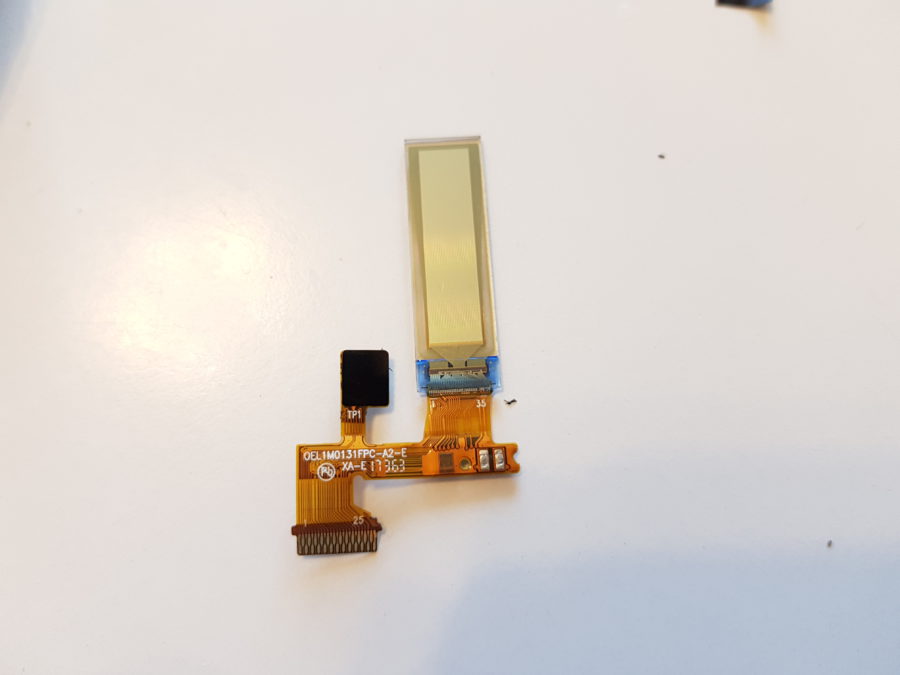
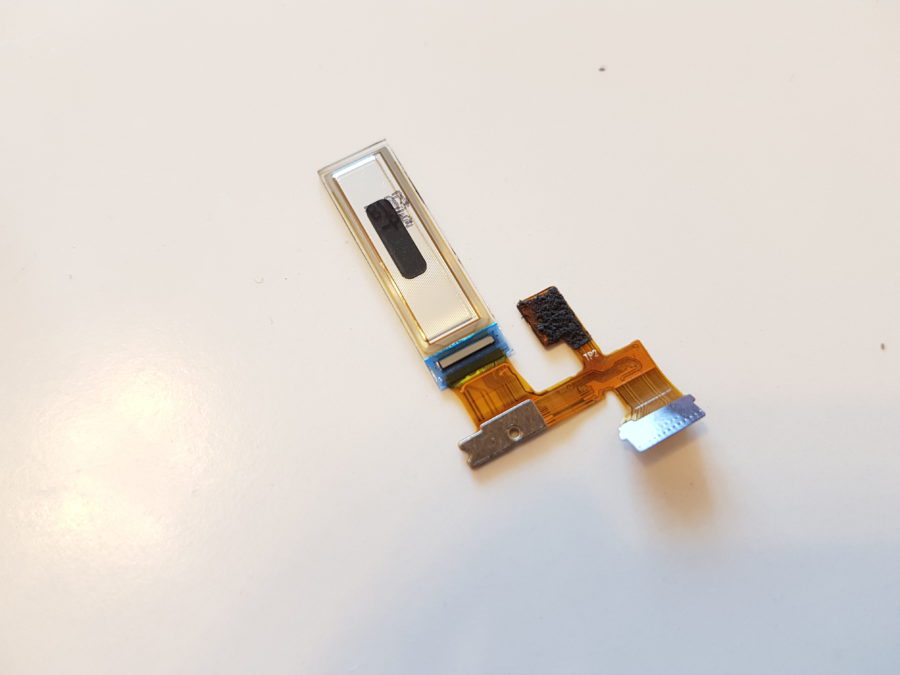
Another nuance that bothered me was the brightness of the display.
Without a cover, the display is very bright. Therefore, the idea arose to try to remove the tint from the glass so that the information on the display could be seen better on a bright sunny day.
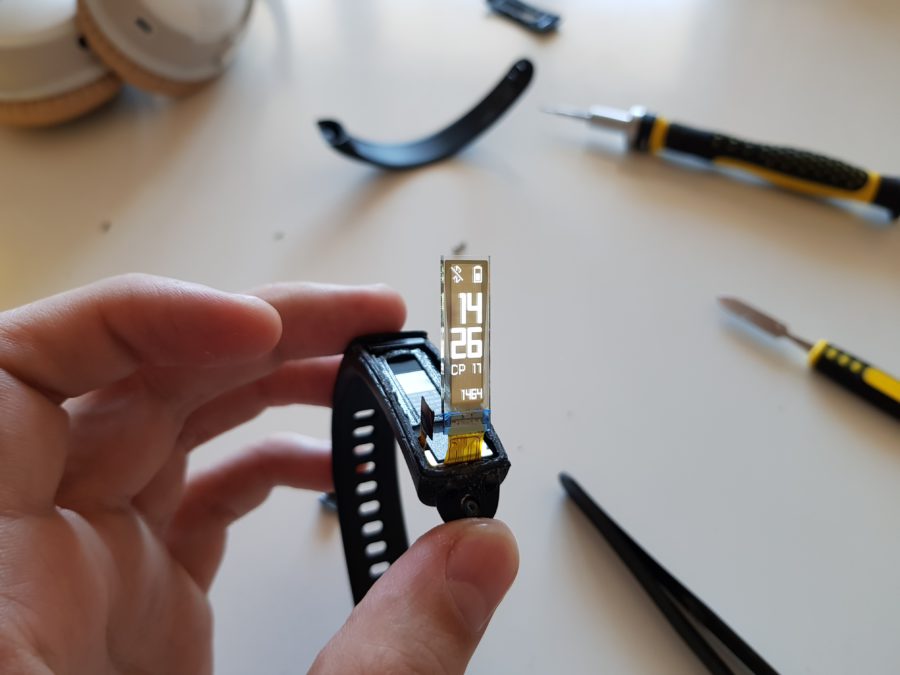
But, alas, my hopes did not come true, since there is no tint film there, and the screen area is just a polished part of the lid. Sorry.
Another curious thing – the vibration motor is located in its metal casing.
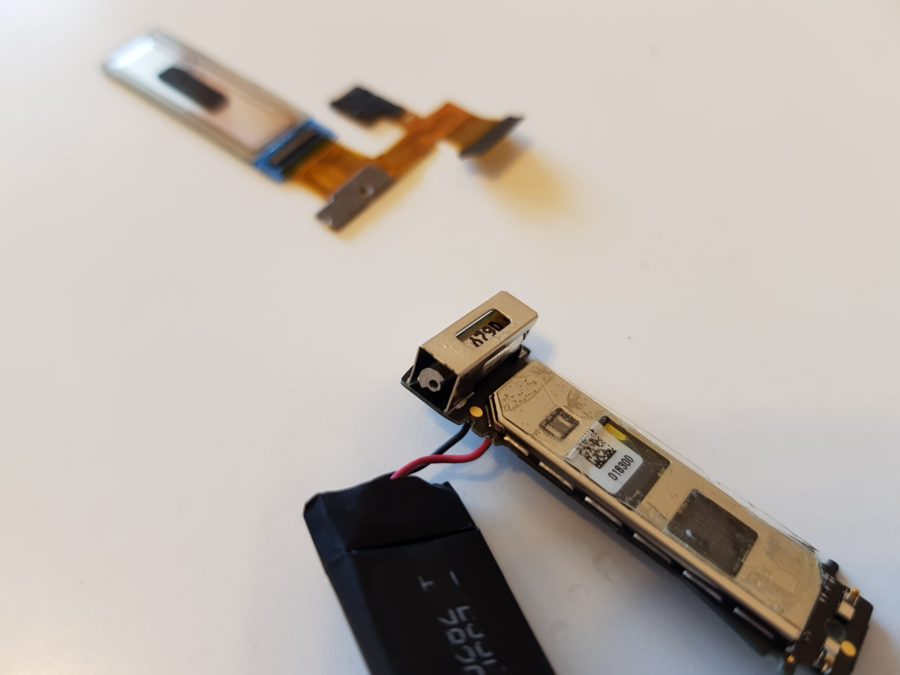
Considering the tightness of the placement of components inside and the presence of a large number of soft gaskets that can move out during assembly and press the motor, such a decision looks justified and reasonable. Interestingly, this is the first time I meet such a design.
Actually, there is nothing more interesting inside, which means it's time to collect the bracelet back.
We assemble it in exactly the same order as we took it apart. This means that we will glue the display into place after we have installed the board with the battery in the capsule. This is because in the process of installing the board inside the capsule, you will have to press it with force so that it fits into the slots – the display will not survive such treatment.
It remains to replace the cover.
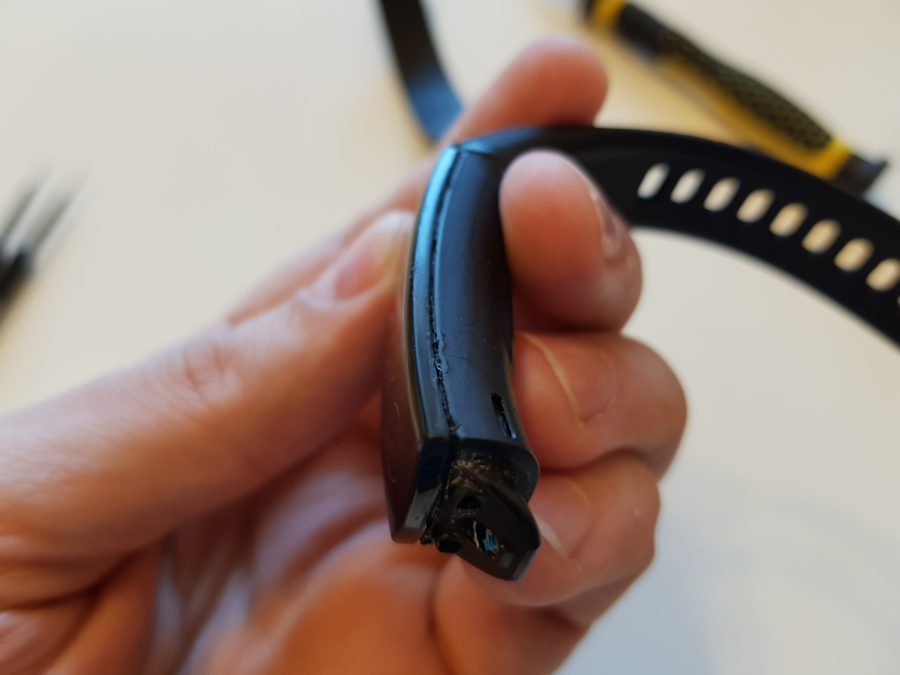
To restore the tightness, I used a super glue gel. It does not spread like its liquid version, and at the same time dries quickly and reliably glues parts of the bracelet, which allows you to start using the device almost immediately after assembly.

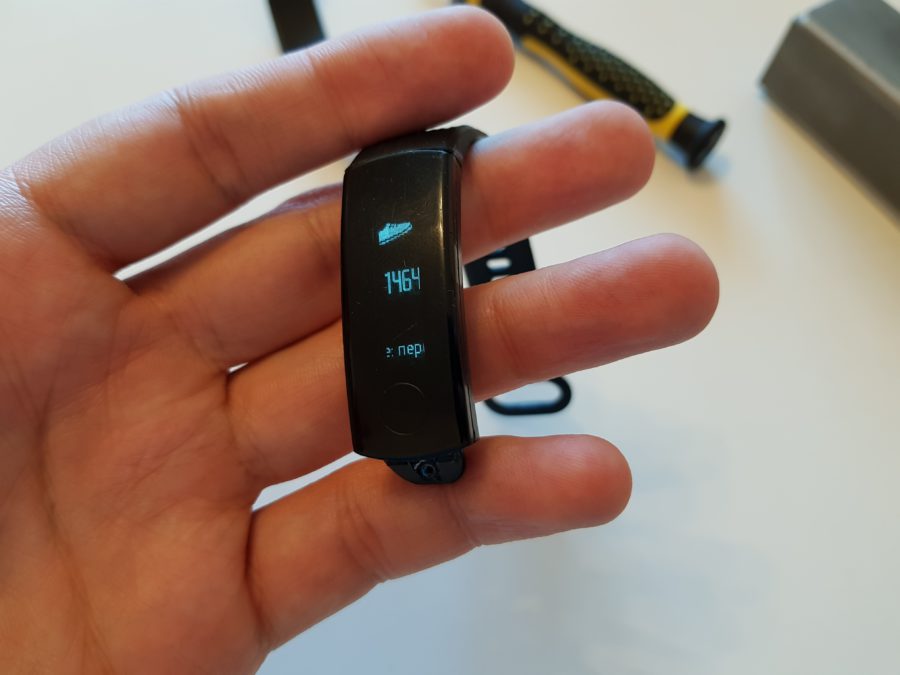
Although in this case, you can use another glue, for example, B7000, since the structure does not bear bending loads. But remember that the B700 loses its properties from heat, so if you leave such a glued bracelet in the sun, it may lose its tightness. So super glue is better, it won't let you down.
Conclusion
It seems that I am haunted by the glory of Zach Nielson, who disassembles various devices on the camera, and at the same time I often frown when I watch his videos, as he does it very carelessly, which is why most of the devices he disassembles receive damage incompatible with life.
I am more impressed by the way in which the disassembled device continues to perform its function after assembly and remains fully functional, or even acquires new functions.
This time, it didn’t grow together with new functions – after assembly, the bracelet can do exactly the same thing that it did before parsing. But now we know how it works inside.
I hope this material will be useful to those who, for some reason, wanted to disassemble a similar bracelet, but did not dare. Write in the comments which device or part of it you would like to look into, and I will try to implement it.
