Hello!
We're going to create another Frankenstein today!
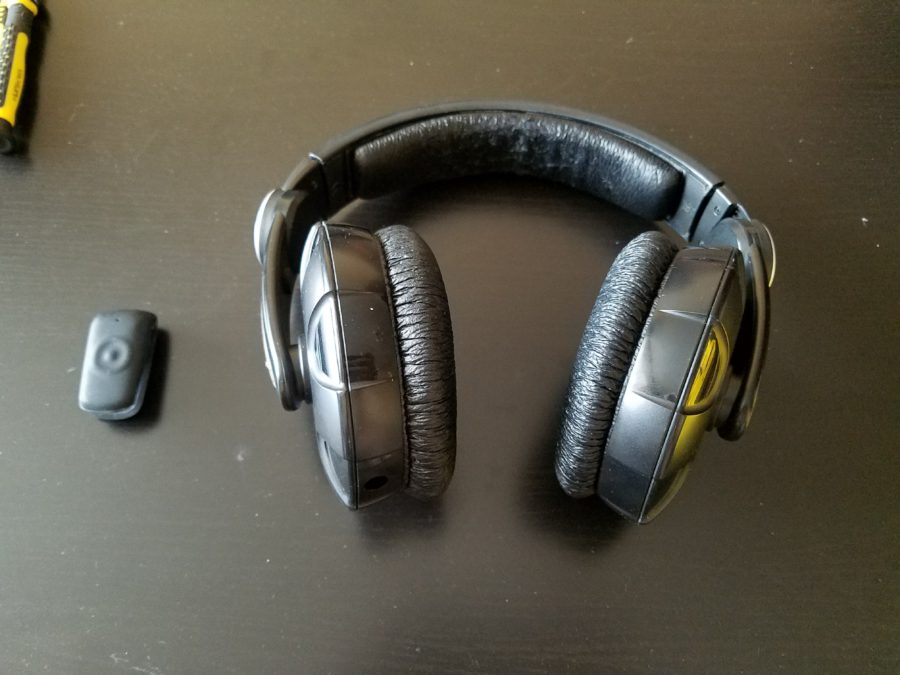
In stocks of unnecessary gadgets, I found a headset that I bought over four years ago – the Jabra Clipper. Also, Sennheiser HD215 headphones were lying around in the piles. These headphones, once written off as unusable and given to me as spare parts, were repaired and safely abandoned. Clipper is a wonderful typeface (for its time). However, by today's standards, it has very modest characteristics, which leaves it no chance of being a constant source of music without wires. Headphones were also good once. But time and progress spare no one.
It is from these two components that we will try to assemble our 'Frank'.
The impetus for making such an animal was the brother's phrase that it would be nice if the monitor headphones could be used wirelessly, for free movement around the apartment.
Challenge accepted.
Disassembly
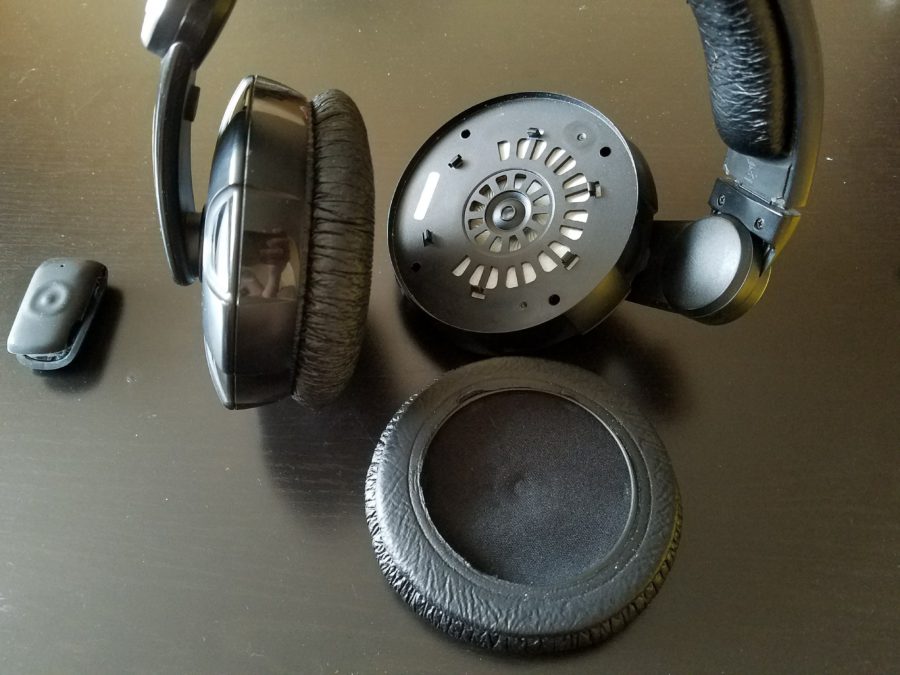
First, we take apart the ears to understand whether something will fit there or not. The headphones are very easy to disassemble. At first glance, there is not much space.
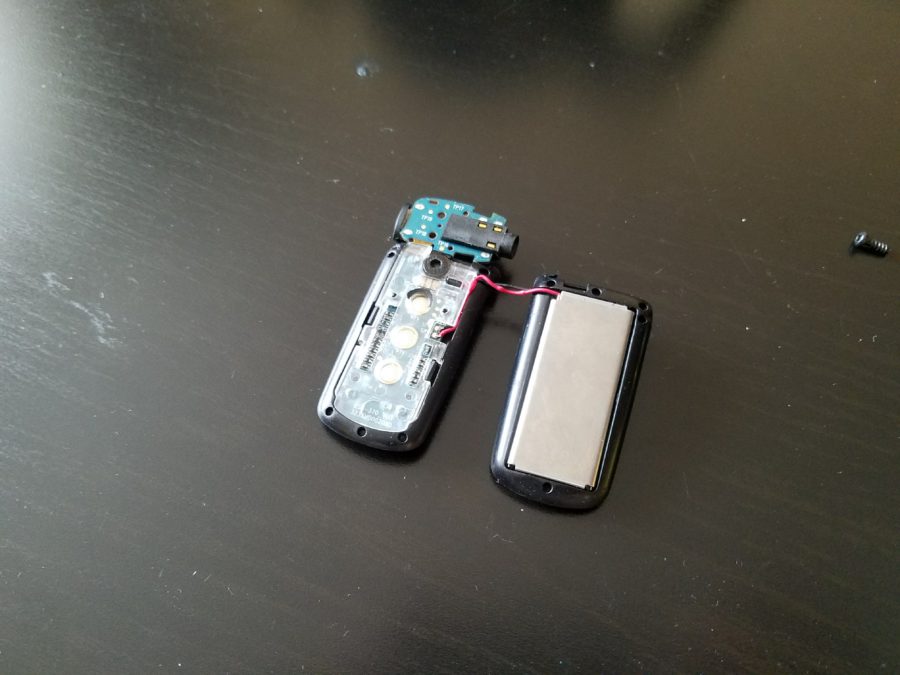
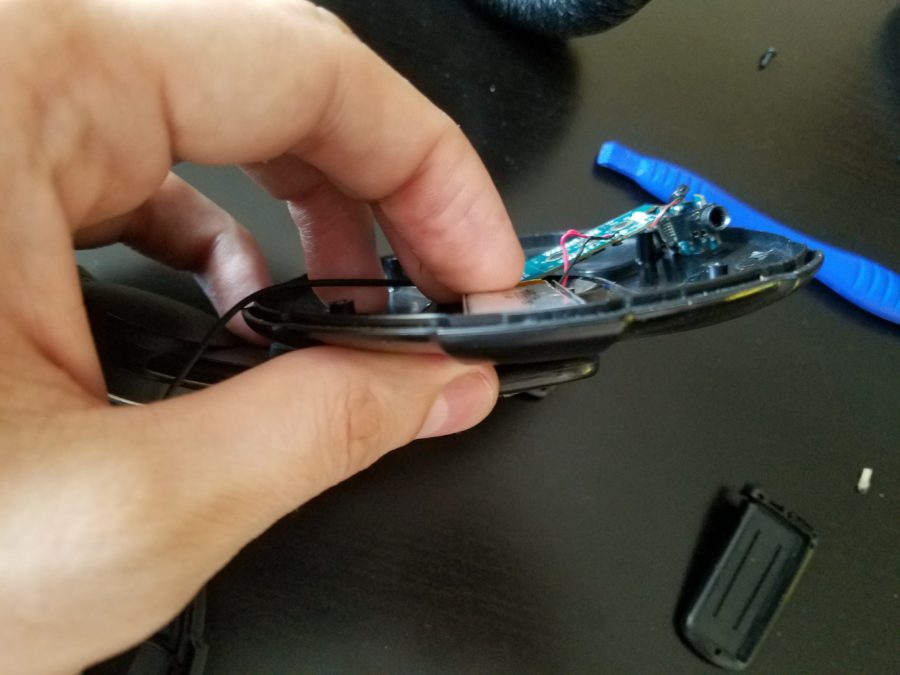
Now let's start parsing the Jabra. Outwardly, a rather voluminous headset with a clip, in fact it turns out to be quite small inside. This makes me happy.

Fitting
Comparing the sizes, we come to the conclusion that we will most likely fit one into the other.
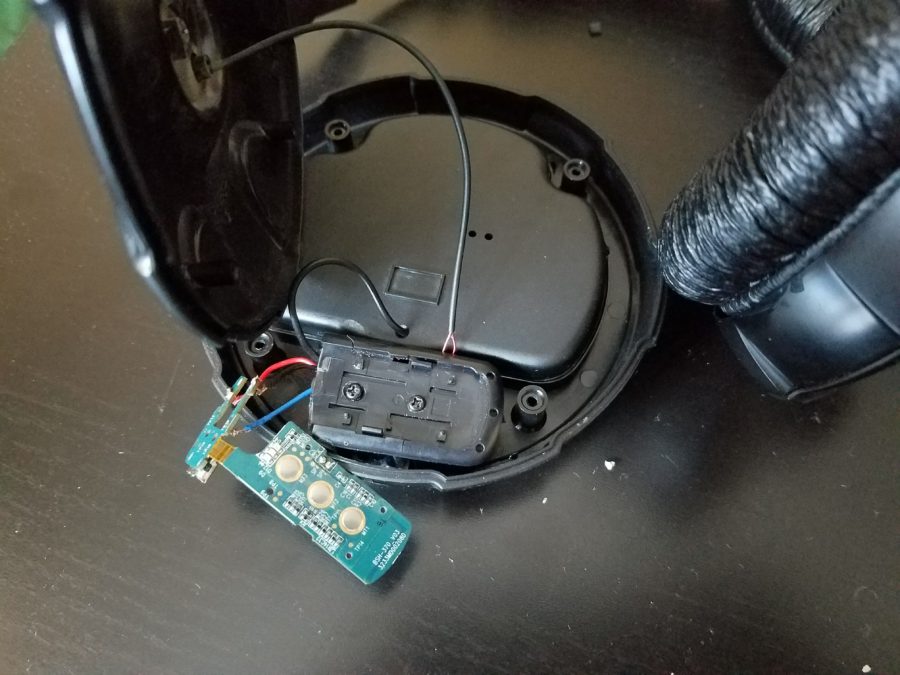
The most worried about the battery. But it turned out that it fits very well into the shape of the earcup. As if they were doing it specially for him.
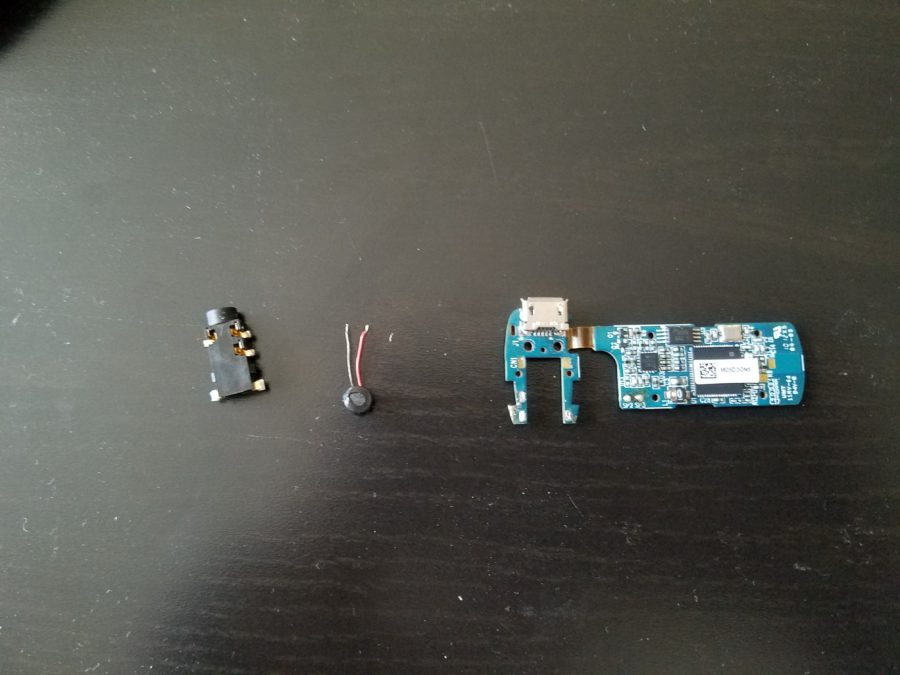
The headphones have a detachable wire with a Jack 3.5 connector.
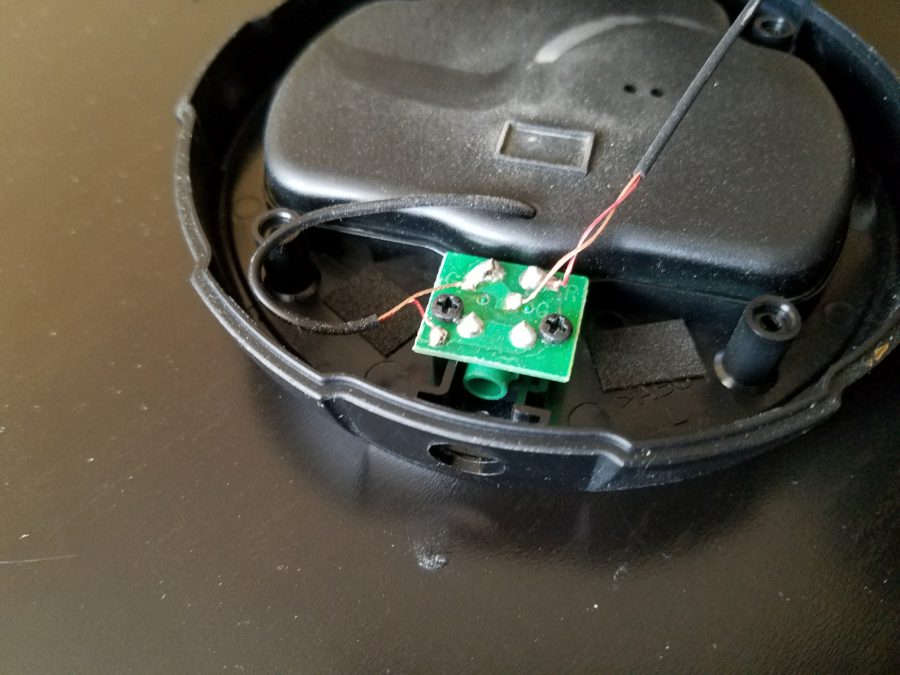
You can, of course, just directly solder directly from the headphone jack to the same headset jack, and thereby make your life easier, but I decided not to follow the simple path and leave the opportunity to use headphones with a cable if the headset runs out.
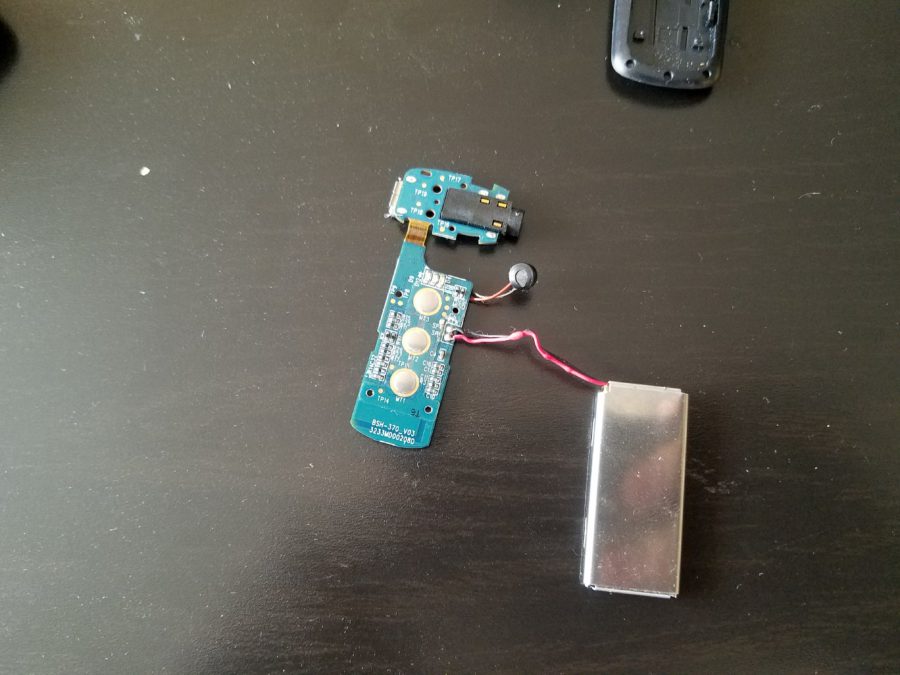
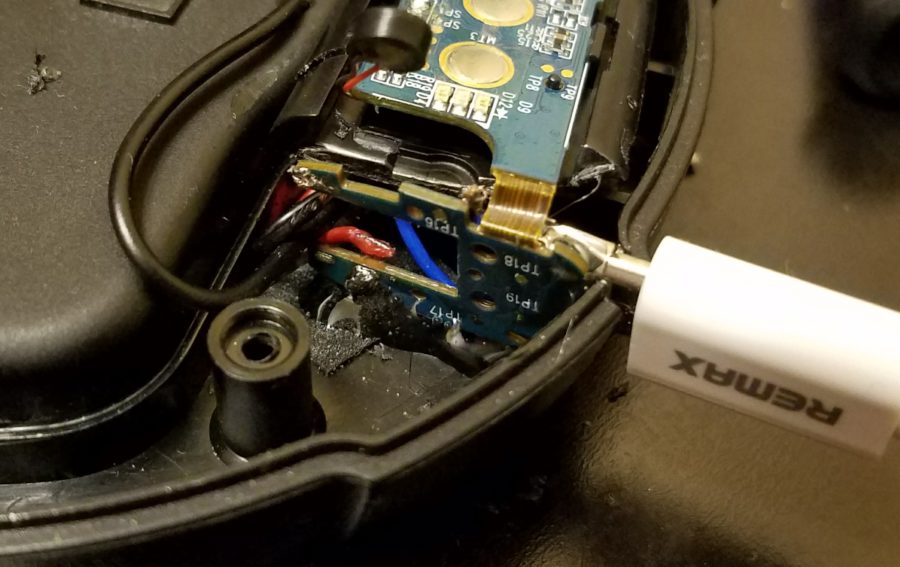
To do this, we solder the connector from the headset, and solder the wires to the contacts, which we then solder to the headphone board.
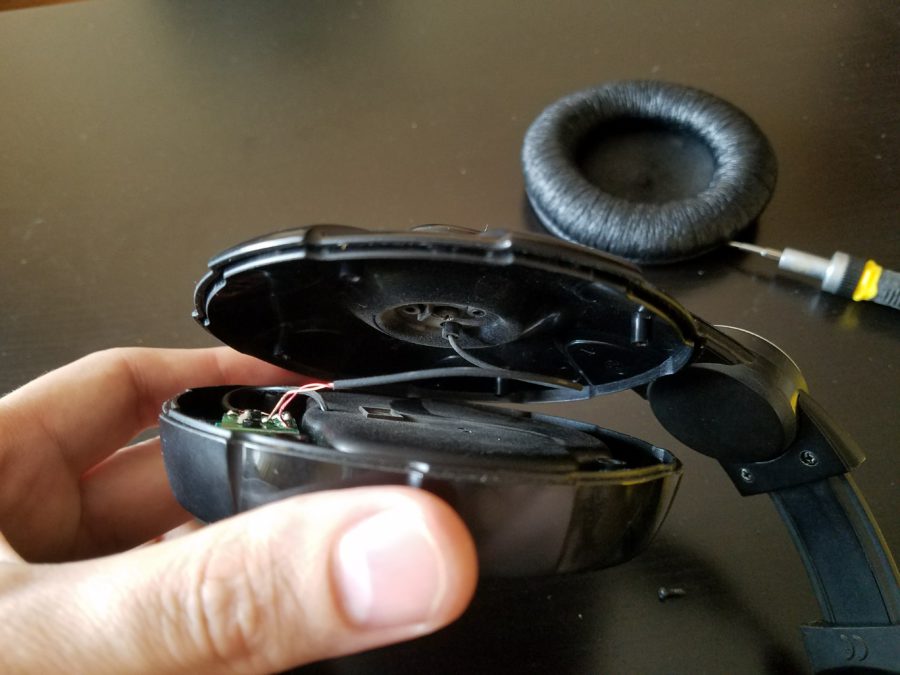
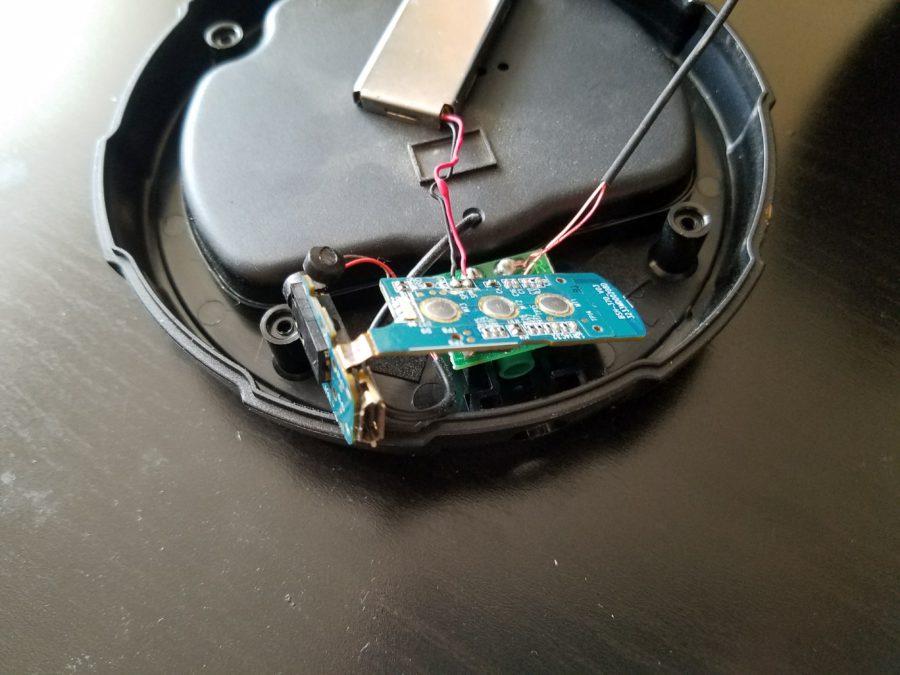
In the process of disassembly and fitting, the problem arose of isolating the headset from the headphone board. The base of one of the headset body halves is perfect for this purpose.

For convenience, we solder everything unnecessary from the headset, which may interfere with fitting (then we will return almost everything to its place).
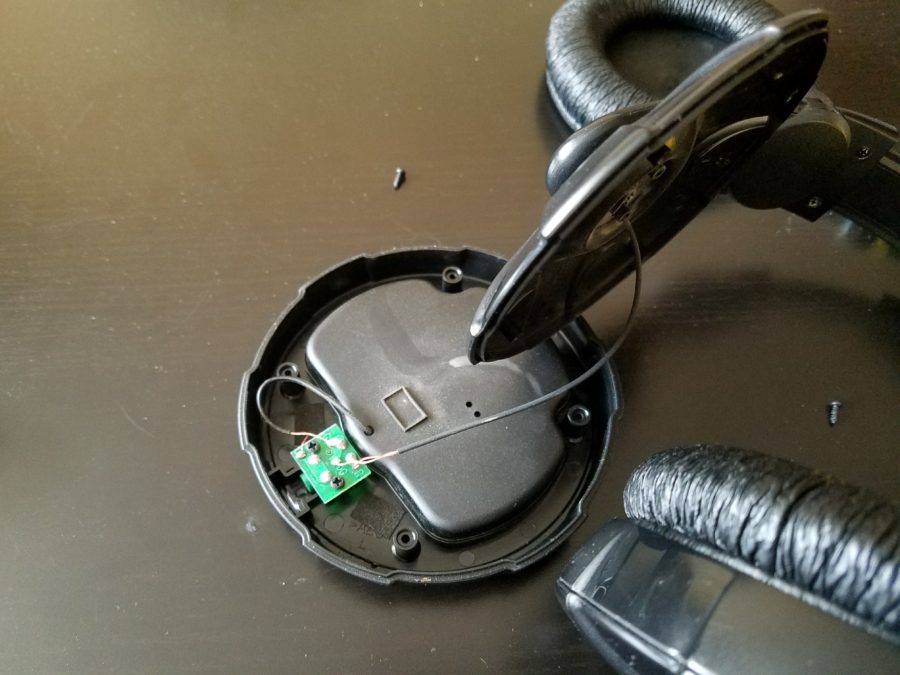
We drill holes in the plastic base, and fasten the base with the same screws that hold the headphone board. Now you need to insulate the screws.
I hope Chuck Norris will forgive me, but I will use a super-weapon, against which even he will save – duct tape! True, not blue, but black, but that changes little. ?
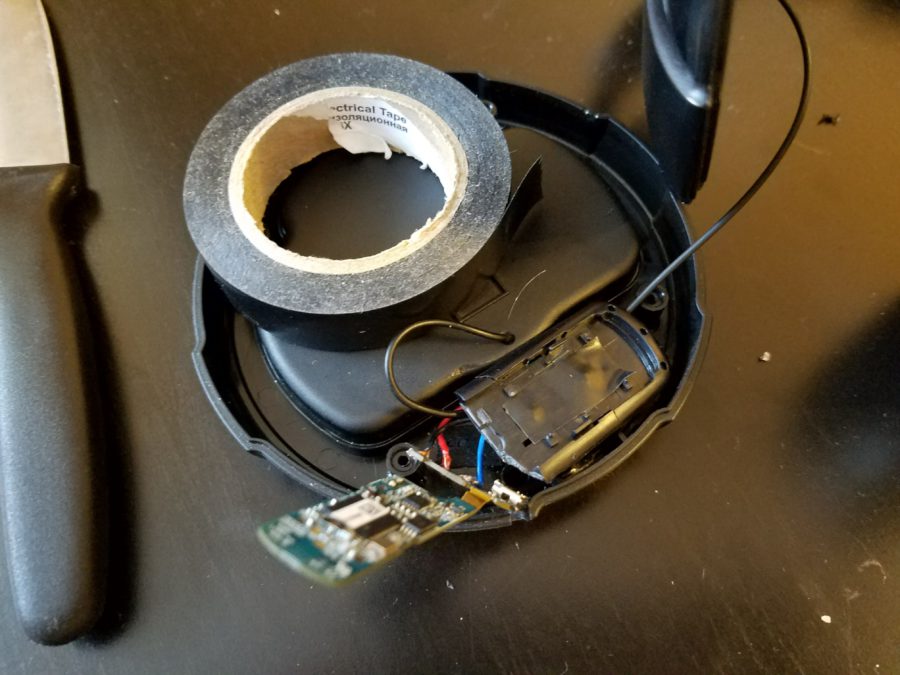
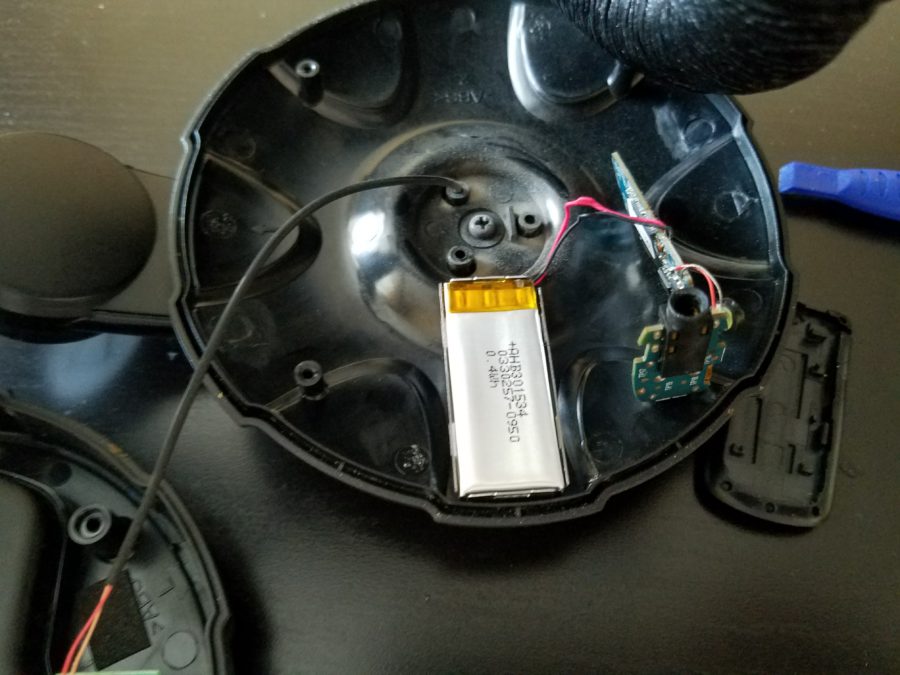
The wires are soldered. The base is installed. The headset board is located. Stop, how to charge? We'll have to cut a hole for the microUSB connector. We try on (by eye), and …
It is inconvenient that the headset's charging connector is located on a small board together with the jack 3.5 connector, and is attached to the main board with a short flexible cable. This reduces the mobility of the structure. But thanks for that too. Let's be smart. Bending the cable, we get a very convenient position of the connector. We grind a hole.
Unfortunately, no photos of the original hole have survived. There is only this option:
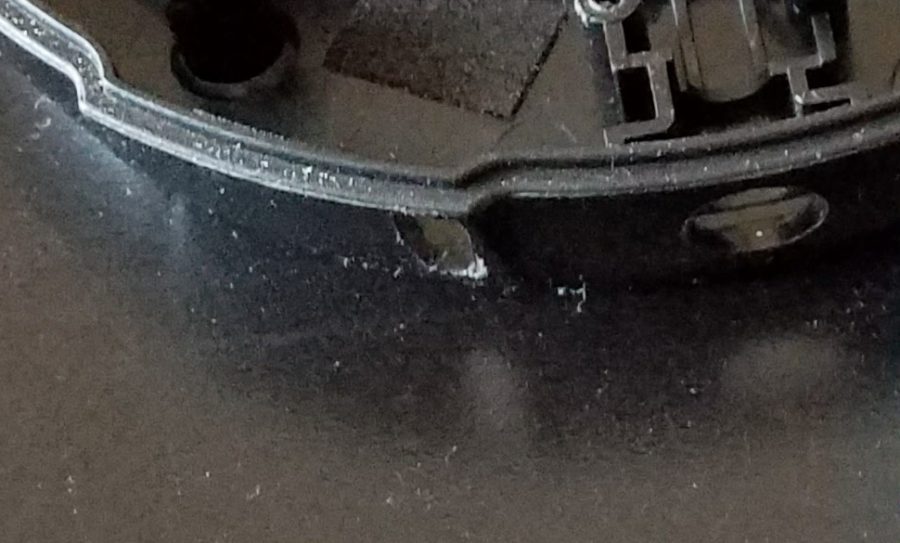
First I punched a hole, but I missed a little with the height, so I had to cut it all the way. Because of this, the hole turned out to be not as smooth and neat as we wanted. But nothing, we can't take Frankenstein to exhibitions, it will do for home use.
So far so good.
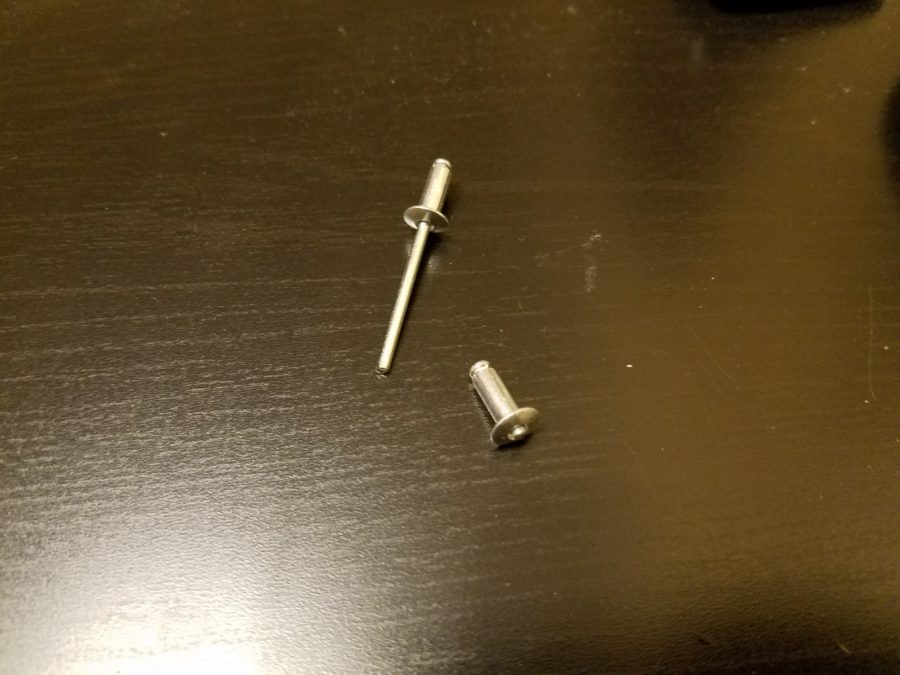
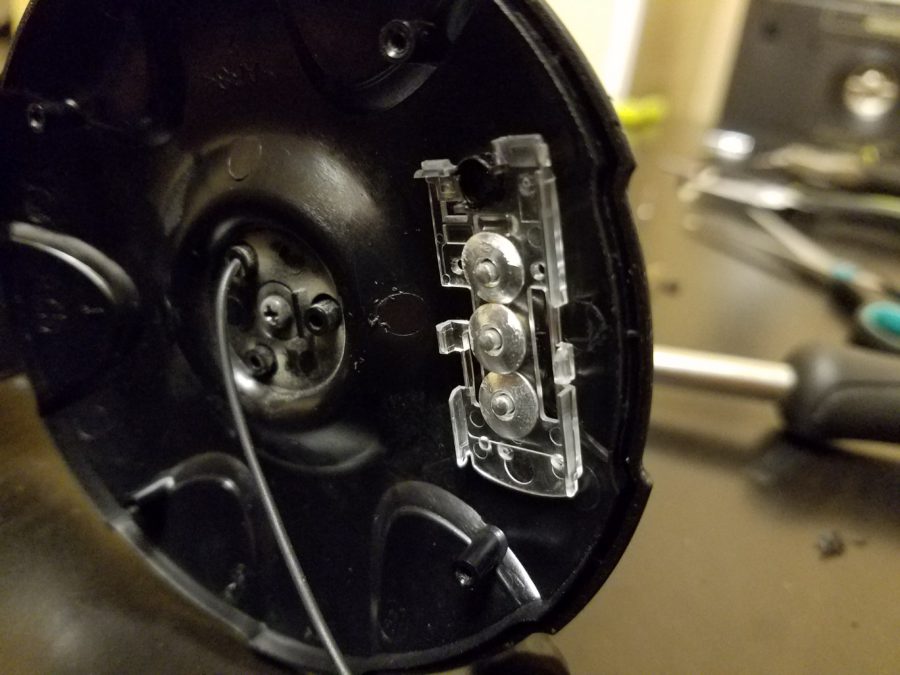
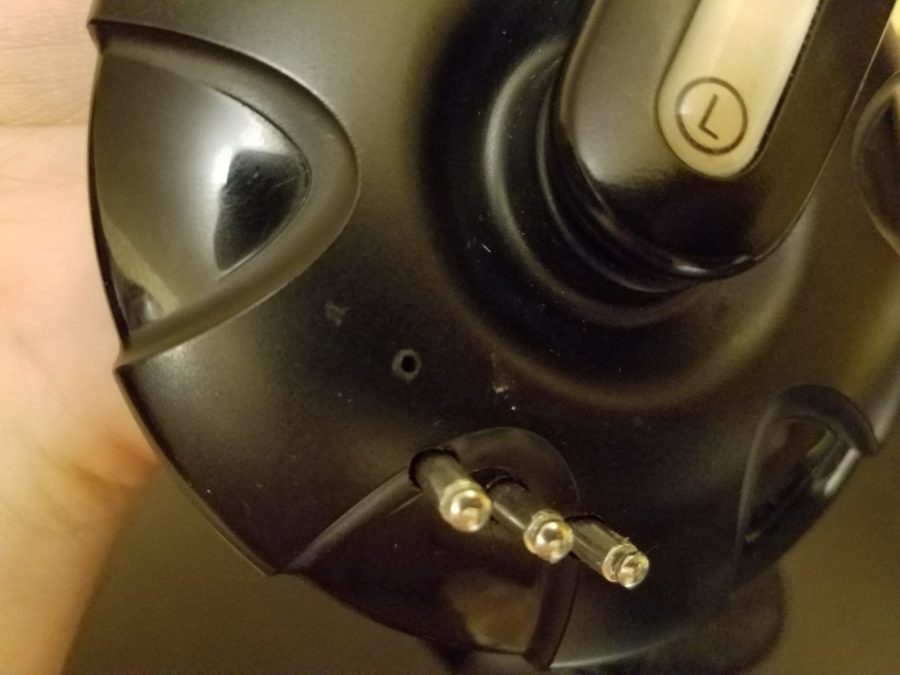
It's time to get busy with the buttons. I thought for a long time what to make them from. There was an option with both plastic and wood, but then the most ordinary rivets caught my eye. Let's add some steampunk. The buttons will be riveted.
We measure the length, and cut off the excess. It turned out that almost everything would have to be cut off. Let's leave only a small piece, which will press the button on the board.
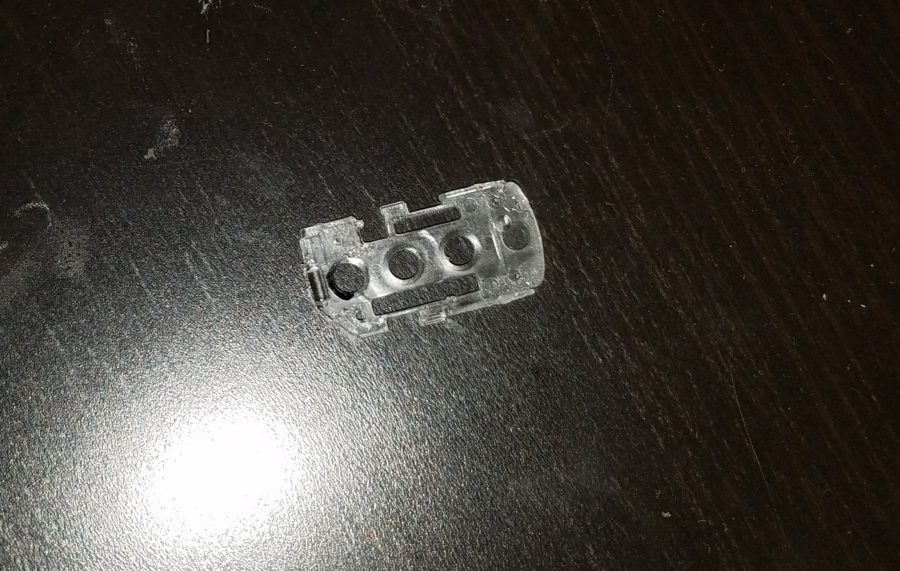
Now we are trying to figure out where to drill the holes. Then we drill using the inner plastic stencil from the headset as a template.
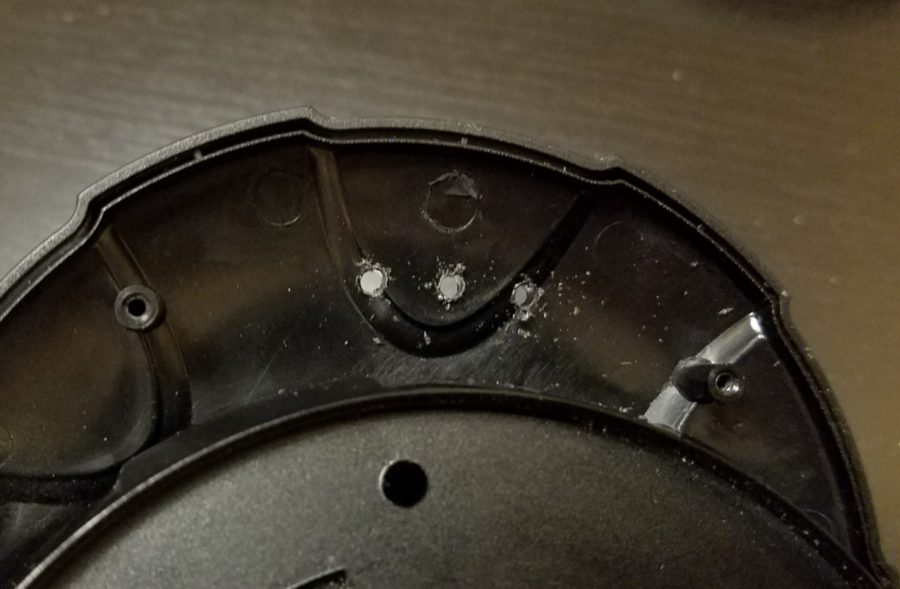
Trying on – everything fits.

Do not forget about the microphone – we drill a hole for it. But I didn't make a hole under the light indicator – I don't like light indicators on headsets.
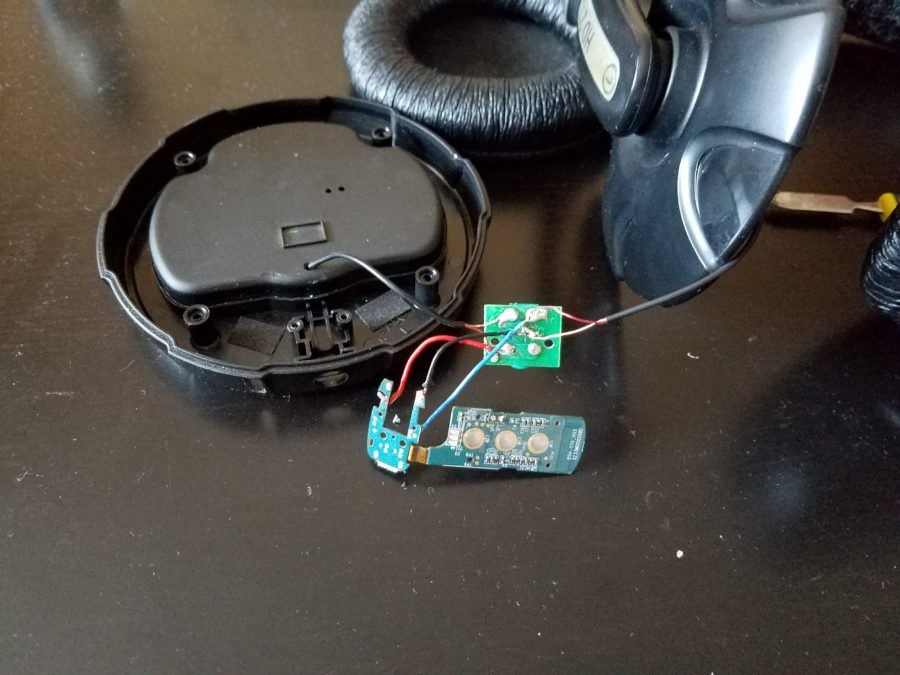
Before assembly
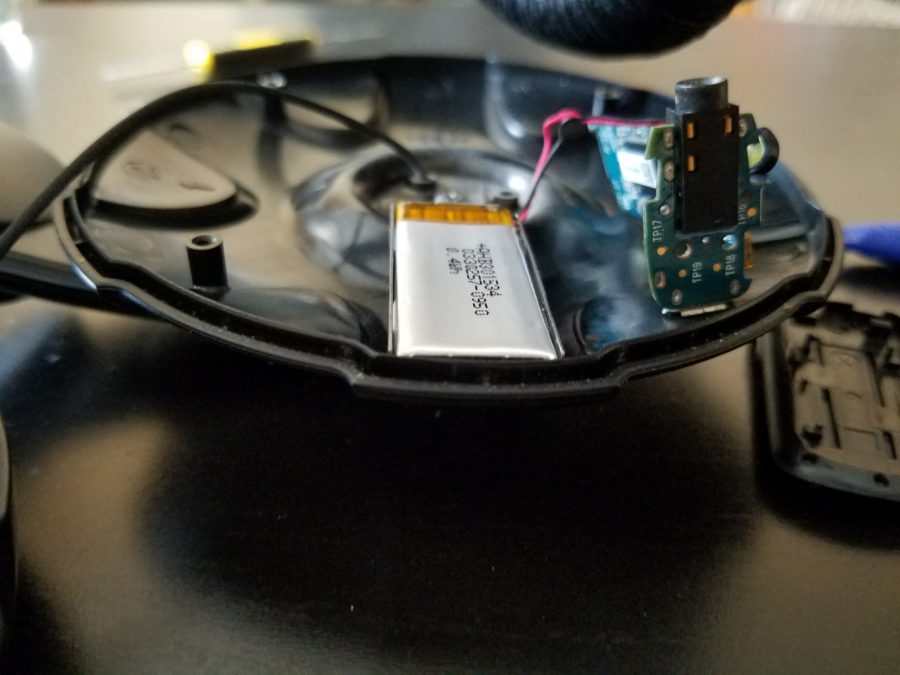
A board with a microUSB connector needs to be securely fastened as it will often experience severe stress when connecting a charger. Fill it with epoxy. Holds on.
Last fitting
Now you need to put everything together. To do this, we collect everything as it should be.
Closed!
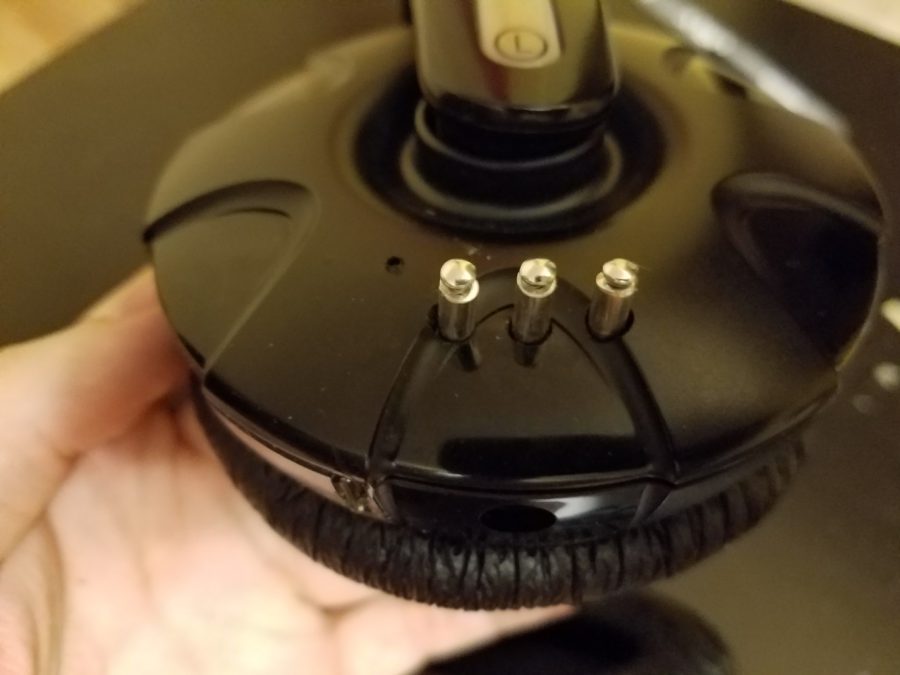
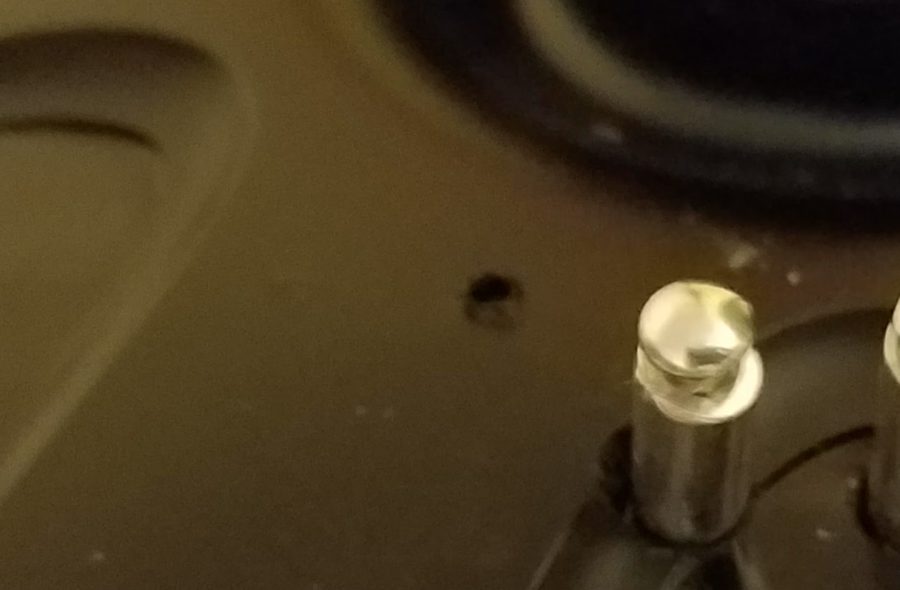
Unfortunately, when drilling one of the holes, it turned out not quite exactly, and therefore one button turned out a little obliquely. It will be necessary to disassemble and correct later. But that later. ?
And here is that sloppy slot for the charging connector, for which I am ashamed …

Now is the time to admire the work of your own hands, and go to please your brother with a new gadget!
Conclusion
This is how Frankenstein turned out with steampunk elements.
Due to the age of the battery, the headset lasts about two hours in playback mode. During a conversation, the audibility is not the best, since the microphone is now in the headphone housing, and is far away. On the other hand, this is not the most critical drawback for a home gadget. The main thing is that the brother is happy.
Does this make economic sense and benefit? Definitely not. Why then? Because I like it, because a hobby.
Don't be bored and catch the last days of summer!