Hello!
We continue the series of articles on self-repairing devices at home. Unlike the previous repair article, in which I described how to replace the touch glass with iPad mini, which was quite easy, today there will be a much more complex repair.

In most modern devices, the display module is a single whole, glued into a kind of sandwich without an air gap between the touchscreen, protective glass and the matrix. If the protective glass of such displays is damaged, the entire module has to be replaced, which is often quite expensive. For example, the display module on the Samsung S6 currently costs an average of 10-12 thousand rubles, which is very expensive. And this is the price for the master. It will be even more expensive for the client.
But, as they say, the need for invention is cunning. There is a way to save a lot – to replace the glass separately.
It is much more difficult than changing a module, but also significantly cheaper. Including all costs associated with the purchase of the necessary spare parts and materials, such repairs will cost an average of 2500 rubles. which, you see, is cheaper than 10,000-12,000 rubles. The second replacement will be even cheaper, since you will already have the necessary materials and tools from the first time.
There is one caveat – at first, when you are just starting to do this, it is better to use devices with Amoled displays as test subjects. During the repair process, a photopolymer is used, which in IPS displays often flows under the back shielding layer of the backlight, and streaks and stains become visible on the display, which are quite difficult to remove. Amoled display is devoid of such a drawback, since it does not have such a layer, due to the lack of backlight as such.
Let's get started.
Tools and materials
For this type of repair, we need specific tools and materials.
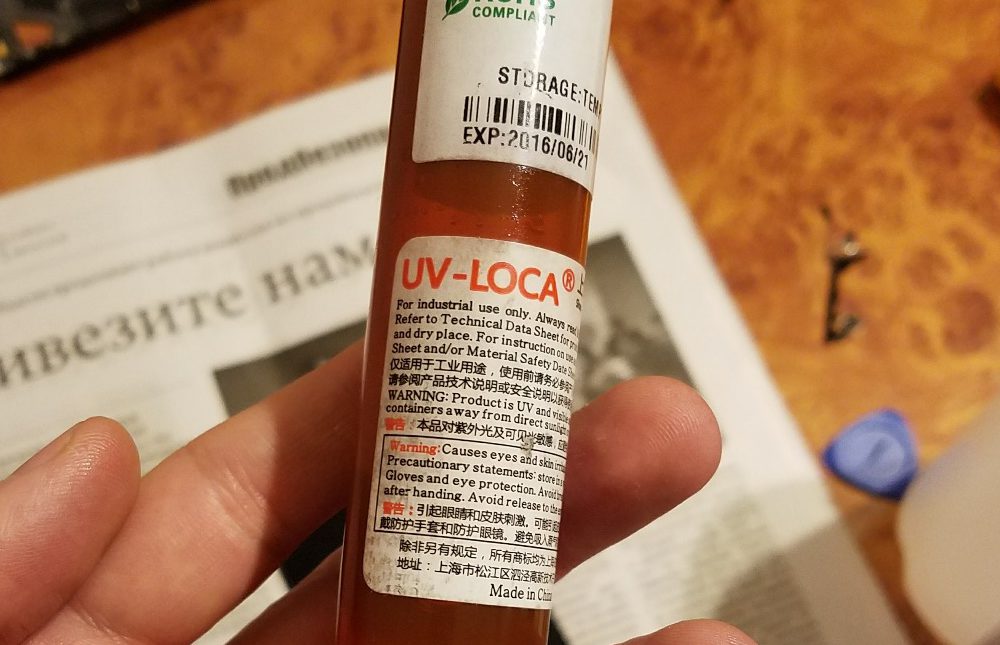
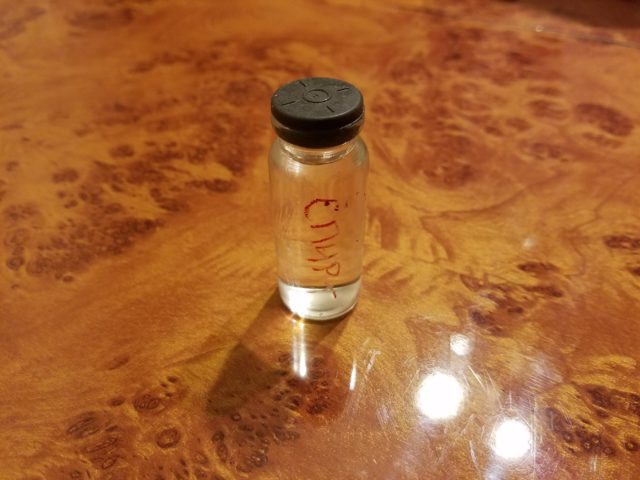
The most important thing is photopolymer. This is the main consumable you will need. I prefer to use 'Loca' polymer. This is a liquid glue that hardens under the influence of ultraviolet radiation, while turning into a transparent gel.
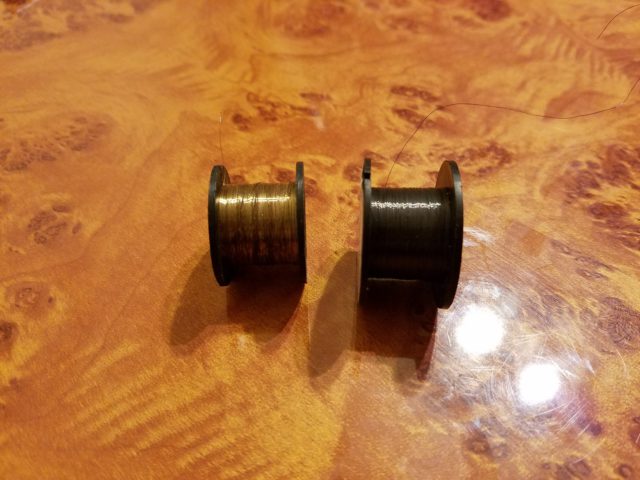
 A molybdenum string for separating display modules (in various video instructions, people use a wide variety of objects for these purposes, ranging from plastic cards to metal rulers and stationery knives). I highly do not recommend engaging in such an amateur performance – the risk of damaging the matrix is very high. There are several types. In my case, gilded and etched. I prefer gold plated.
 Plugs and picks and a good old screwdriver set.
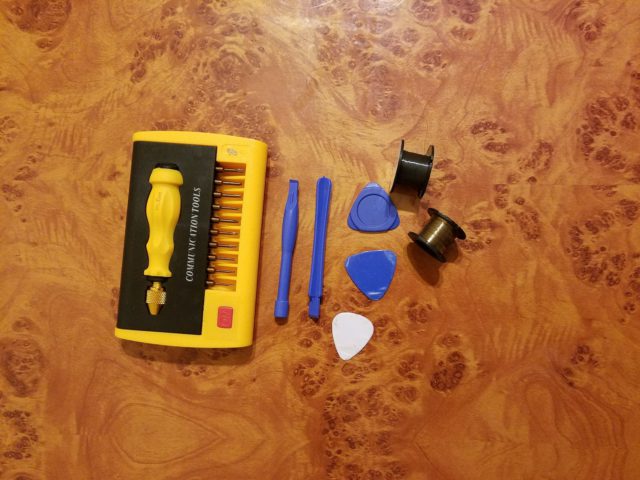 Clothespins.
Lint-free napkins (many).
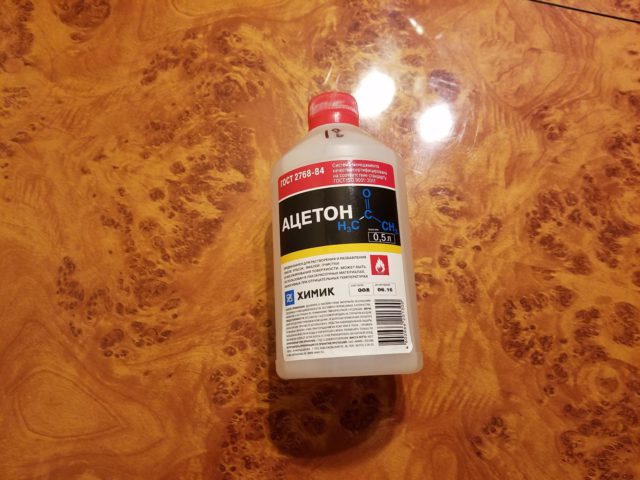
Special liquid for removing glue residues (ideally). I replaced it with acetone and solvent).
UV lamp. 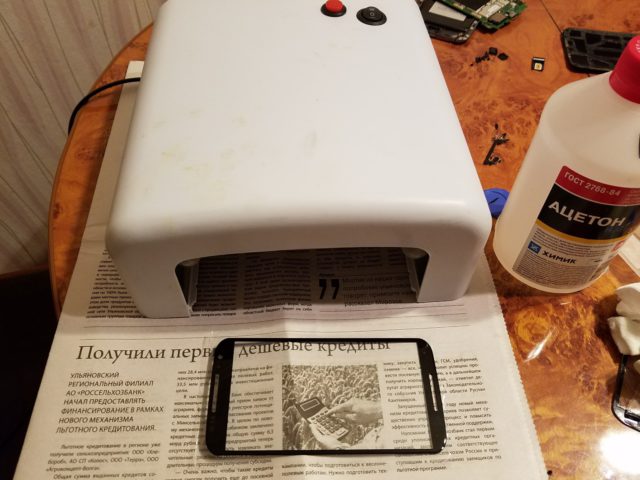
Repairs
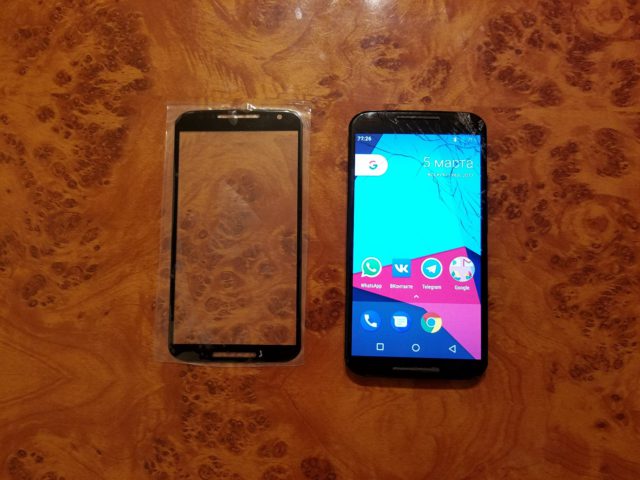
In an article from the cycle 'Not for Russia' I promised to tell you about this device from the point of view of repair, which is why, as a patient today, we have Motorola X 2nd gen., Whose protective glass is broken.
Dismantling the device
A feature of this model is that the back cover is glued to the body with double-sided tape. Before disassembling the device, turn it off and take out the SIM tray. Unstick the back cover after heating it with a hairdryer. In order to pry it off I use a needle.
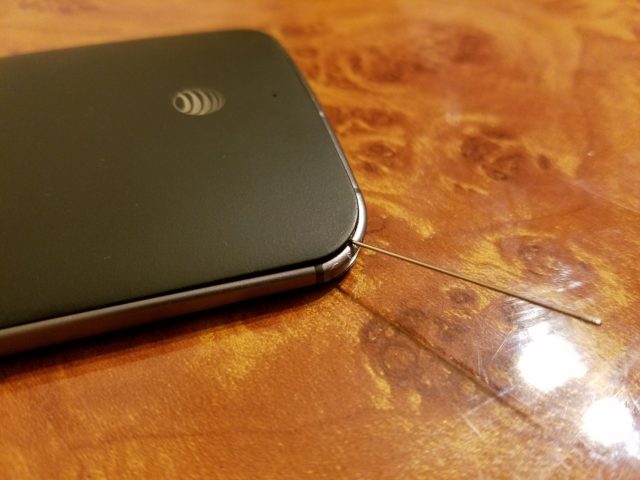
You can use a thin card or a blade (blunt edge).
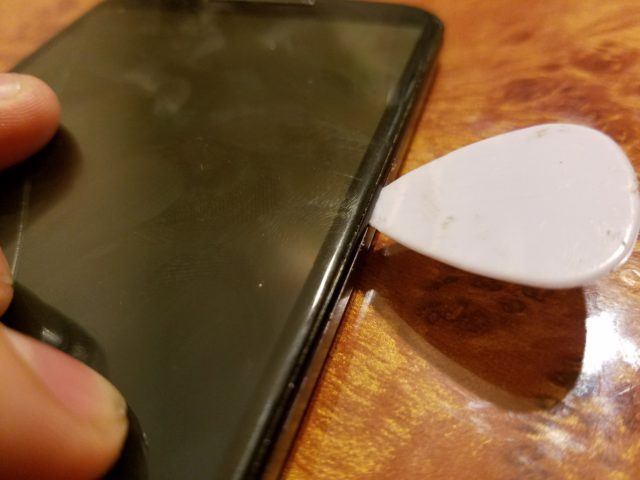
After raising the corner of the lid, we continue to open the lid with picks around the perimeter.
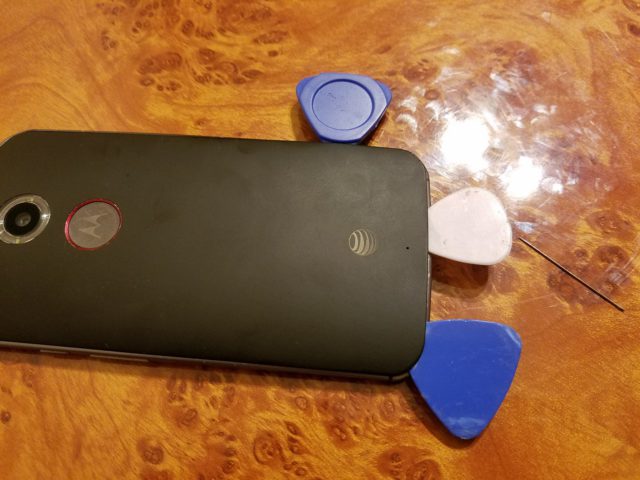
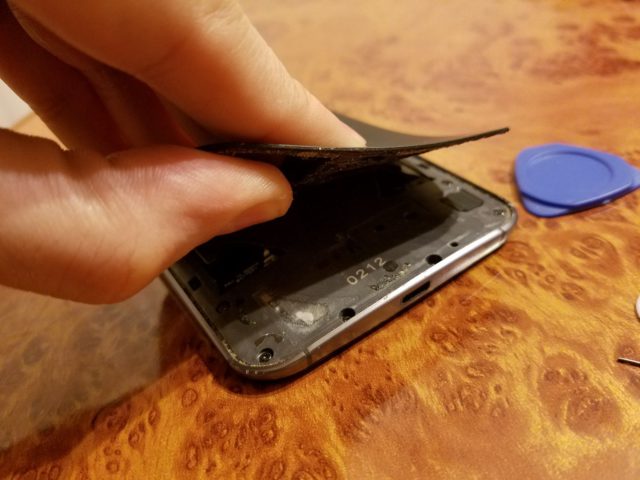
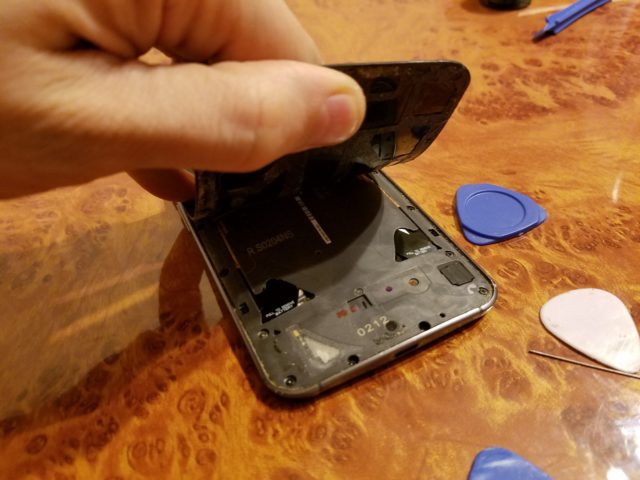
There is a nuance – the body consists, as it were, of petals, so you need to peel off from bottom to top to the middle, and from top to bottom, to the middle. Important: on the left you need to be extremely careful, since there are nfc cables and volume and power buttons. Don't damage them.
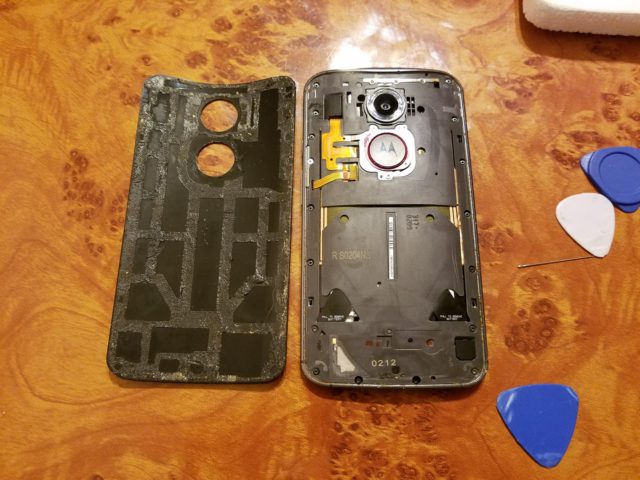
After peeling off the cover, remove the plugs for the button cable and the battery connector.

Disconnect the battery and button loop connectors.


Then, using a T4 screwdriver, unscrew 16 screws around the perimeter and two on the sides of the camera.
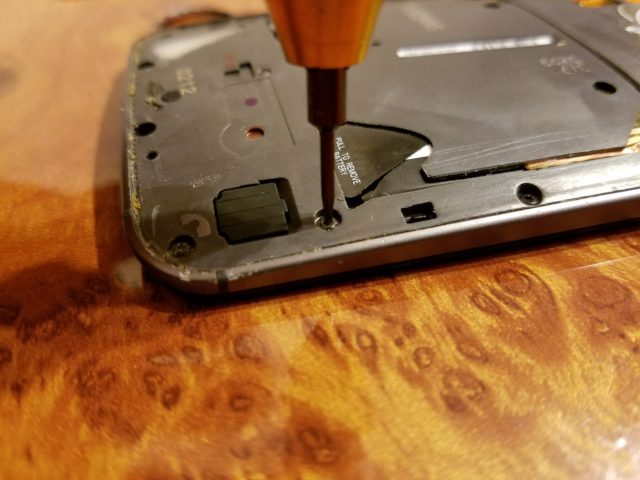
We don't touch this screw, it holds the power and volume buttons.

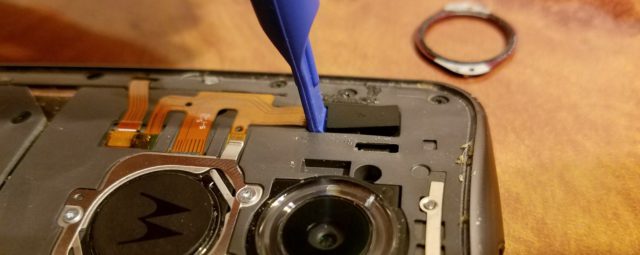
After that, we separate the metal case and the plastic frame of the display using a connector or a pick. Important: do not push the connector deeply – you can damage the internal elements.
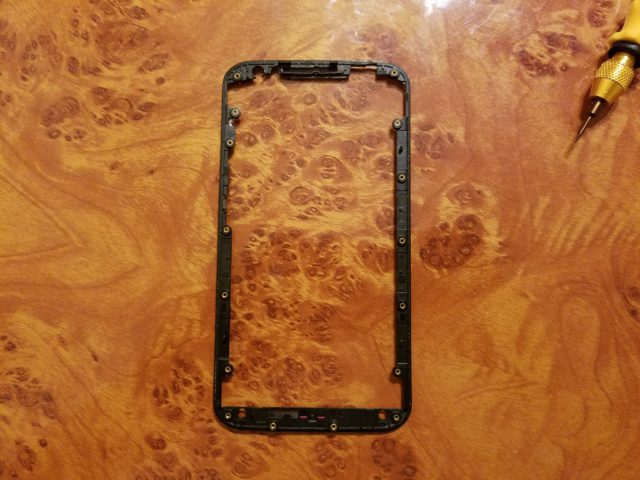
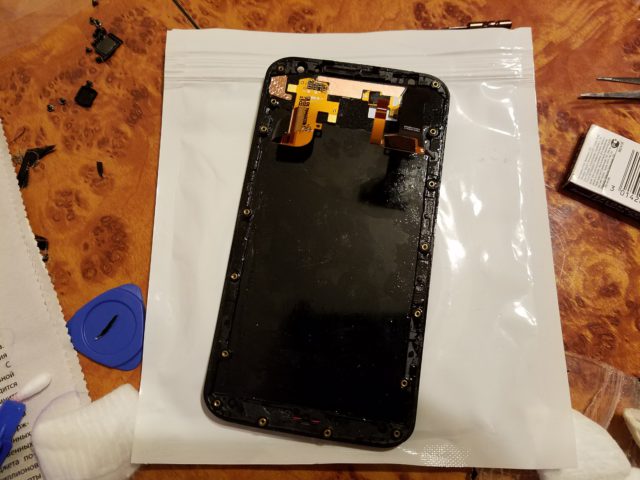
After removing the main frame, we get access to the motherboard fixed to the display frame.

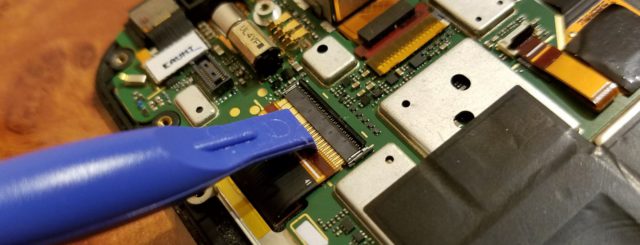
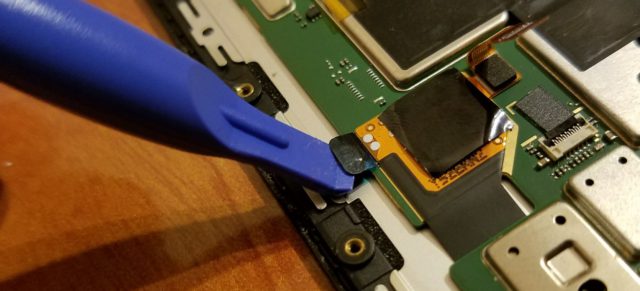
To remove the motherboard, two ribbon cables must be disconnected. Having unfastened the locks of the loops, we remove them by hooking them onto special seals. Do not drag by the edges of the cable, there is a risk of damage.


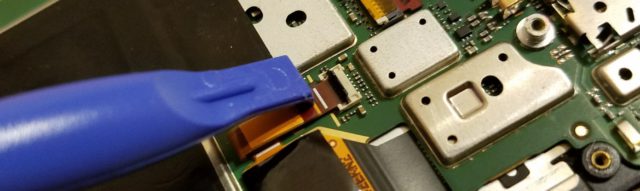
The touchscreen cable is glued to the motherboard. To remove it, there is a special tab.
After the loops have been unfastened, the motherboard must be removed from the fasteners in the form of latches at the top and bottom. I do this with a detachable piece, only unbuckling the bottom. The board is then released and easily removed.
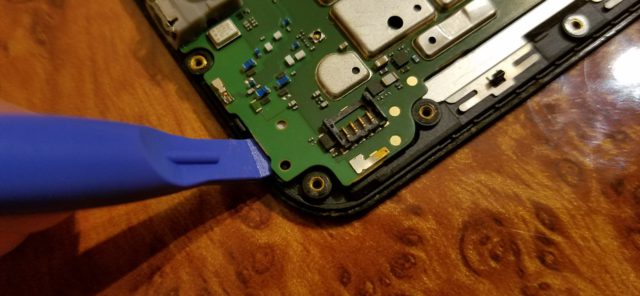
Then carefully remove the motherboard and the metal plate underneath. The plate is also latched. Be careful, do not rush, otherwise there is a risk of damaging the cables with this plate.
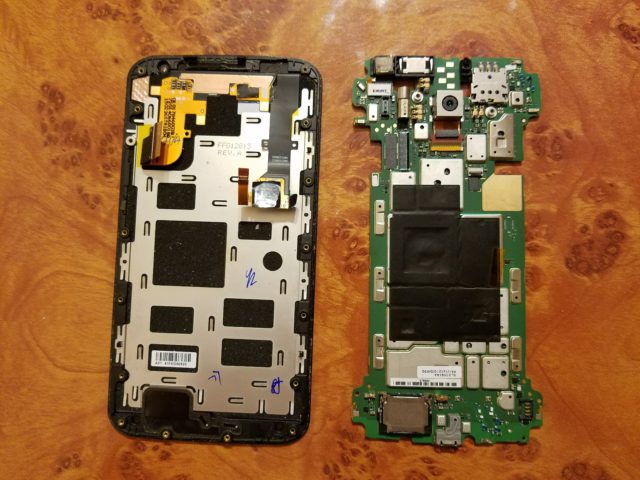

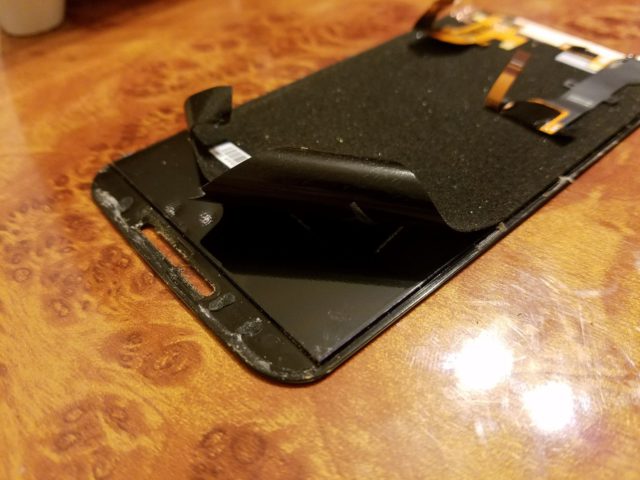
Next is a very crucial moment. It is necessary to separate the plastic display frame from the protective glass. They are glued together. The module must be warmed up before separation. Then we very carefully pry the frame and slowly, moving around the perimeter, peel off the frame from the glass. Important: do not press on the matrix. To do this, do not insert the connector deeply and do not use the matrix as a support for the lever.


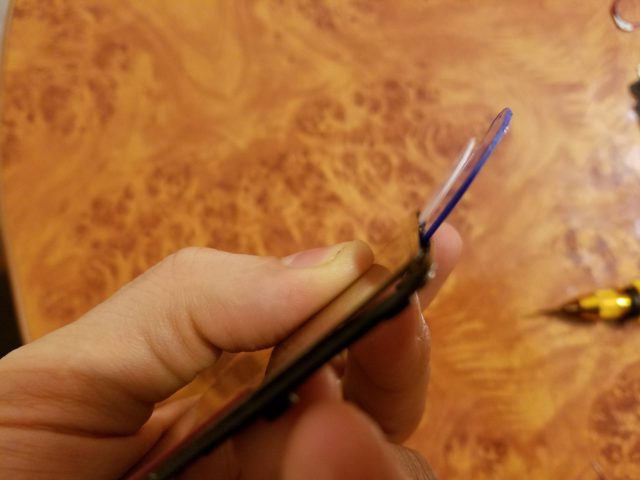
After peeling off the frame, you need to peel off the cushioning layer from the inside of the display. I do not peel it off completely, cutting it off near the trains, since it is dangerous to bend the trains in this place. It is better to cut the shock absorbing layer than to break the train.
After the frame is peeled off, the most important part awaits us – cutting the module.
We cut the module
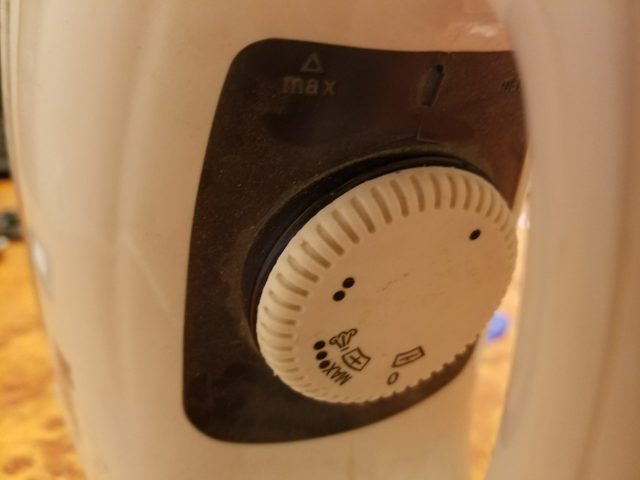
For this there is a special equipment – a separator. But, since we have a home, non-commercial renovation, it makes no sense to buy it, because it is quite expensive (about 7-10 thousand). I use an old iron for this.

You must first prepare the string. We unwind the desired length (so that the working part is 10-15 cm), and fix it with something. I just wrap one end around the screwdriver and hold the other end by the spool.
Then, at the minimum (or slightly more) power, we warm up the module on the iron.
Use gloves to avoid scalding. After the module is warmed up, we take our string, and carefully, from below, where there are no plumes, we wind it between the glass and the matrix, providing tension on the glass.


Take your time. There is a risk of catching the polarizing layer. Then, with the string inserted, I put the module back on the iron (see photo), and begin to slowly cut the module. Important: don't do as I do – don't put your fingers on the matrix.

Broken pieces of glass will fall off during the cutting process. Never mind. And, again, do not allow pressure on the matrix and its bending. Better slowly, but with a positive result. At the end, in the places where the loop connects to the matrix, be careful not to snag the loop contacts.

After the module is cut, you need to check it. To do this, we connect the battery and the motherboard to the matrix and conduct a test run.

The matrix is alive, the touchscreen too. Hurrah! Moving on.
Rebuilding the module
After the matrix has been tested, we have one of the most disliked parts of the process – cleaning from the glue. I advise you to purchase a special liquid for removing glue residues. Sold in specialized stores. I used a thinner.
Slowly, unhurriedly, centimeter by centimeter, we clean the matrix, excluding strong pressure. Very neat.
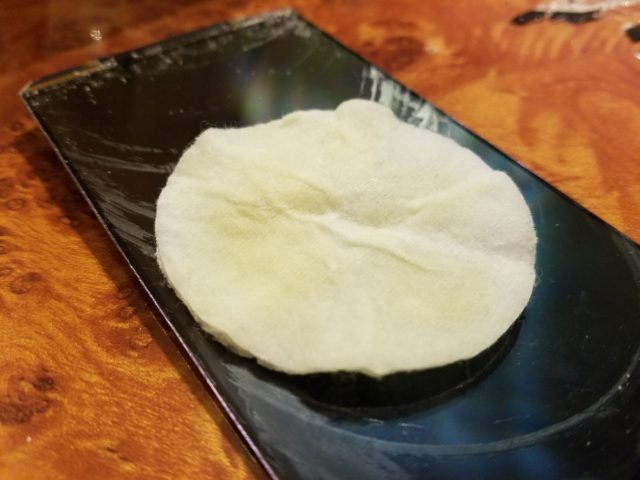
After the matrix is cleaned, wipe it with an alcohol wipe.

Make sure there are no debris or hairs on the matrix. After filling with gel, it will not be possible to remove them.
For most popular models, there are special forms in which you can fill the module correctly so that it does not slide to the sides. For the Moto X2, this shape isn't easy to find. Therefore, I use the native display frame as the form.
Pour the glue so that no bubbles appear. Pour a little more in the upper lower parts. If bubbles appear, they can be removed with a sewing or medical needle.

After the glue has been poured onto the matrix, we take our new glass and, without turning it upside down, remove the protective film and gently bring it to the glue until the glue touches the glass. After that, we slowly begin to lower the glass onto the glue, being careful. so that no bubbles form. To do this, we do it slowly and carefully. (unfortunately, due to the need to do everything accurately and quickly, there are no photos of the process.
After the glass is applied to the matrix, let the glue spread over the entire surface. Do not be alarmed if the glue comes off the edges. Then you can easily remove the excess. The main thing is that it is enough to fill the entire display area.
If there are corners and edges on which the glue has not spread, we help him to do this by lightly pressing the matrix against the glass with our fingers. Our task is to make sure that no glued places are left under the glass. After that, we put on our frame and align the matrix on the glass with it.
Next, our task is to make the glue set. To do this, I removed the bottom of the stove and just cover the module with it. A few seconds are enough for the glue to set. Then you can level the module in the oven and leave it to bake. How long should the module be kept in the oven? I think that it is better for a longer time, and from all sides, in order to exclude further polymer leakage along the edges. In this case, the module was baked for 20 minutes.

After the module is baked, we take it out of the oven and remove the excess glue with a plastic spatula, and then send it back to the oven for a couple of minutes.

Next, our task is to glue a plastic frame to the module. I use B6000 glue for this. You can use another. The main thing is that the glue holds very well, since in this model you can often find complaints that after replacement the module does not hold and moves away from the frame. This may be due to the fact that the module was poorly glued to this very frame.
We glue the module and the frame and leave it under pressure. You can use ordinary clothespins as a press. I didn't have any clothespins, and I just installed the frame to the body and pressed it down with a load.

After the module with the frame has been laid under the press and glued together, you can assemble the device and enjoy the restored phone and the saved money.
Before assembling, I highly recommend checking the case for buckling. The peculiarity of Moto X2 cases is that after impact, the case can bend. It's easy to check – place the case against the glass and make sure that all four corners touch the glass and there are no gaps between the surface and the case. If there is a bend or gap, bend the metal frame in the opposite direction.
Another important point. I recommend assembling gradually. That is, screw in the screws alternately, starting from four corners, and not to the end, but gradually passing along the perimeter and tightening them to the same position. This way you will avoid bending the case, and therefore the risk of getting a crack on the glass.
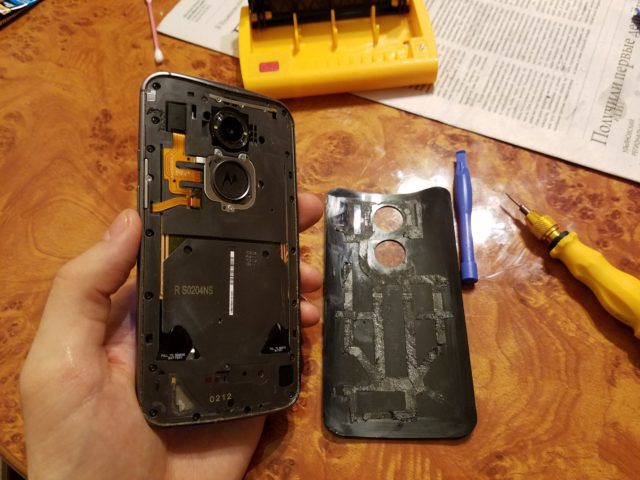
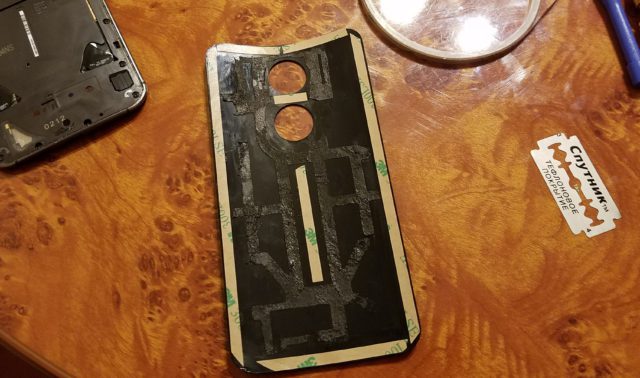
Before sticking back the back cover, I recommend that you remove all the old tape from it and replace it with a new one. I did not change all the scotch tape, as the bamboo cover for this device is coming to me. This will make it easier to remove the lid when the bamboo arrives.
We glue the cover in place, turn on the device and enjoy the whole display for little money.

Conclusion
The described repair method is not always advisable. In this case, the cost of the new module will be the main factor. First of all, pay attention to the price of the spare part. My first phone repaired in this way was my brother's Galaxy S4. Thus, I managed to save an impressive amount and acquire invaluable experience and knowledge, which subsequently helped me out more than once.
P.S. I want to note that repairs are not a source of income for me, and therefore my methods and my tools may seem amateurish to experienced craftsmen. I fully admit it. But this is the whole point – to make as budget as possible what others spend a lot of money on.