Hello!
One of the most frequently repaired phones is rightfully the brainchild of a well-known fruit company – iPhone.
Of the most common malfunctions, the first place is, of course, a broken display.
A lot of articles were written about repairs iPhone and a huge number of videos were shot, so I doubted whether it was worth writing about it at all. But when I saw in what condition they brought me another sacrifice of female hands, I decided that it was worth writing.
This article is not so much an instruction on the repair itself, but an attempt to take into account the nuances and hidden risks that a novice wizard may face, even having looked at the instructions for parsing on youtube. The problem is that most of these video instructions, more often than not, are only a conditional order of actions, a diagram, and do not take into account the little things. We will try to take into account the main risks.
Go.
Getting to know the patient
The device came to me in such a terrible state.
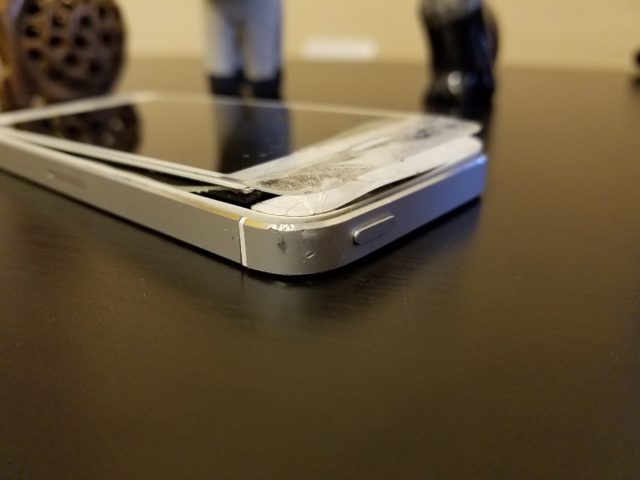
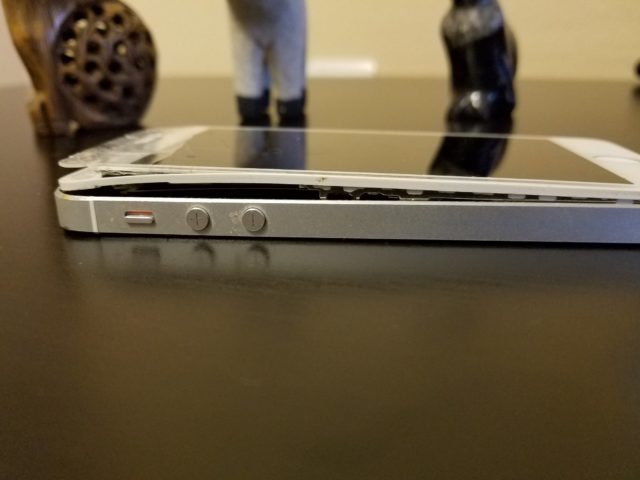
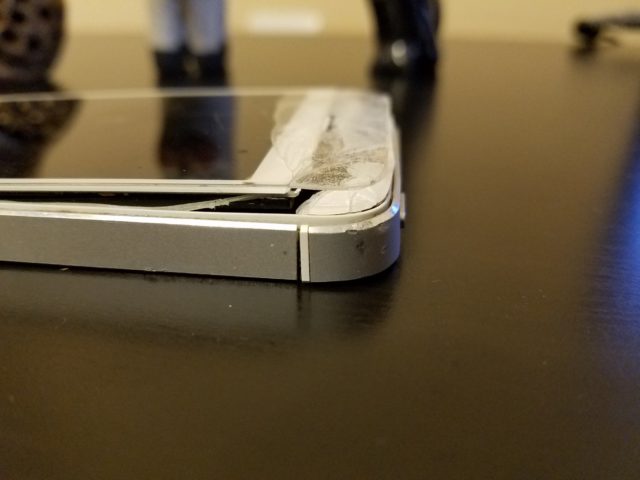
The phone seemed to explode from the inside. A scene from the movie 'Alien' appeared before my eyes.
According to the owner, the device has already been under repair. In the process of analysis, we will make sure of this with you.
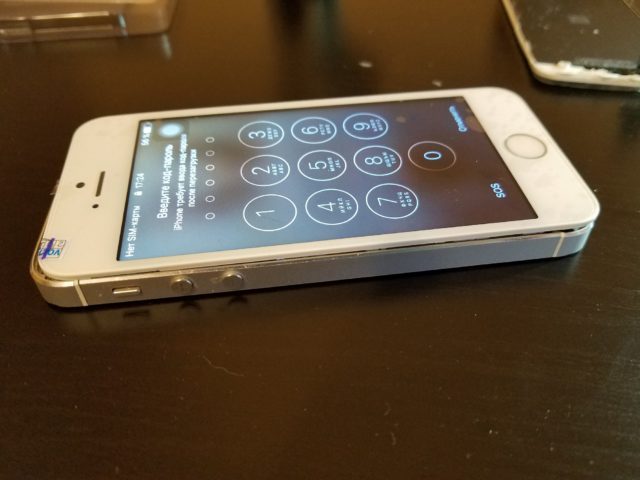
The owner announced that the phone had a broken display. Upon initial inspection, it became clear that the case was not limited to one display. We also need a new battery. In addition, I had to glue the case – the gap can be seen in the photo above. As for the rest, we'll see in the process.
Spare parts
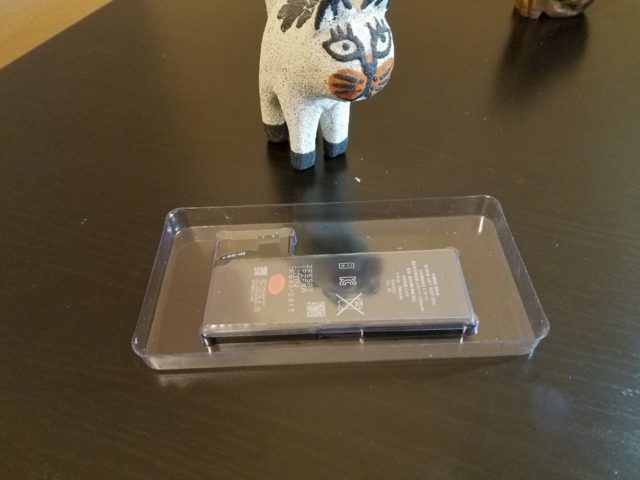
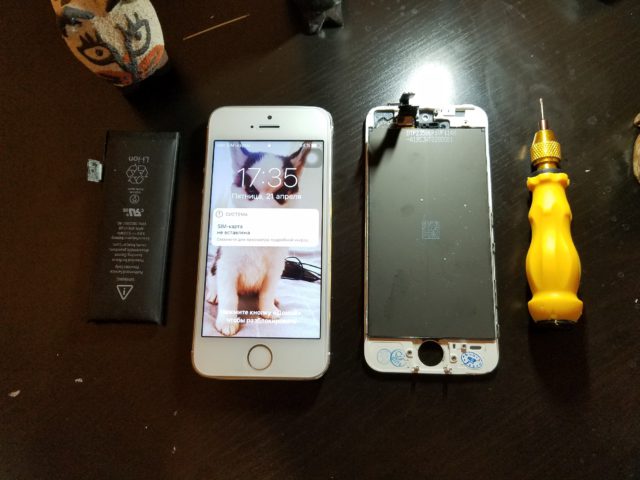
First, I bought a new Chinese module and a new battery.
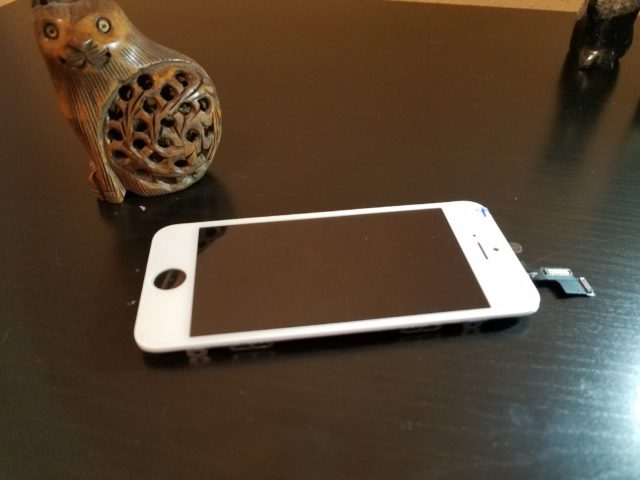
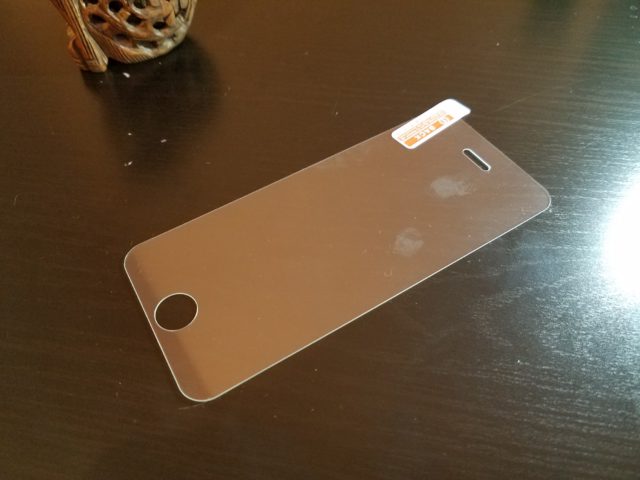
I draw your attention to the fact that recently, in spare parts stores, you can often find very inexpensive modules for the fifth generation iPhone, which are often tempted by many craftsmen. Keep in mind that often, such inexpensive modules turn out to be slightly thinner than the original, since they are devoid of protective glass, and therefore, after installing such a module, the 'Home' button may protrude above the glass. To solve this problem, I immediately bought a protective glass, which compensates for the insufficient thickness of the new part.
To open iPhone, we need a connector and only two screwdrivers. Small five-sided star and Philips.
In addition, given the manic love of engineers Apple for hardware of various sizes, for repairing apple technology, I stock up on a separate tray on which I lay out the screws in exactly the same sequence in which I unscrew them from the device.
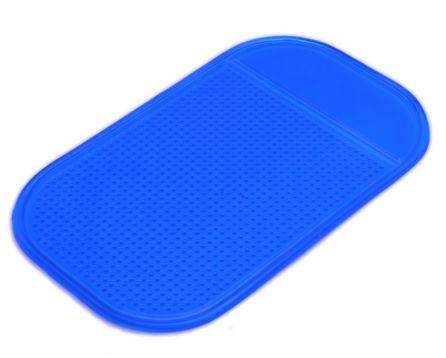
For these purposes, you can also use a sticky car mat, or something similar, from which the screws will not roll. It is better if it is in light colors – the screws will be better seen.
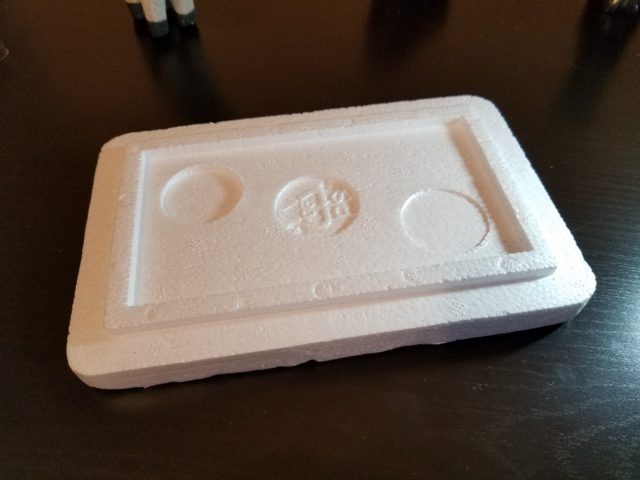
In my case, this is the cover of the foam tray from the display module, which is not as convenient as the rug, but I already remember by heart where the screw is in iPhone.
Unfold the screws exactly as they are in the device. This will greatly facilitate the reassembly, in this case you do not have to think – where was this or that screw …
Opening
Well, are we opening it?
Sister, scalpel … Clamp … Alcohol … What am I talking about? Oh yes, a screwdriver and a connector!
Unscrew the two housing screws at the bottom with a star.
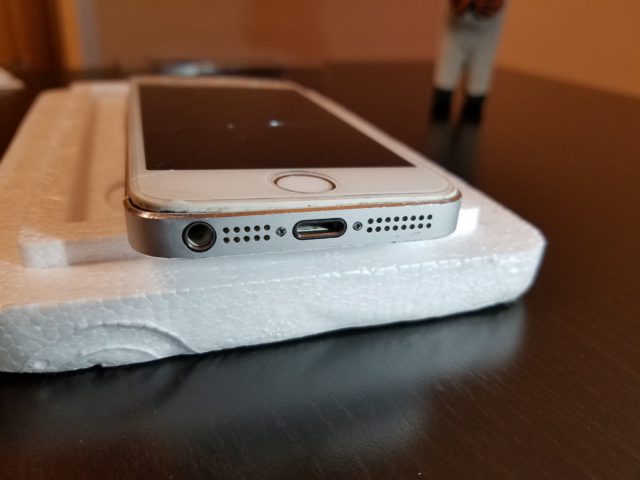
We pry on the plastic frame, and gradually, moving along the body, we disconnect the module.
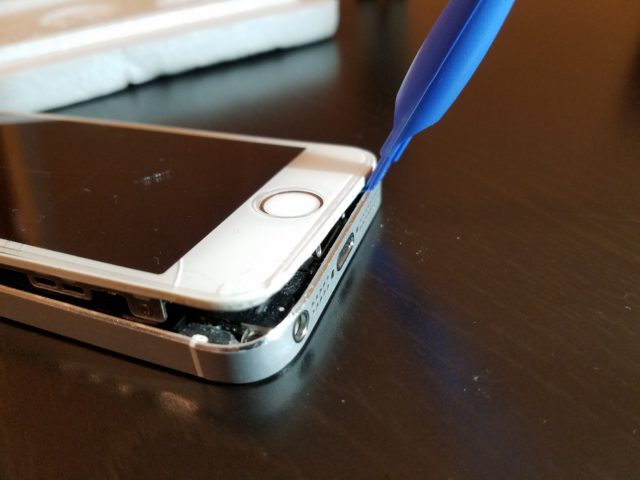
In this case, the phone was literally blown up from the inside, so it was easy to separate the matrix. In other cases, the separation should be done gradually, starting from the lower left corner. There on the frame there is a special groove for which it is convenient to pry the module.
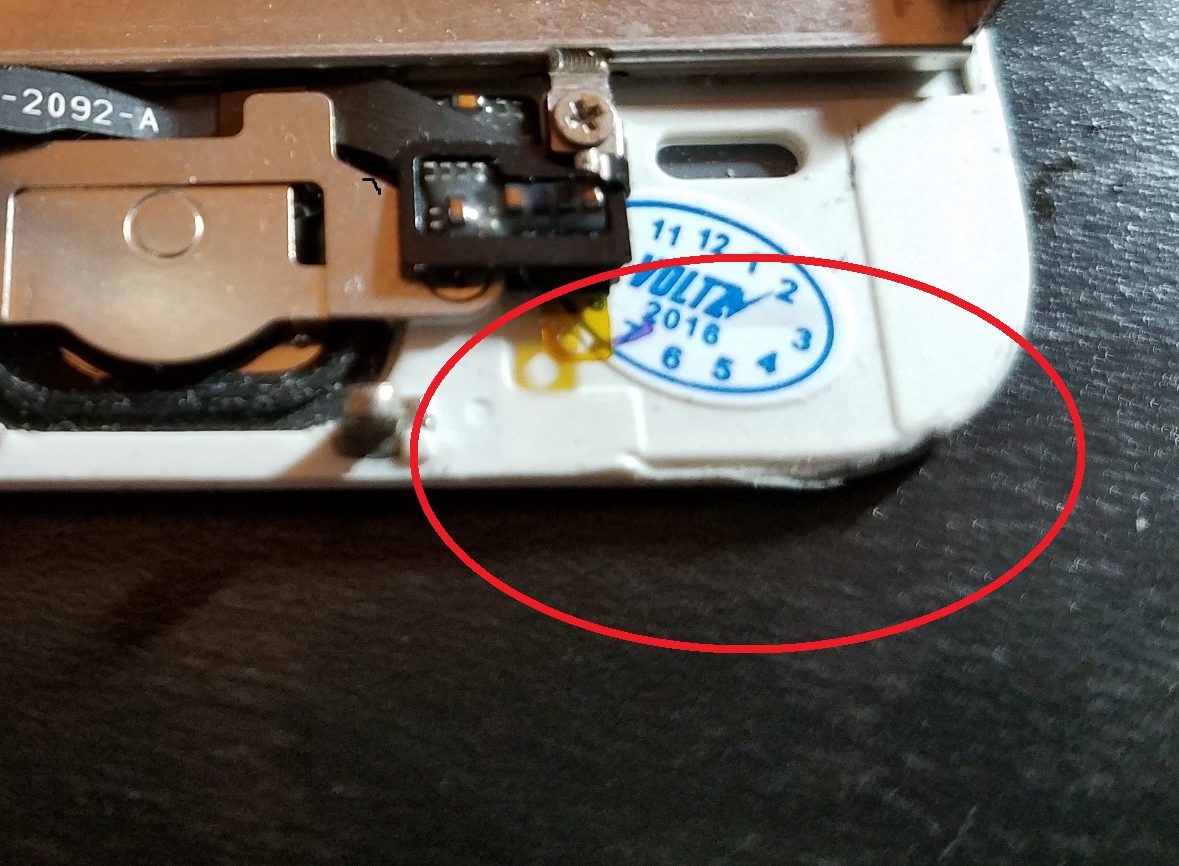
Make sure that the frame is unfastened, and not the glass separately. It is important.
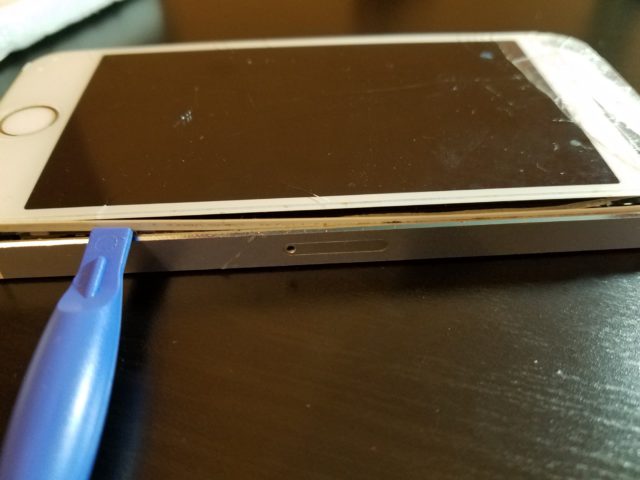
Please note that you should not pull the module up too much – you risk breaking the home cable with 'touch id', after which, even if you buy a new button, the phone will no longer recognize fingerprints. Non-original buttons do not pass identification in the device and work like a simple button, without a fingerprint scanner.
Raising the module slightly from the bottom, pry on the button connector and unfasten it. Above the connector, there should still be a metal bracket-stub, which the previous master, apparently, safely lost. Not scary. We will do without it (although usually I try to do everything as completely as possible).
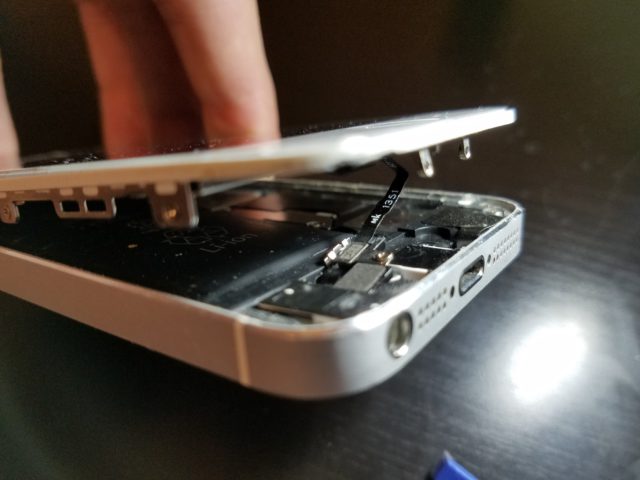
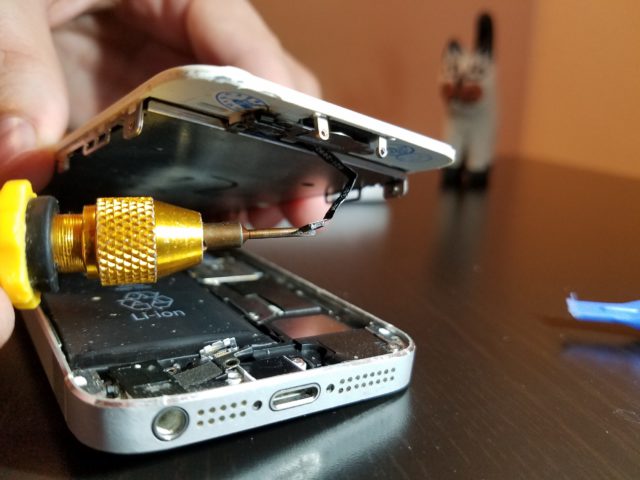
After the module is open and the button connector is unfastened, lift the module like a box lid (in the upper part there are loop fasteners).
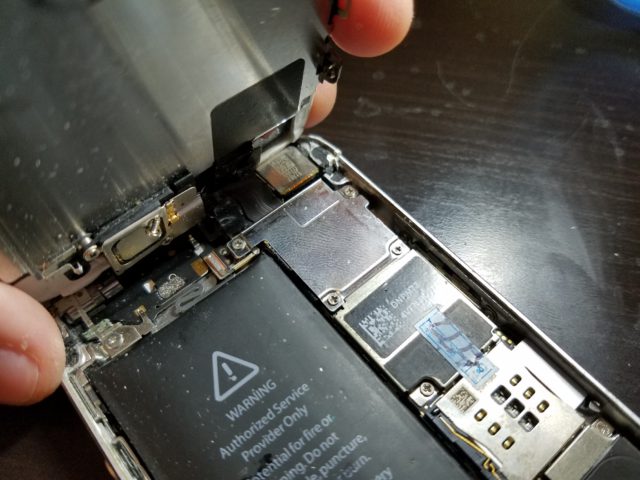
In this case, apart from the swollen battery, the phone seems to have survived a strong blow, since some of the screws were knocked out of their slots and dangled inside the case. We do not lose them.
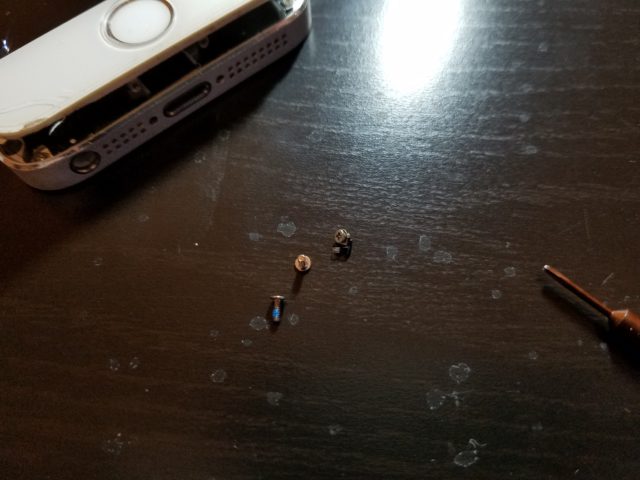
Note that Apple likes to use compound screws. This is when one screw holds the first layer of parts, while it has a thread in the head, into which another screw is screwed holding the second layer of parts.
The connectors of the loops are covered with a plate fixed with four screws. We unscrew them and put them on the tray in exactly the same sequence. In this case, the previous master mixed the screws in places, and screwed one of the screws in the wrong place. Because of this, the composite screw jammed, and it was unscrewed from the board completely, and not as expected, one from the other.
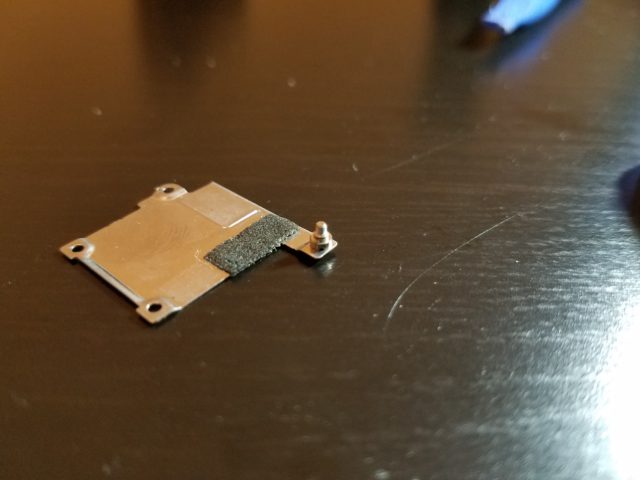
Let's not break what is holding and leave it on the plate. Then we will also screw it back.
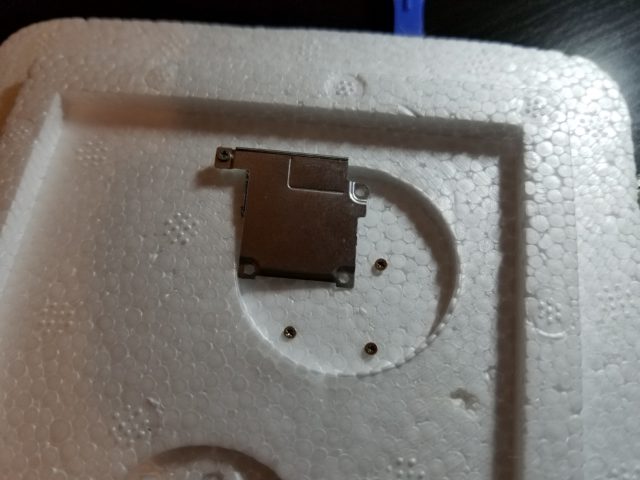
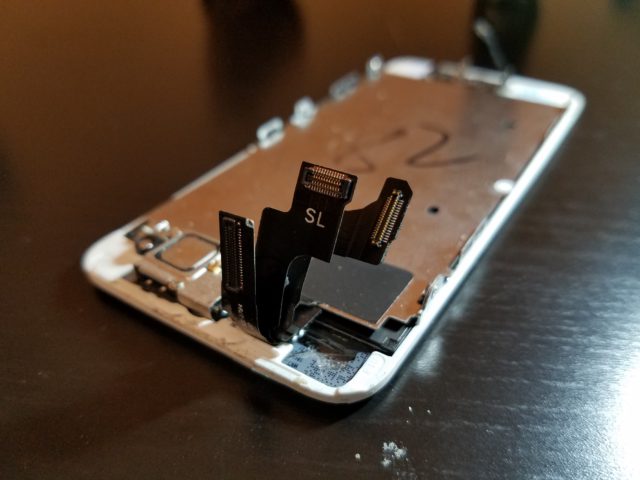
We unfasten the connectors and remember in what sequence they are on top of each other. Better to take a photo. It will come in handy.
Battery
Now our task is to replace the swollen battery.
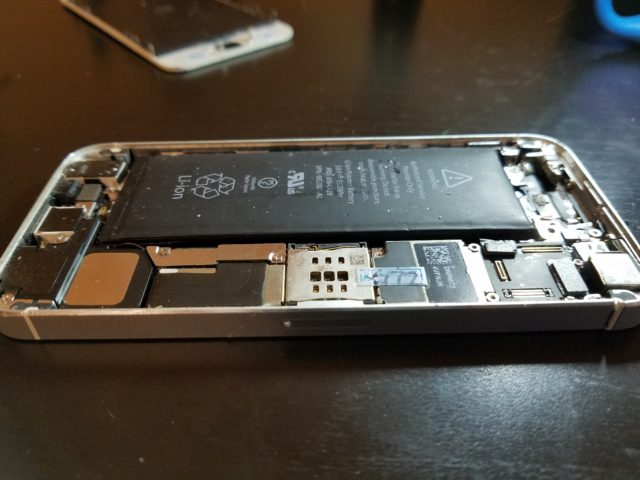
Unscrew the protective shield covering the battery connector.
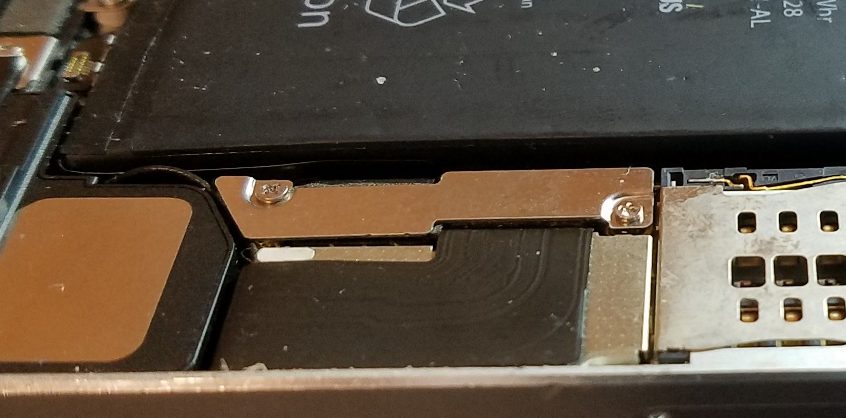
There was a strip of duct tape under the battery. The battery is not native. We pry it off and peel it off. Only with a plastic spatula – it was not enough to pierce it so that it would pop.
Compare the old battery with the new one – well, it swelled up. Not surprisingly, the display broke down and burst.
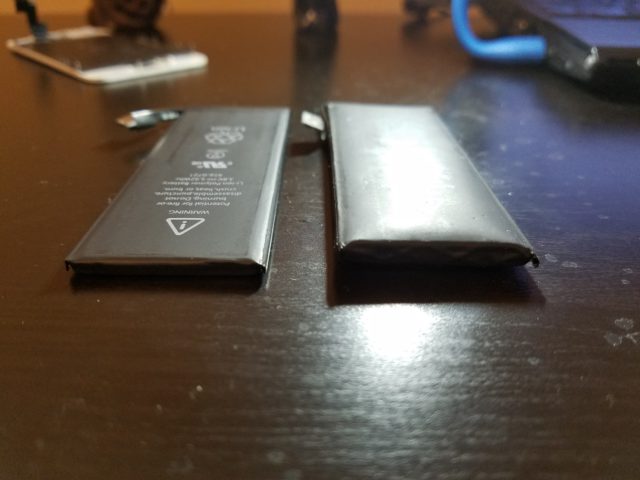
To prevent the battery from dangling inside, I will stick two small strips of scotch tape on the bottom of the case, top and bottom. Our task is not to glue the battery tightly, so that at the next replacement, the other master spits and swears, but just fix it.
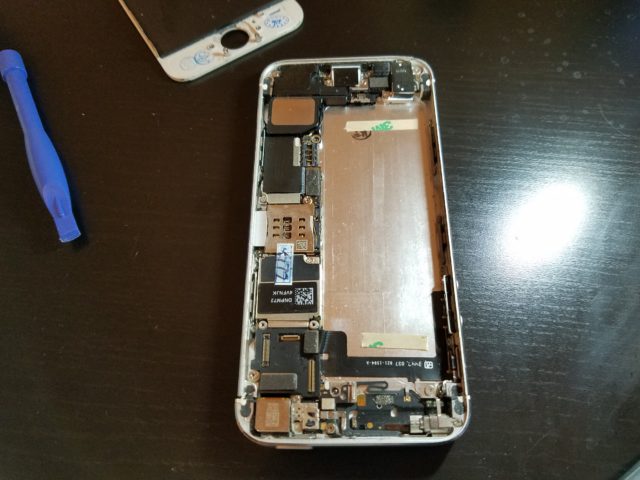
We put a new battery in place, and throw in a new module 'on snot' to check its performance. Works! Hooray!
Replacement and assembly
Now our task is to transfer all attachments from the old module. This is a home button, a speaker, and an external camera cable with sensors.
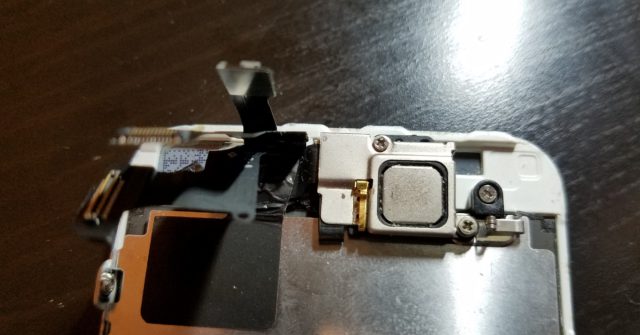
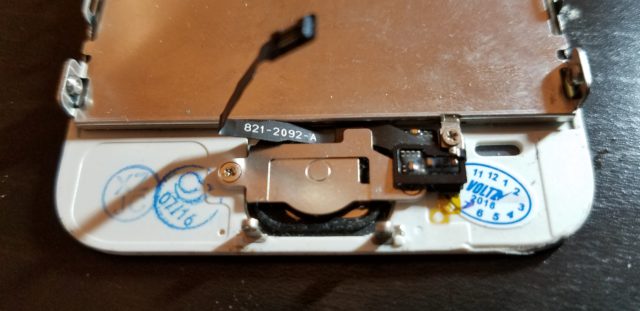
Unscrew the screws, remembering to lay them in the correct sequence on the tray. We also lay out auxiliary elements there so that it is clear where the screws are from.
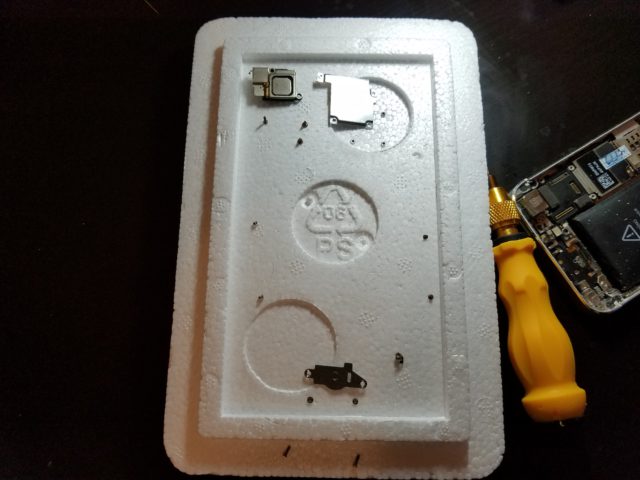
Before transferring everything to a new module, you need to prepare it a little. Inexpensive modules often suffer from poor-quality processing. In this case, I first transferred all the elements, and only then I remembered about the burrs. Do not repeat my mistakes – do everything consistently.
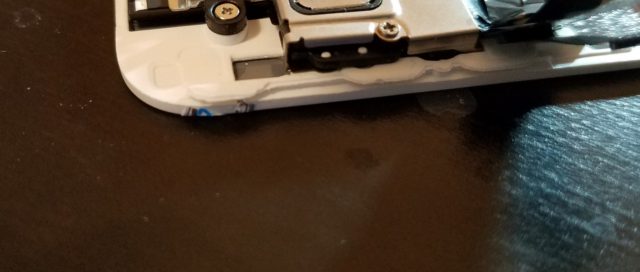
Our task is to remove unnecessary burrs and clean out the seats. To do this, you can use a file. I'm a risky guy (goof), I do it with a blade (don't do that).
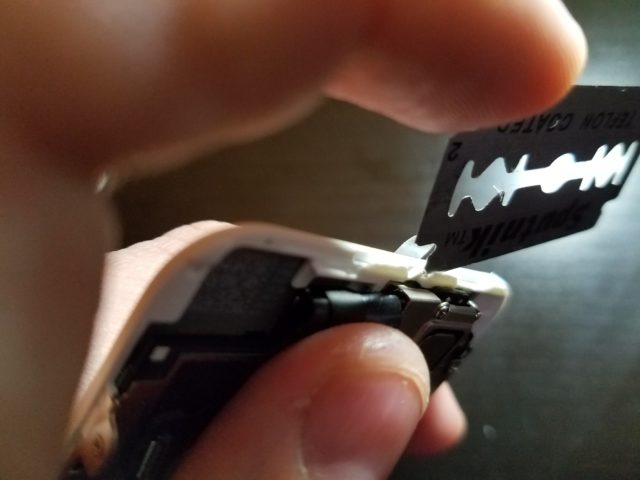
If you do not remove the burrs, there is a risk that the module will not snap into place. Please note that there is a protrusion in the center of the upper end of the frame, which should fit into the groove on the body. The protrusion needs to be processed.
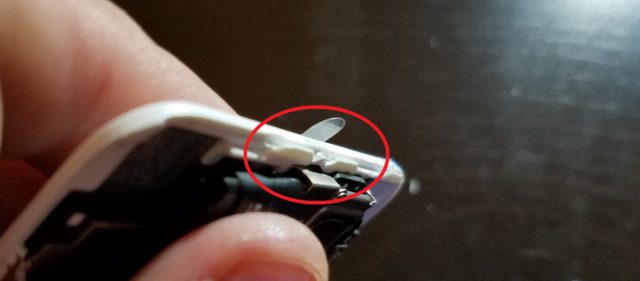
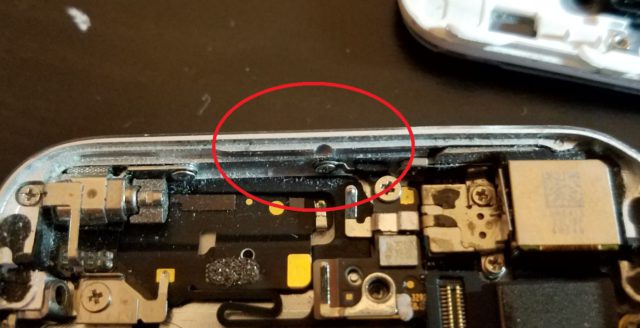
You can, of course, buy an 'original' spare part, where everything will be fine with processing, but firstly, where to get it, the original one, and secondly, how much it will cost … So, we continue to work with the file.
After the burrs have been removed, remove the red shipping film from the inside of the new module and transfer all the elements from the old module to the new one.
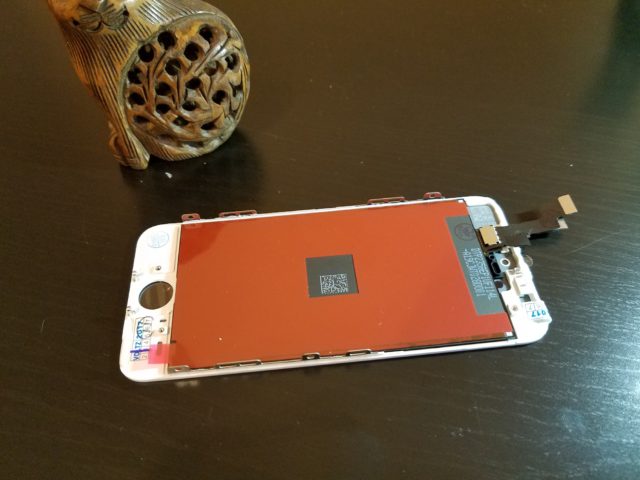
Pay attention to the plastic ring around the front camera. It must be peeled off and rearranged to a new module, otherwise the front camera will slide out.
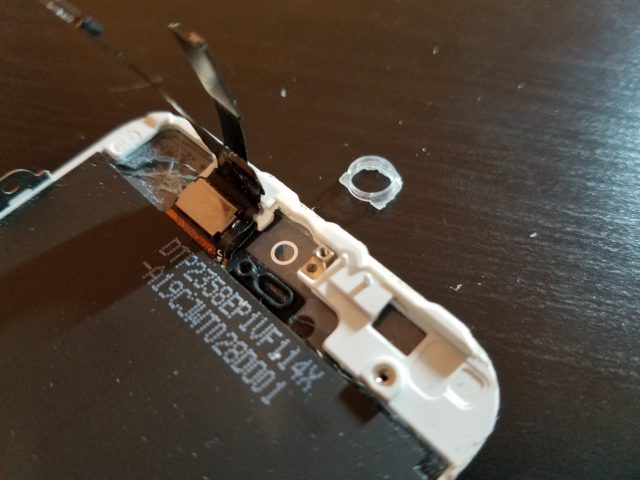
In addition, one ribbon cable is glued to a protective metal shield. I carry this cable, along with the protective screen, without peeling it off. It is more comfortable.
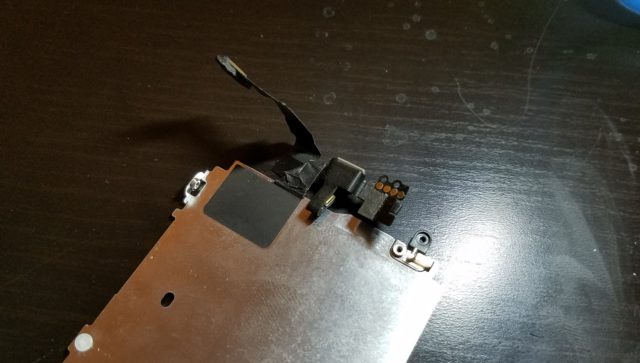
We screw everything back, not forgetting in what sequence it was on the old module.
Then, we put the new module to the upper end of the case. Remember how you opened it like a casket – that's exactly the same, only in reverse order. And, holding the module in this position, we fasten the connectors in turn.
Without changing the position of the module, we put the protective plate in place. Be careful not to damage the cables. We screw the screws into place.
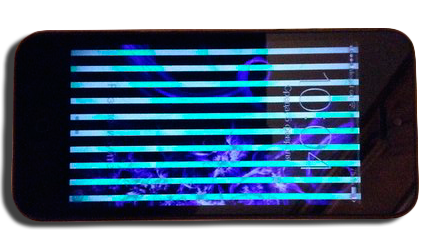
A small nuance – before connecting the connectors, I recommend treating them with alcohol. During the repair process, dirt could get into the connectors, which, in turn, could cause white, inactive stripes to appear on the screen.
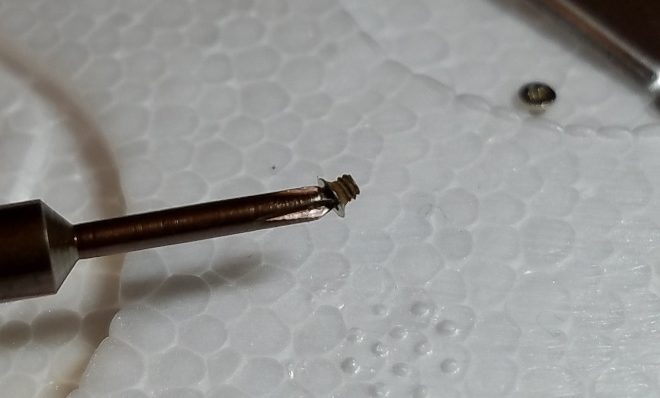
Screwing in the screws, I noticed that one screw is rusty. This means that the device has been exposed to moisture. At the same time, the indicators that were supposed to turn red remained white. This happens when moisture gets in the wrong place where the indicators are located. Therefore, even if at first glance, moisture is not visible, it is worth considering the board more carefully. There may be surprises.
After connecting the connectors and installing the protective plate, carefully lower the module almost until it closes. Remember, we also need to replace the home button connector. Holding the module ajar, attach the connector
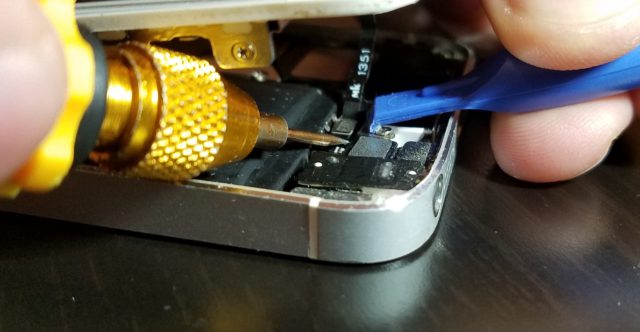
Then, close the module gradually, starting from the top, pressing until it clicks.
It remains only to tighten the end screws and stick on the protective glass, which compensates for the thickness and the absence of the oleophobic coating.
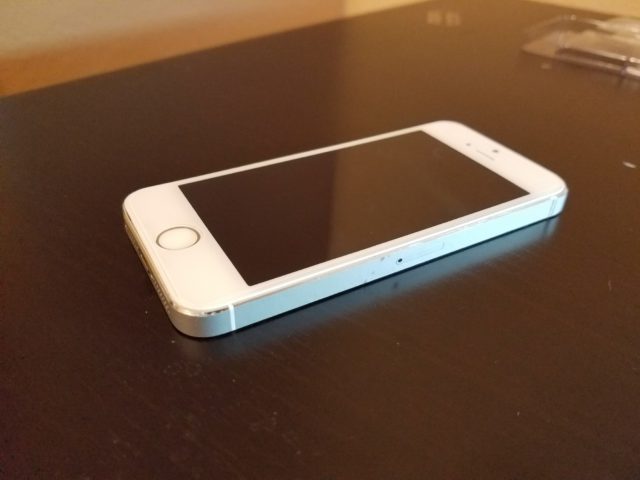
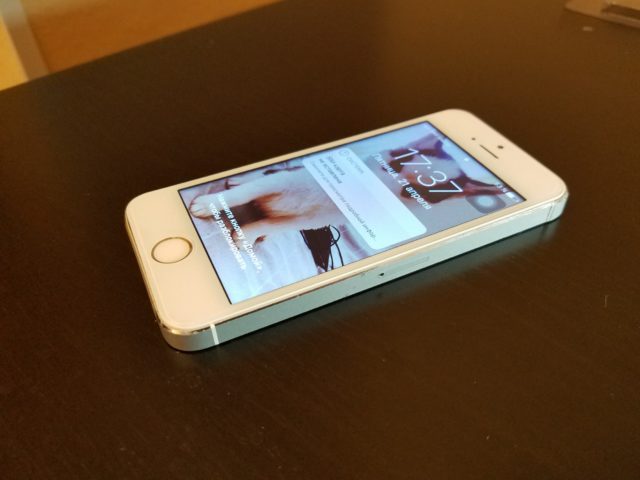
Everything is ready, everything works! We are great.
conclusions
And there will be no conclusions. Anyone who likes poking around in pieces of iron, resurrecting equipment destroyed by someone, will do it this way. The main thing in this business is to remember that there are no trifles. Often, one small step, forgotten and not taken in time, will cause you to completely disassemble the device and redo everything. But there are devices that are repaired with an abundant amount of double-sided tape or glue, which means that they practically do not forgive such mistakes. Learn from other people's mistakes, and don't make your own.
Good luck!
