Hello!
Today we will tinker.
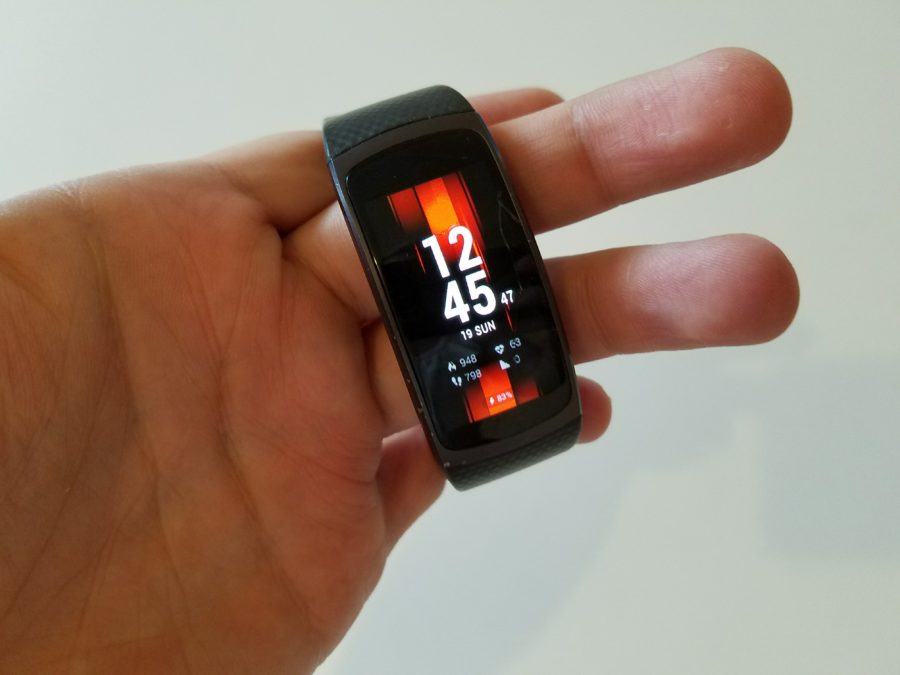
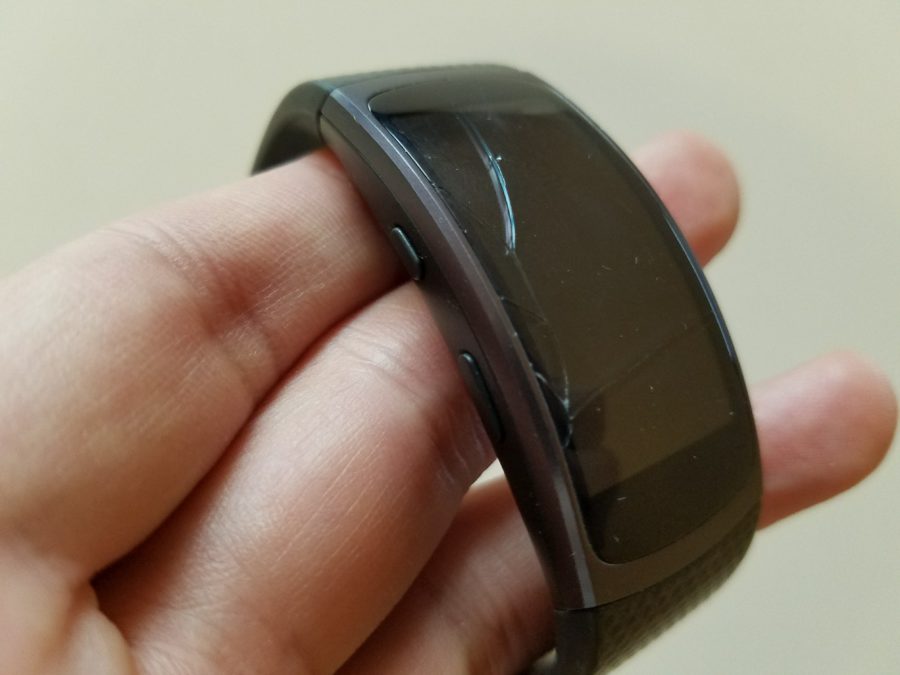
The other day I bought a Gear Fit 2 fitness bracelet with broken glass and without a charger. Taking into account the design features AMOLED – displays, cracks on the glass do not affect the water resistance, so it was decided not to change the glass yet, but to use it this way.
The only thing left is to solve the problem with charging. Considering that the process of charging the battery here is realized with the help of two contact pins, a special charger is needed. You can buy in Russian stores (as usual in the Russian Federation, for space money), you can order on eBay or AliExpress and wait two weeks, or you can do it yourself.
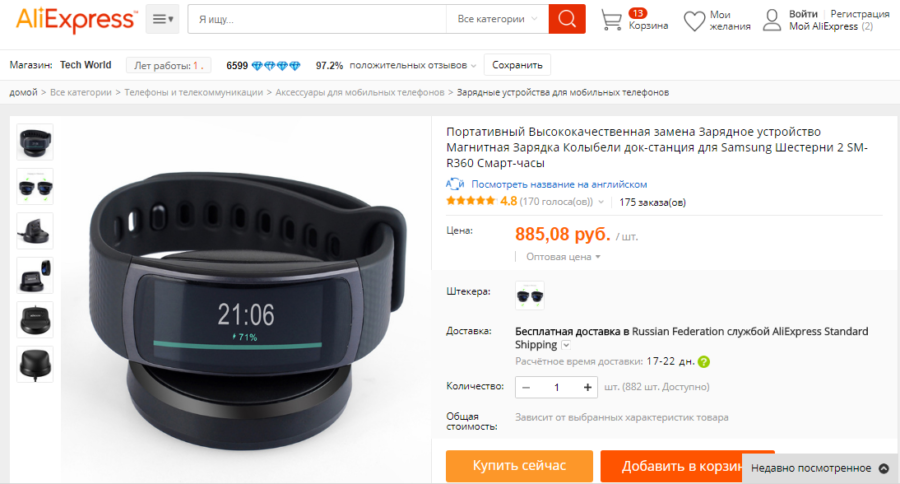
I chose the last two options. I will order on Aliexpress, but while the order is going, I will make a homemade replacement.
Go.
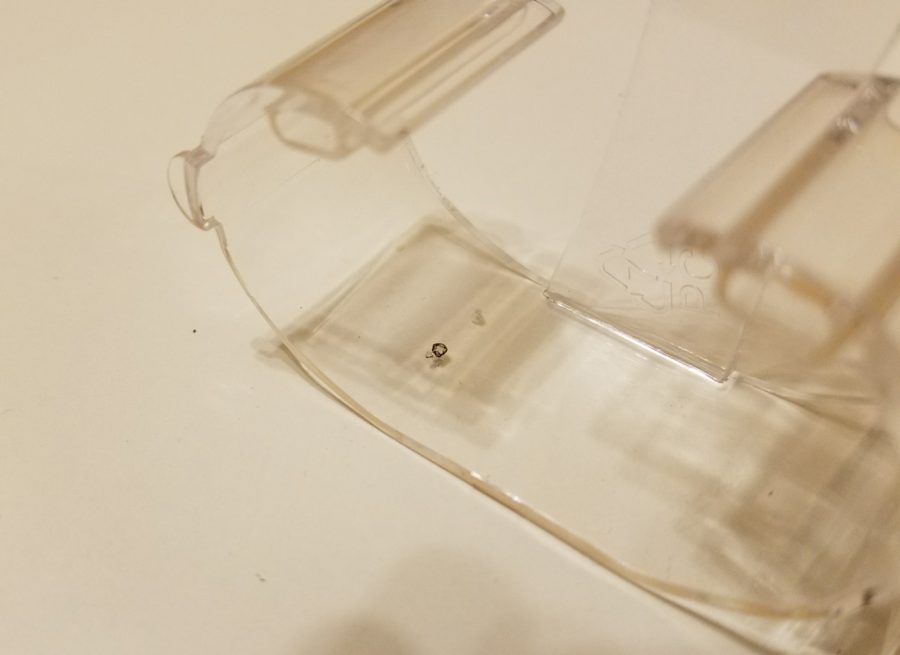
First you need to decide what to make the body of. In the closet on the far shelf, there was a holder from an ordinary wristwatch, which will be the basis of the charger body.
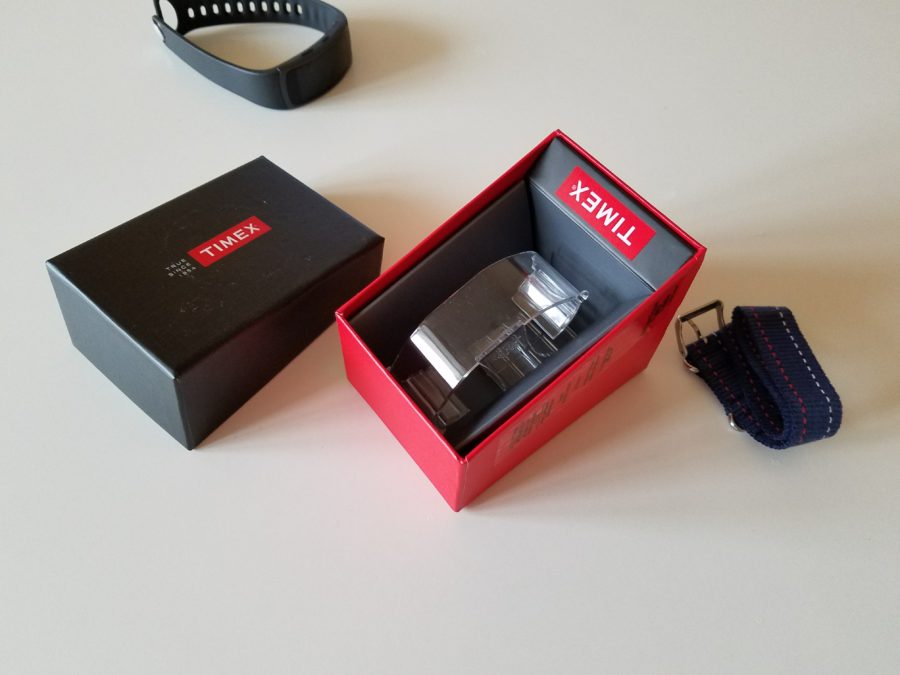
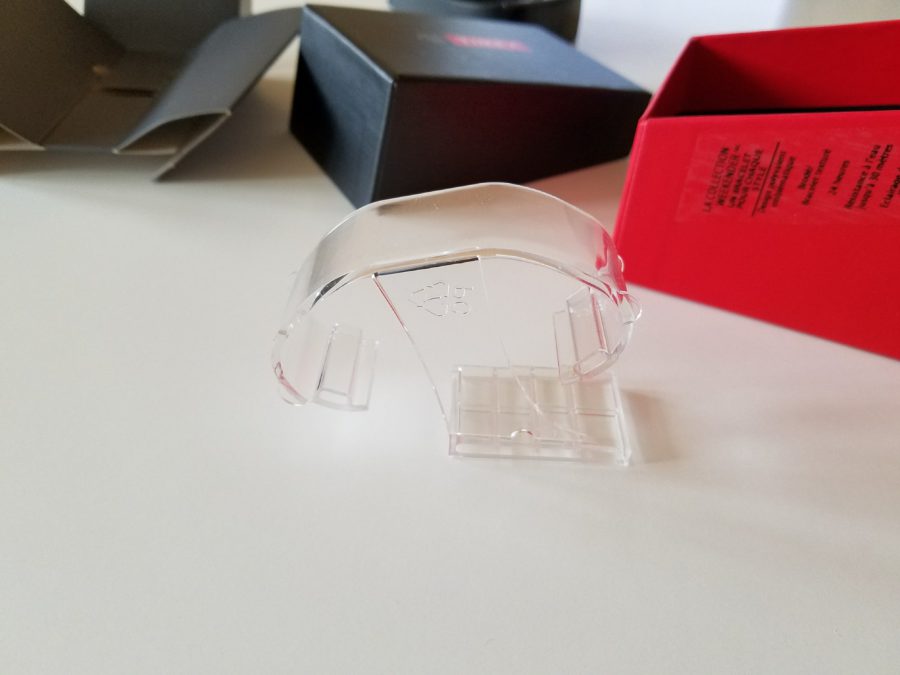
By the way, in the absence of such a holder, you can use any plastic plate, for example, a ruler.
The holder turned out to be a little wide.
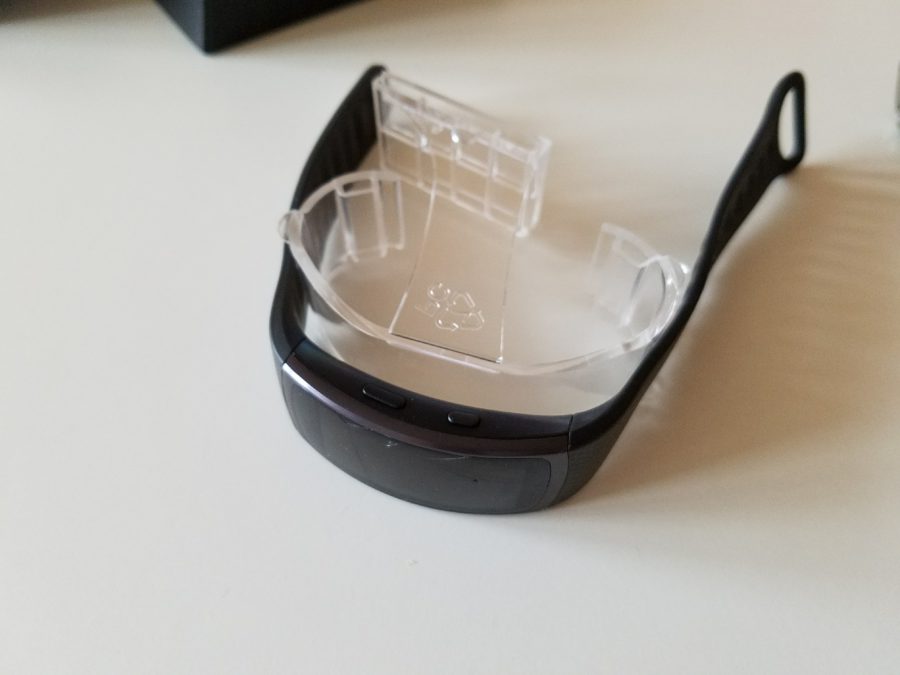
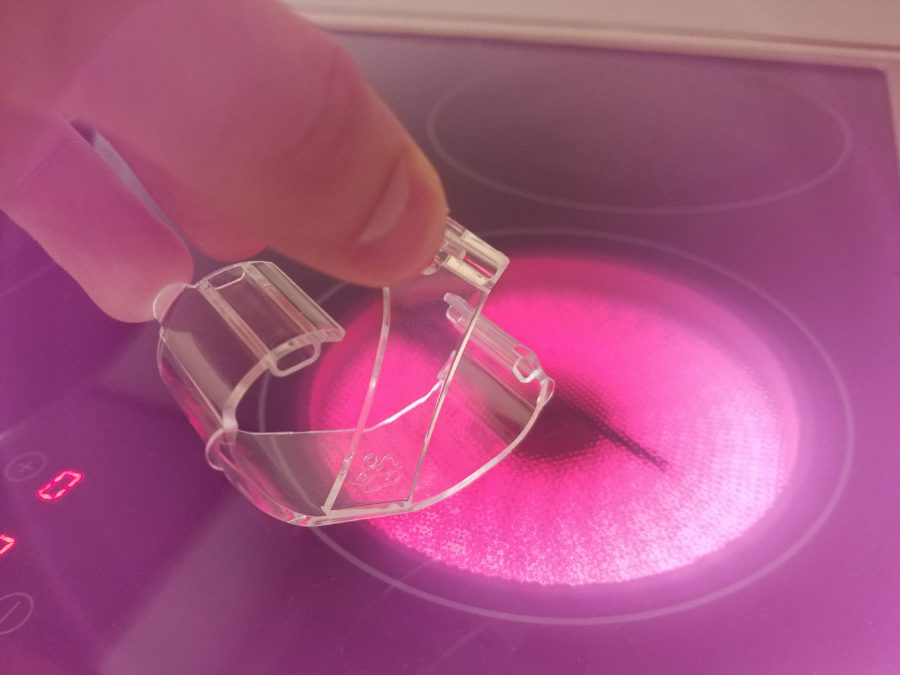
We heat it over the stove to bend the edges, try on. We warm up, bend and try on again. And so on until the bracelet lies confidently on the surface. As a result, after several edits, it turned out not very neat. It's a shame. I could have done better, but, as usual, I was in a hurry.
After that, you need to come up with contacts on which the charging pads will rely.
Eh, since 'collective farms', then to the end! ? The contacts will be the usual screws from the Galaxy S4.
Let's find out where the bracelet has a 'plus', and where is a 'minus', – thanks, Googol.
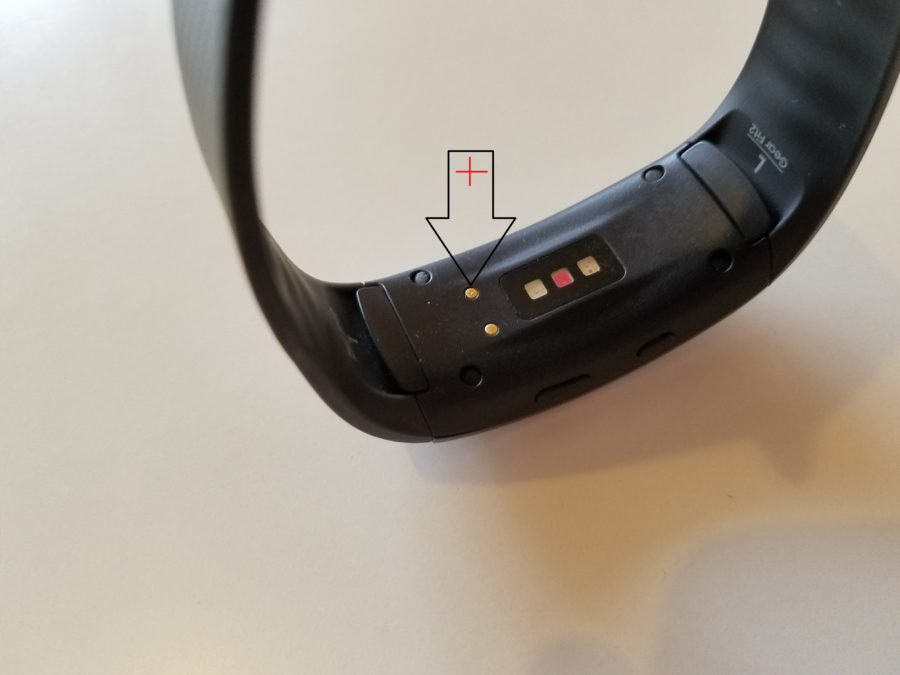
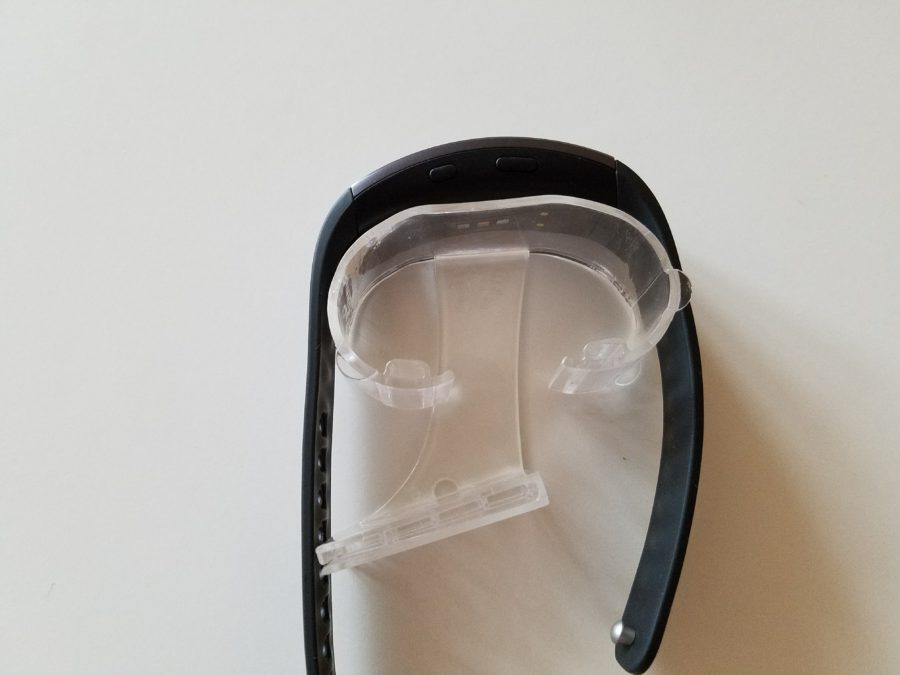
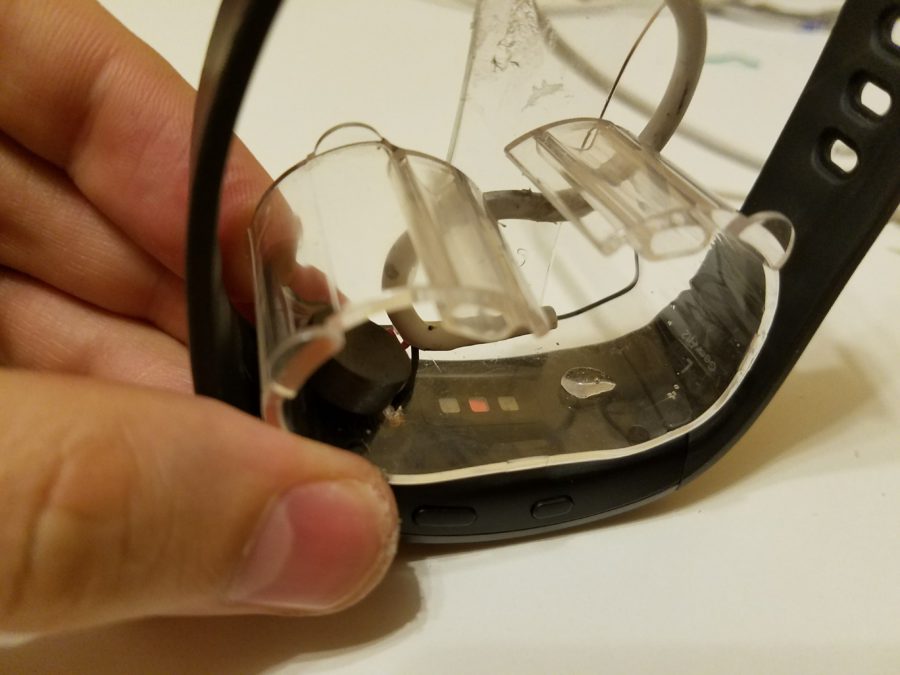
We orient the bracelet on the holder the way it should lie, and mark the places for the holes opposite the contacts.
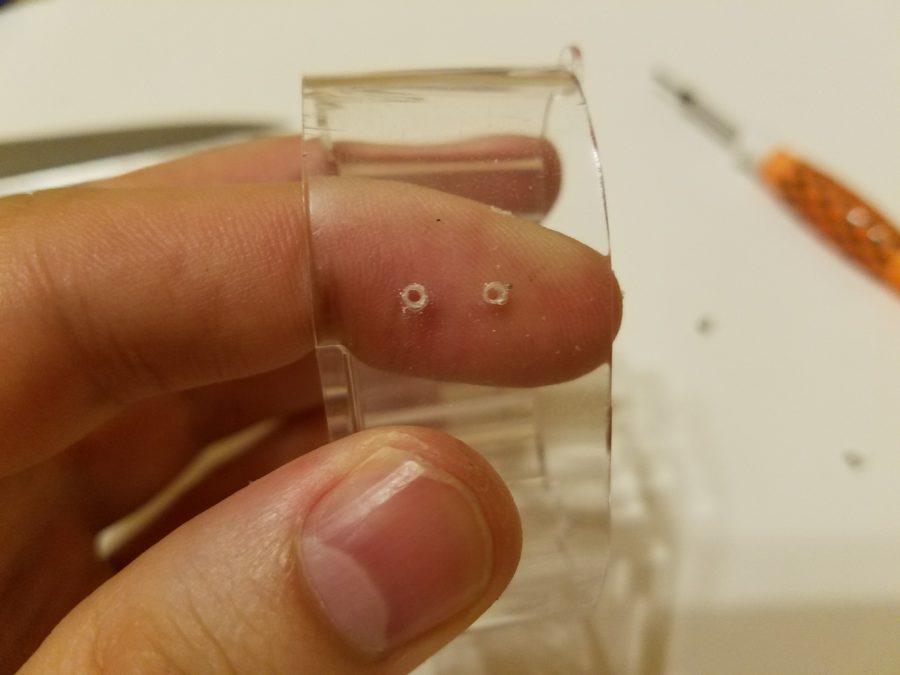
 We drill holes.
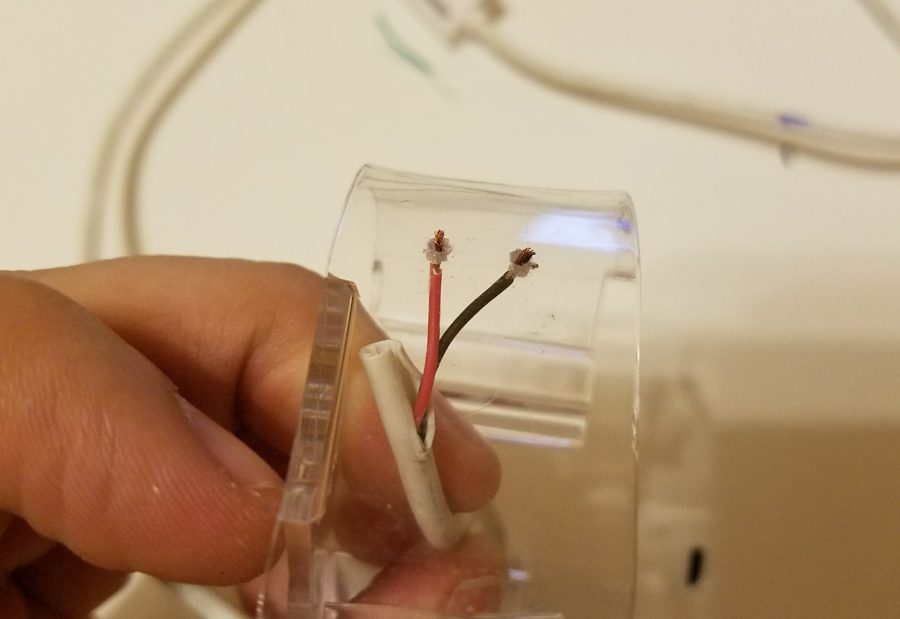
Now we need a USB cable, from which we need to strip the plus and minus.
Very handy, there was a hole in the base on the holder, into which you can thread a wire.
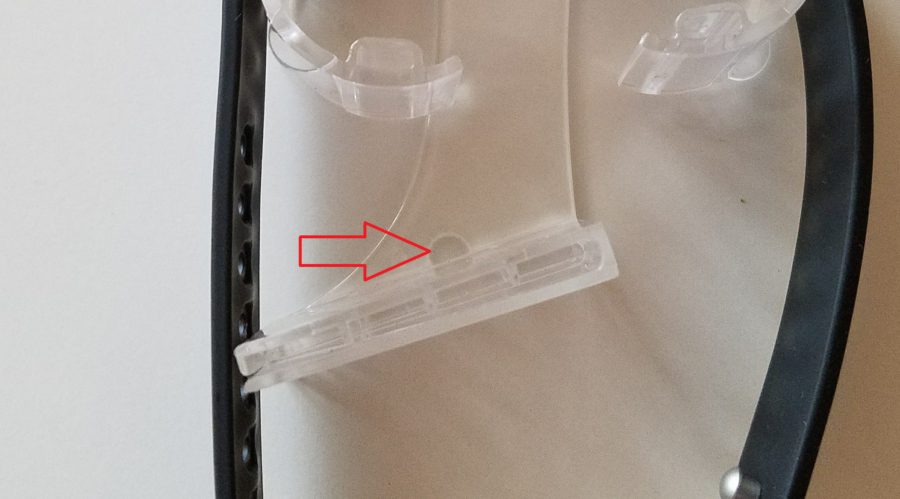
We bring the wires through the holes, and then just screw in the screws from above, securing the wires.
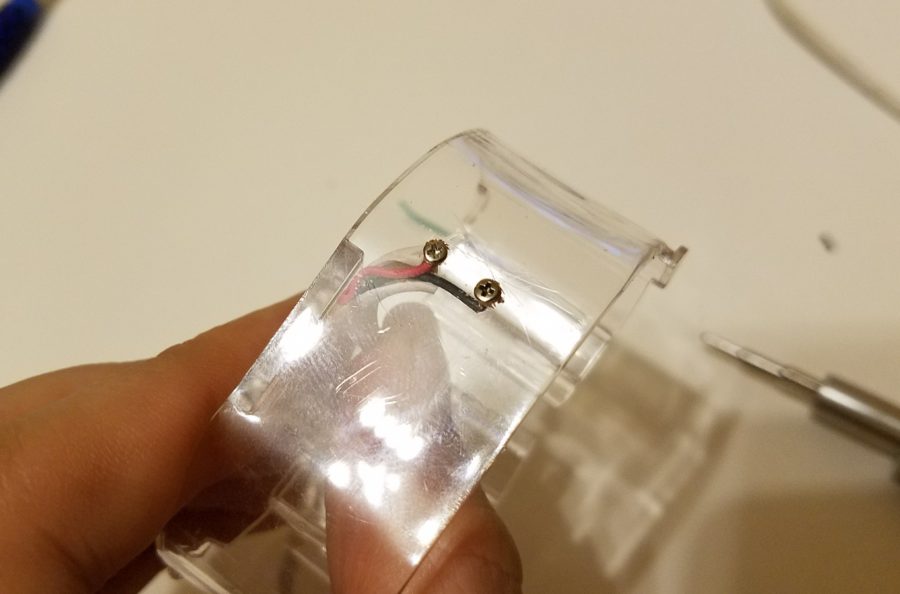
Half the battle is done.
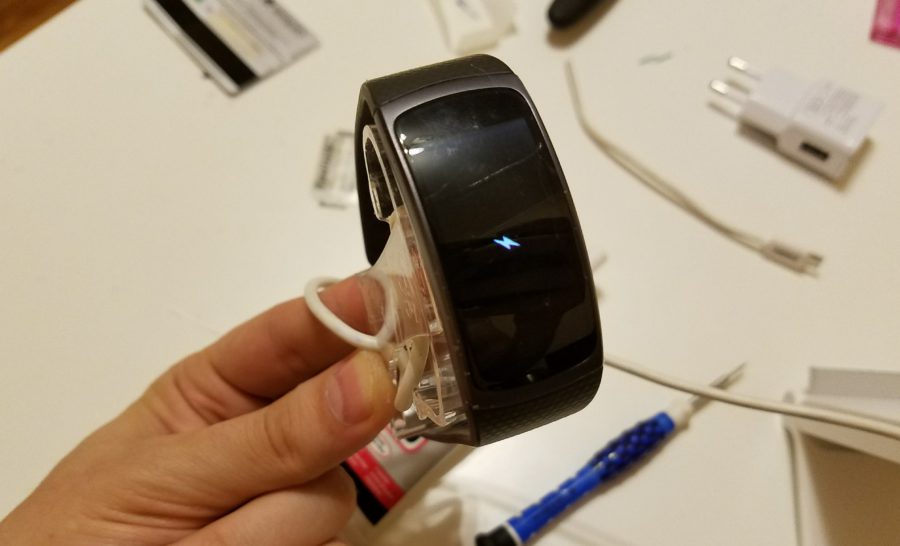
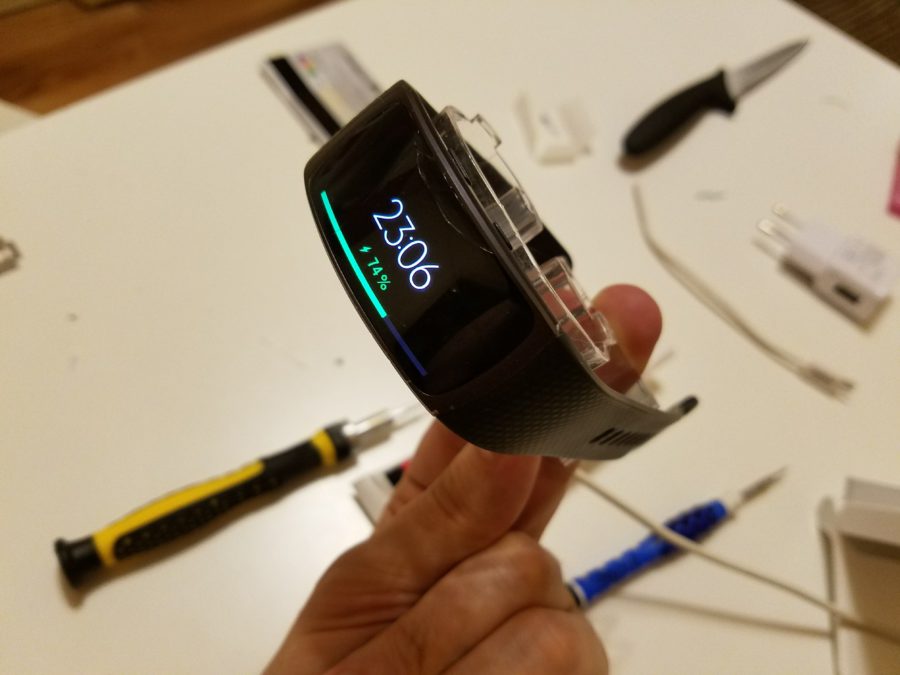
We attach the bracelet to check that there is contact. Charging is in progress! Hurrah.
But now you need to think about so that the bracelet does not slide off and that it does not have to be targeted over the contacts every time.
Google about how this moment is implemented in the original charge. Magnets!
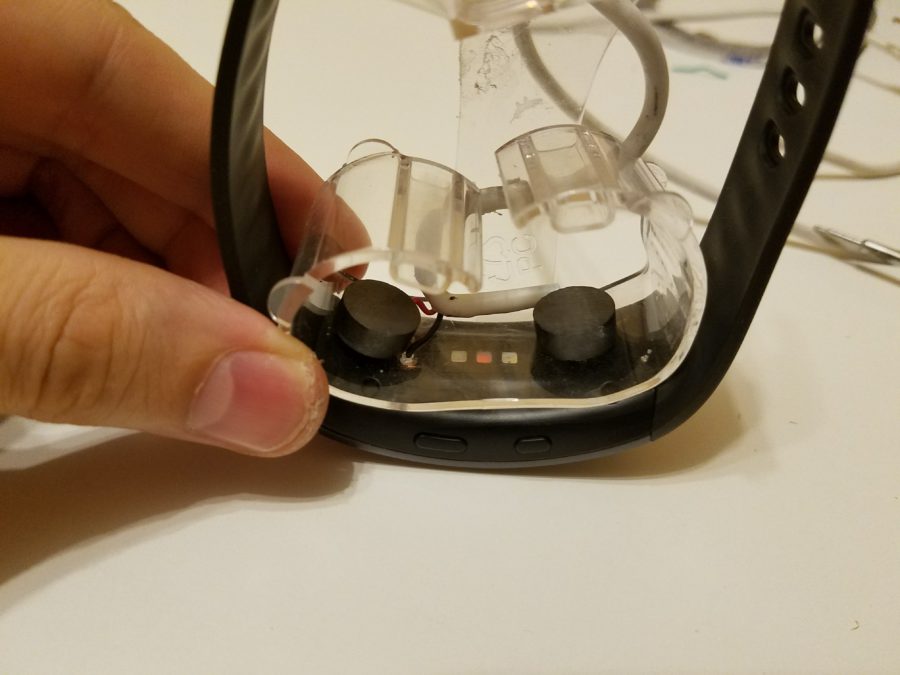
We take the magnets (you can pick them out of an old unnecessary book cover). We center the bracelet on the contacts and, without releasing it, we apply magnets to the inside of the holder. They must themselves be magnetized to the bracelet in the right places. We mark the locations of the magnets.
We remove the bracelet and simply glue the magnets to the holder in the previously marked places.
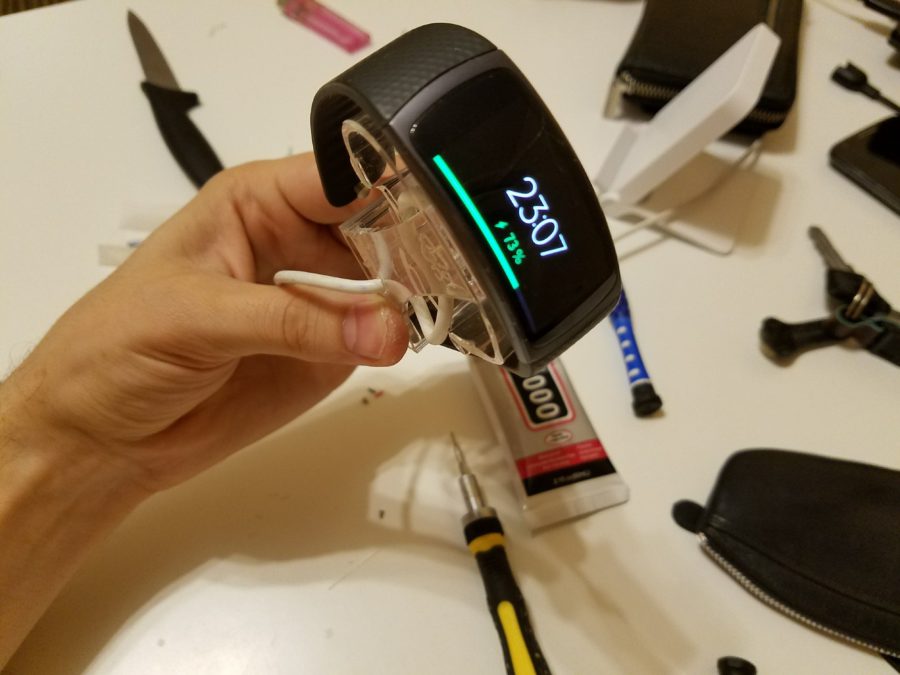
After the glue dries, we check the performance of the structure.
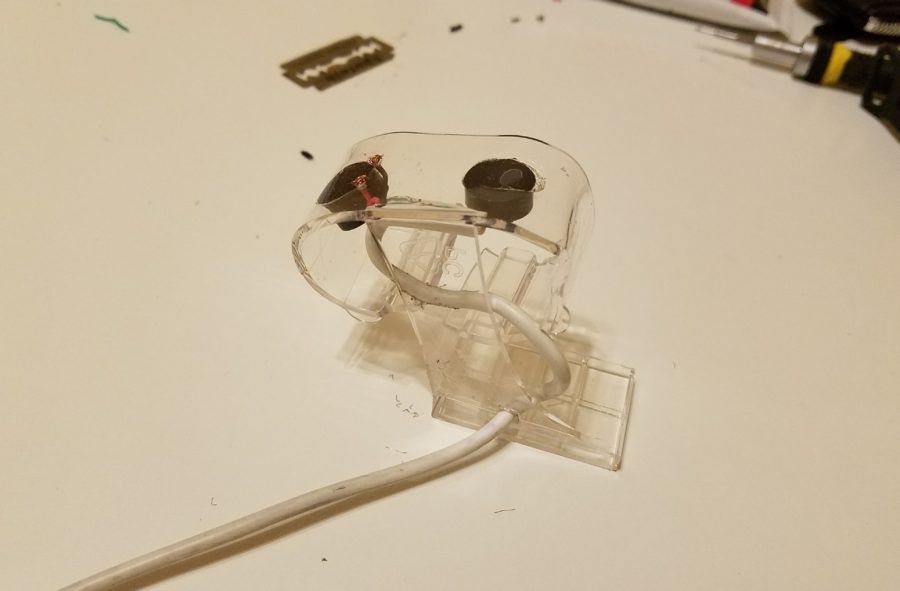
Works! And thanks to the magnets that not only press the bracelet to the holder, but also quite accurately center it over these very contacts, the bracelet does not fall off the holder. This will allow our charger to be positioned at different angles.
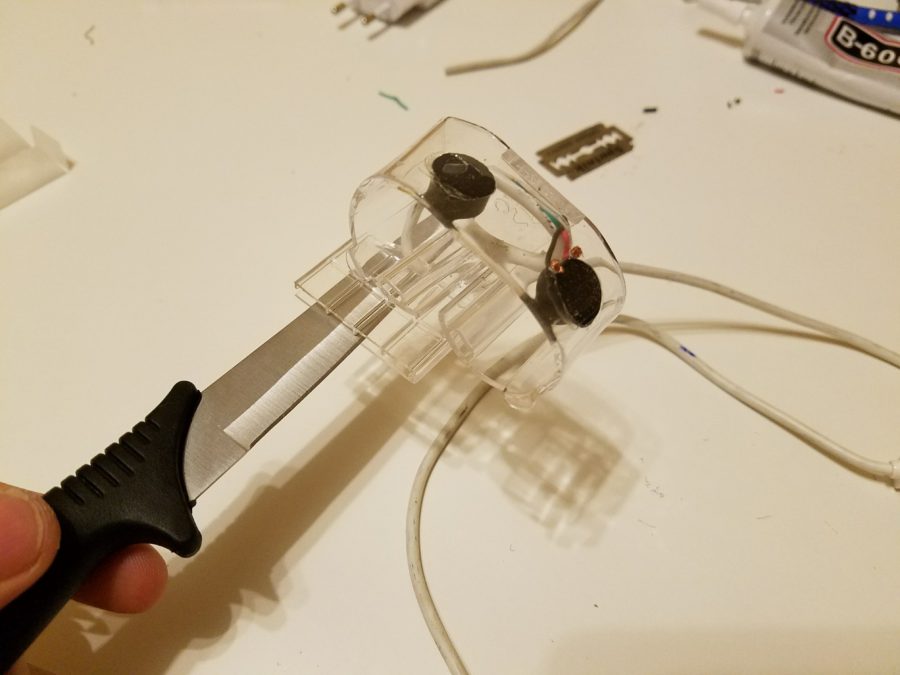
During the verification process, it turned out that the flat screw heads do not contact well with the contacts on the bracelet. The screws were unscrewed and replaced with wires simply wrapped in a ball.
In my case, the holder has a clip provided initially. The clip can be used to attach the charger to any flat thin surface.
It remains to make a stand. But this is optional. It works like that.
Conclusion
An hour and a half was spent on everything about everything. It turned out not as beautifully as we wanted, but the goal was achieved, and this will allow you to comfortably charge the bracelet while waiting for the arrival of the parcel with the original charger.
If this were not a temporary solution, then everything could have been done much more accurately and thoroughly. For example, from the same line you can make a beautiful, graceful stand that will look even more stylish and interesting than the original one. You can get even more confused and make a charger of an unusual shape from polymer clay. The question is desire. In the presence of time and desire.
Everyone can find a suitable answer to the question of the advisability of such manipulations. For me, this is primarily a hobby that allows me to distract myself from my main work and rest my head, making various, at first glance, meaningless crafts, while having their own functionality, and therefore practical meaning.