Hello!
Today we will be eliminating the consequences of repairs for a well-worn old man Meizu M2 Note brought to me by a friend.
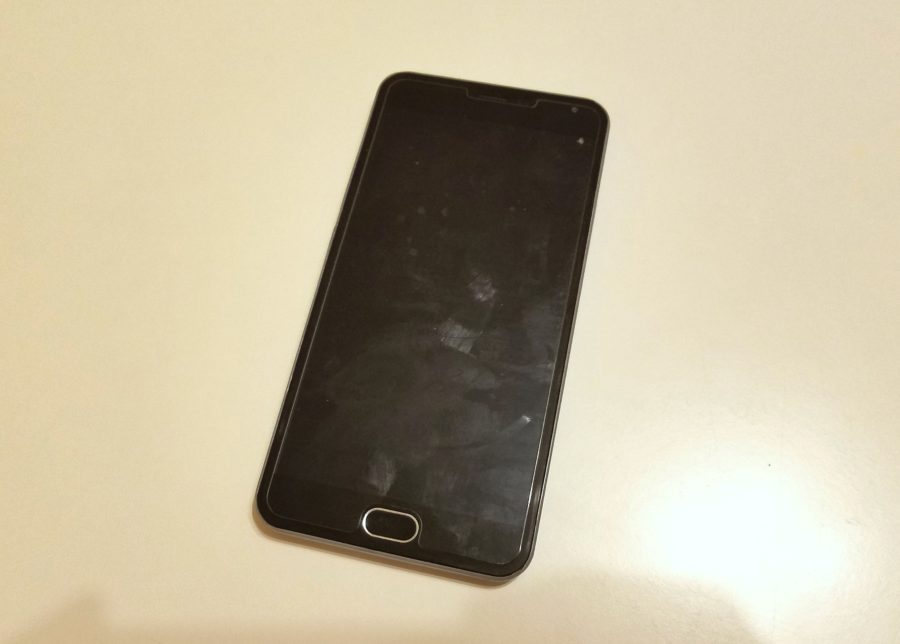
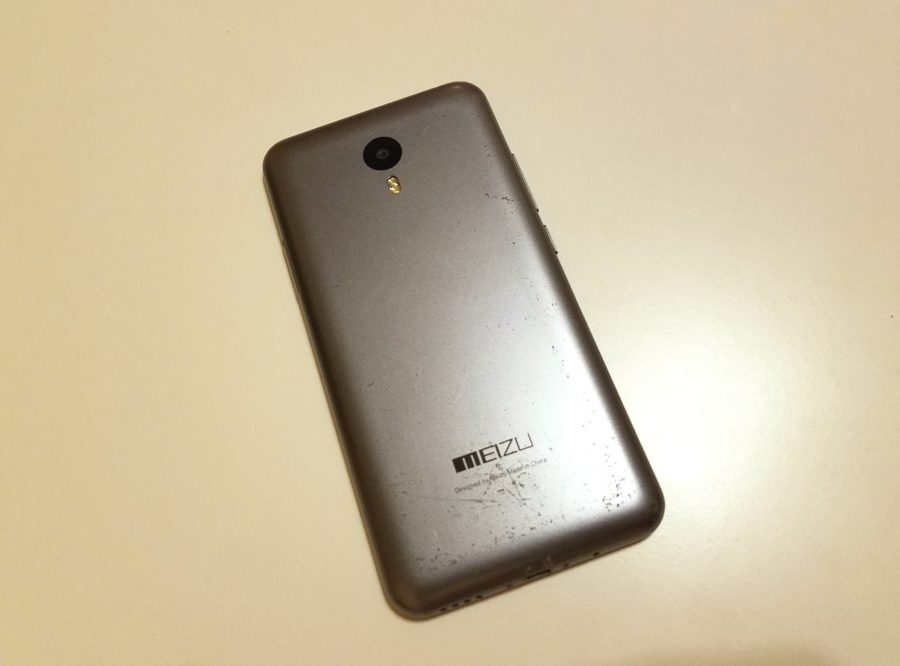
The problem is with the microphone. It would seem, replace the microphone, and that's it. But it's not that simple.
To begin with, I was told the story of this phone, which turned out to be quite entertaining.
History
Shortly before the New Year holidays, the phone made a flight, at the end of which it crashed and ended up with a broken display. Friends decided to repair it on their own. For repair, they purchased a display module, looked at instructions on the Internet and made an attempt to replace it on their own.
The replacement of the module took place without incident – apparently, they watched the video carefully and acted carefully. However, after the replacement, it turned out that the main microphone stopped working. At first glance, strange behavior for this kind of repair.
To solve the problem with the microphone, the guys ordered a bottom board with a system connector, on which, among other things, the microphone is located. Having had experience in disassembling the phone, the bottom board was also replaced, which did not bring the expected result.
After that, saddened, they took the phone to the service center, where, after diagnostics, they were offered – attention – to order the lower board on AliExpress and after receiving it, bring the phone to them along with the replacement board. Great option, huh?
They refused this extremely tempting offer and brought the phone to me (I had to do it right away :)).
Diagnostics
Let's get started. To begin with, we will test the operation of the microphone using a voice call, as well as using a dictaphone.
At first it seemed to me that this did not give a result, and I switched to another test option – I checked the operation of the microphone with a headset connected to exclude a software glitch.

Sound recording goes well with a connected headset, which means that the software is working properly.

But then, when I carefully listened to the recording made on the main microphone in headphones, I heard very quiet, but sounds. It's strange.
We try another option – through the engineering menu, we increase the sensitivity of the microphone.
To access the engineering menu, we type the command##3646633##
Scroll left to the 'Hardware Testing' item, look for 'Audi o', select 'Normal Mode', tap on 'Set Mode' – select a profile:
(Normal Mode – standard (general, normal) profile
In the 'Type' option, select 'Mic', then for each Level set the corresponding value of the sensitivity 'Value'. When choosing another level (Level), we always confirm the entered numerical parameter by pressing 'Set'.
Change to new values:
- Level 0 – 255
- Level 1 – 235
- Level 2 – 215
- Level 3 – 205
- Level 4 – 195
- Level 5 – 185
- Level 6 – 175
If the sound is still quiet enough, change to:
- Level 0 – 255
- Level 1 – 253
- Level 2 – 251
- Level 3 – 249
- Level 4 – 247
- Level 5 – 245
- Level 6 – 240
After these manipulations, it turned out that the microphone still works, but every other time, and very very quietly.
This means that the piece of hardware itself is in good order, you need to look for other reasons.
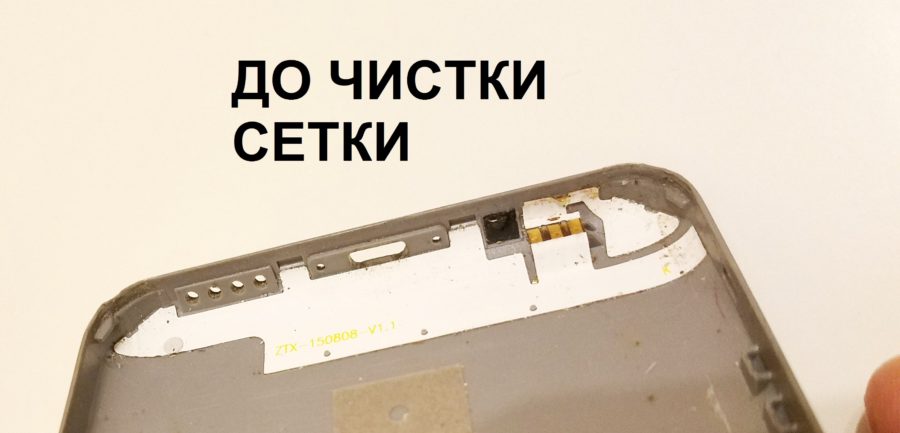
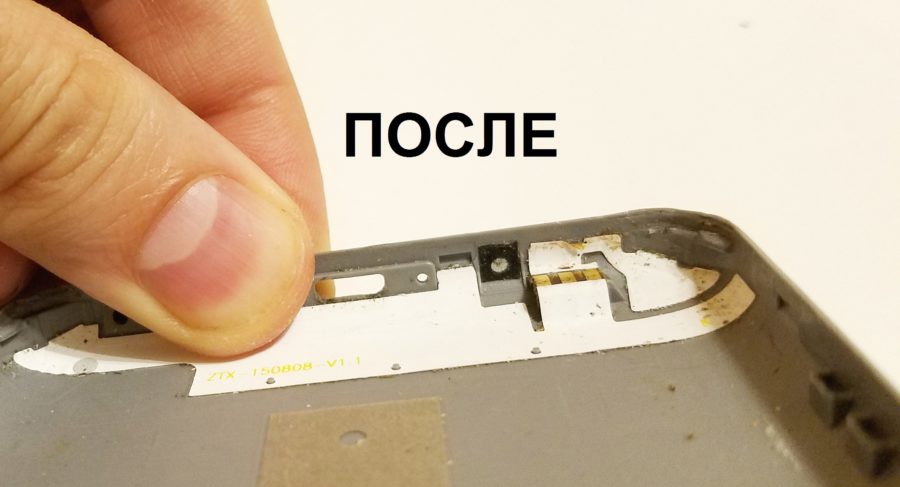
And then I noticed the mesh covering the microphone … At first glance, it looked like a depression with a gray bottom, which looked more like dust than a metal mesh.
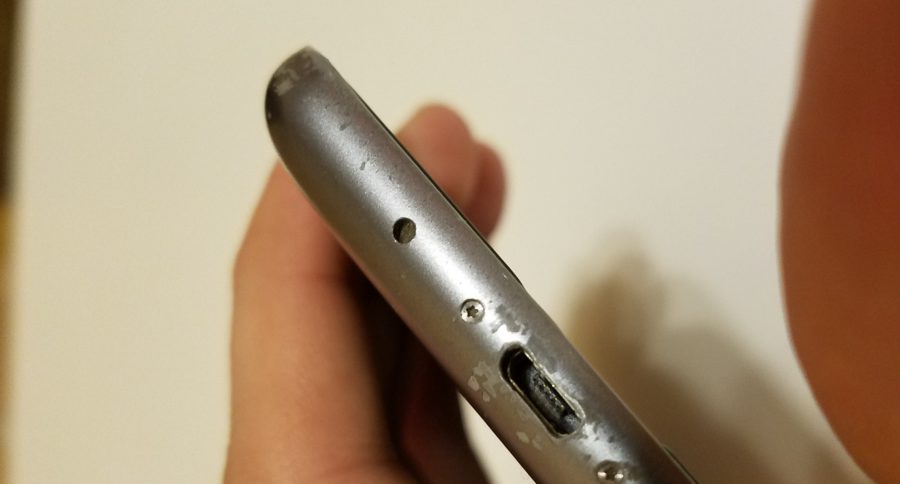
The mesh will need to be cleaned. There is no choice – you have to disassemble.
Opening
During disassembly, it turned out that the 'specialists' of the service center, besides the fact that they did not help in any way, also tore off the thread for the fastening screws.
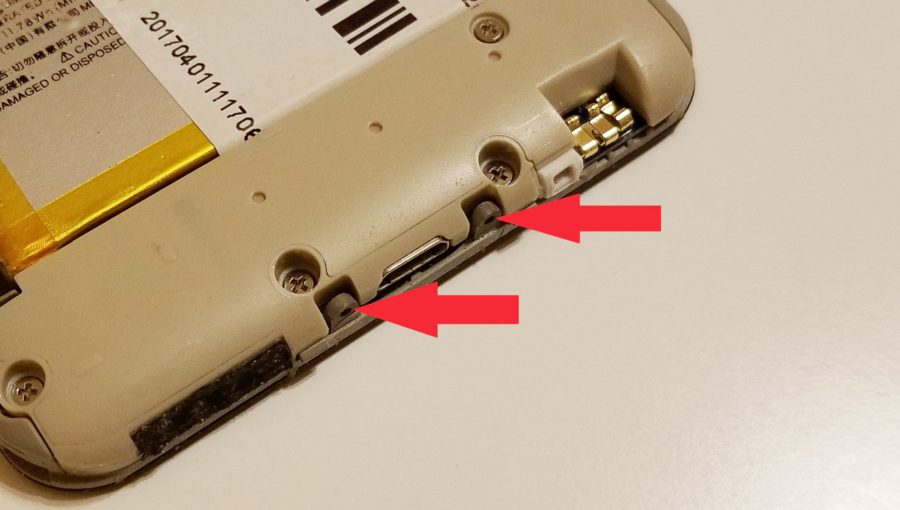
We disassemble the device. At first glance, everything is in order. Remove the microphone cover and check the sound by speaking from afar. Works! And it works great.

We see that on the new bottom board the wires from the vibration motor partially overlap the casing seat – we move them to their place and check the operation of the microphone.
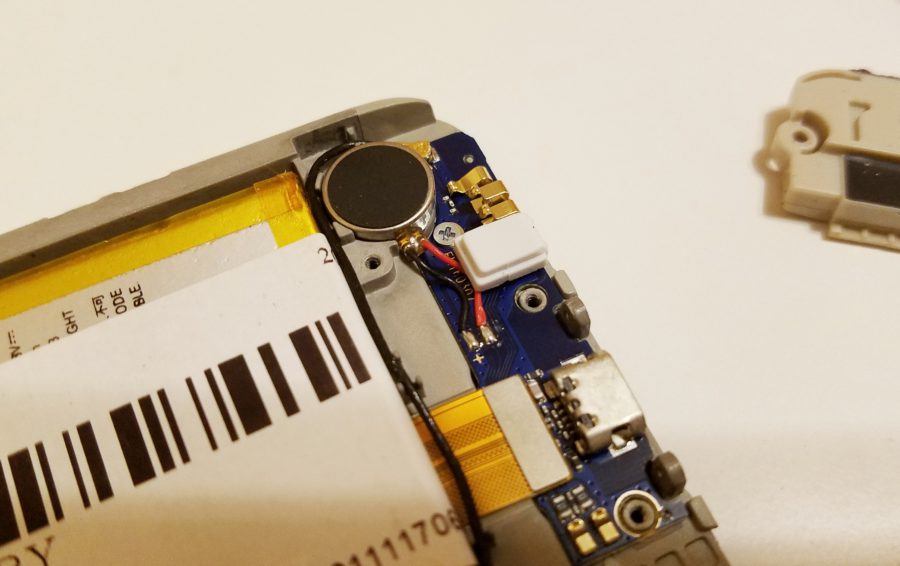
Everything is working. But what was causing the problem then? We press the rubber cover a little harder, and the sound disappears again.
This cannot be – the casing is now in place and should not block the microphone opening. And then, even if it were not so, the microphone would have heard at least some sounds. So the problem is deeper. We set up an experiment, checking the microphone with the casing simply put on, and then during the recording process we press it harder, as if the casing is assembled – the sound disappears, letting go – it appears again.

Troubleshooting
Interesting. We remove the bottom board, and everything becomes clear – when replacing the display, my acquaintances bought a module assembled with a frame to make it easier to replace, however, having no experience, they did not take into account that the new module lacks the necessary insulators of dangerous places. And they forgot to transfer the insulating elements to the frame, and they forgot to check their presence on the board – just think, some kind of film or a drop of varnish. ?
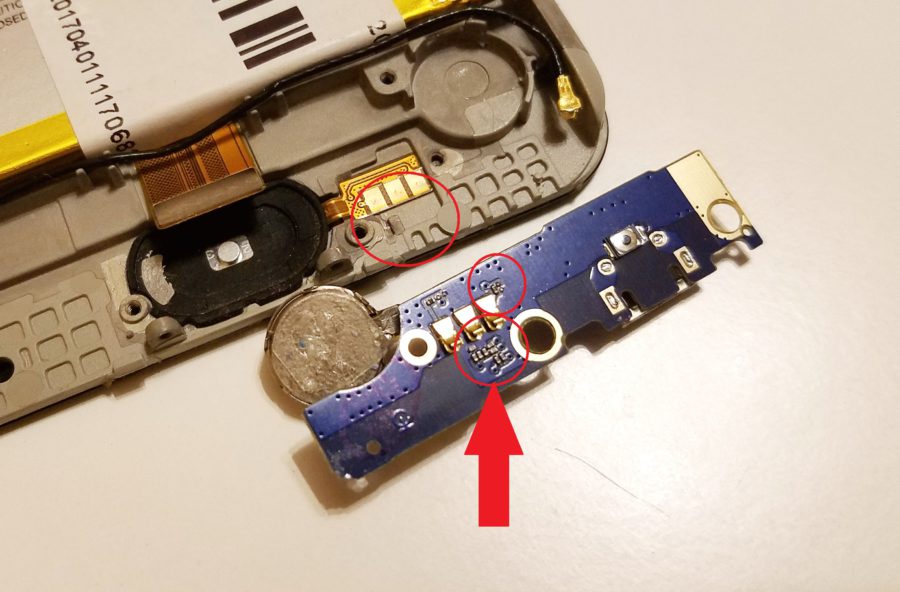
When they were replaced, they did not transfer the insulating gaskets, and it turned out that after assembly the bottom board, which, by the way, should also be equipped with insulators, shorted to the body, closing the microphone and thereby making it inoperable.
We glue the dangerous places with Kapton tape, put the bottom board in place and check by pressing firmly on the microphone. It is surprising how the power line did not burn out – lucky.
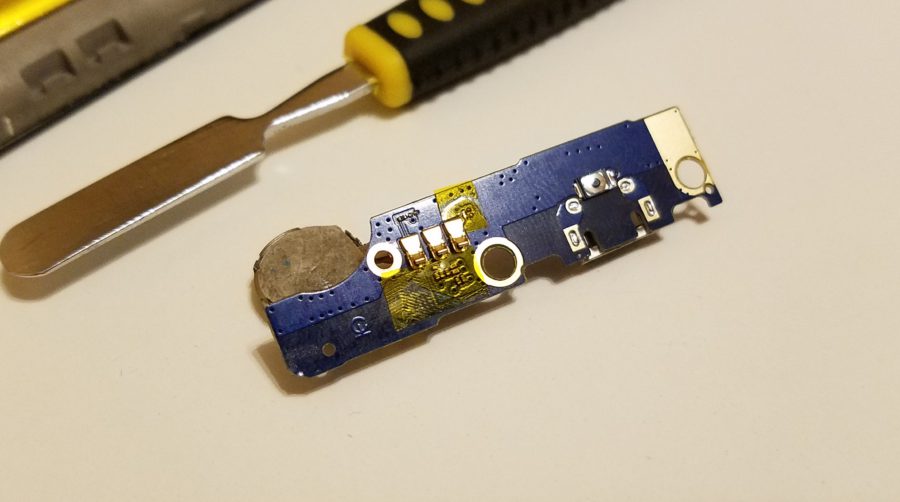
Works. The problem has been identified and fixed.

Having previously cleaned the mesh covering the microphone hole, we assemble the device and give it to the owners.
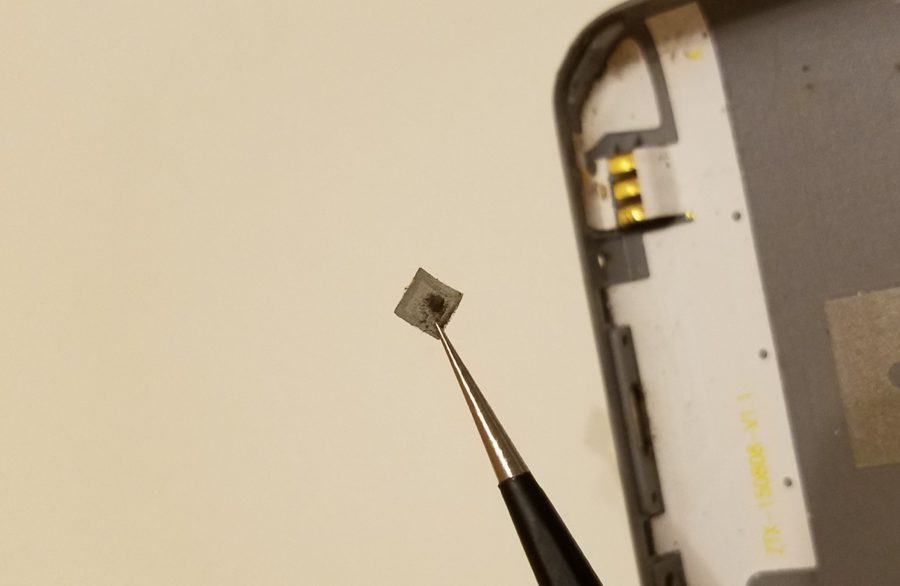
Everyone is happy, everyone is happy.
Conclusion
As a result, several problems were fixed:
- the microphone cover is correctly installed, which was not standing correctly due to the wires of the vibration motor;
- the microphone mesh clogged with dirt was cleaned;
- elements on the bottom board, which caused a short circuit of the microphone, are isolated;
- through the engineering menu, the general sensitivity of the microphone is increased.
Modular repair (in which the faulty unit is not repaired, but simply changed entirely) is considered the simplest and therefore is loved by the masters, since it allows you to earn money in a short time, without much bothering yourself. However, there can always be nuances, missing which, the master may face unforeseen difficulties, which in the end will take much more time than soldering. Following the instructions on the Internet, before starting the repair, look at at least a few of these same instructions, noting the nuances and features that can save you a lot of time, money and nerves.
Over time, you will learn to see the moments that previously seemed unimportant, and using the analysis of the situation, you will be able to find non-standard solutions to atypical problems. There is always a way out.
