Not so long ago, I wrote about a controversial option to save money by buying a defective phone on eBay for later restoration. In the comments to that article, there were many opponents of this option, citing the risks and dubious benefits. But today we will not be talking about that. Today I decided to open the phone, which is assembled according to the 'safe' principle and is a plastic bathtub covered with a display module on top. It took a long time to decide on the analysis because of the risks associated with the analysis of Samsung devices with a 'bath' type design. I repeat that, unlike many other manufacturers using a similar type of device design, Samsung, in addition to gluing around the perimeter, is very fond of gluing the module with the back of the matrix to the case. This significantly complicates the parsing process, and one inaccurate action can damage the module.
But sentiment and fear aside – let's start.
The whole process will consist of four stages:
- Preparation
- Under glass
- Matrix separation
- Complete opening of the device and replacement of the camera module
Preparation
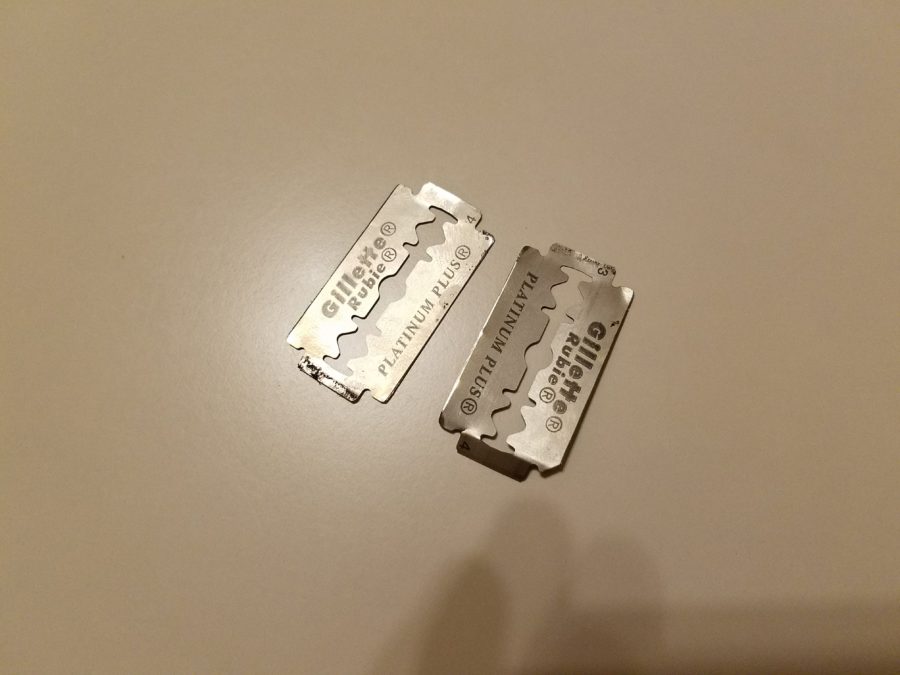
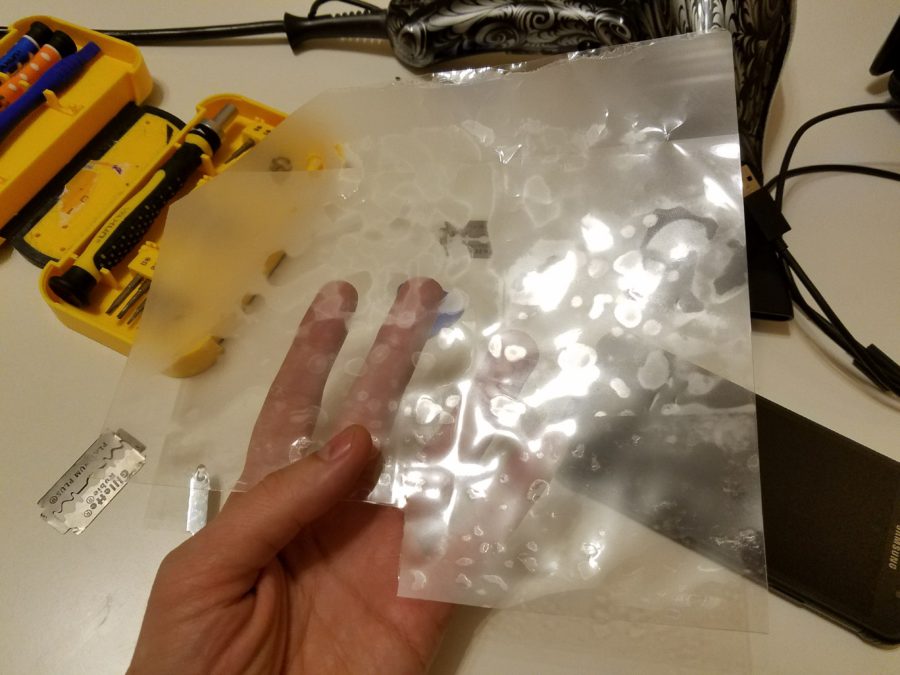
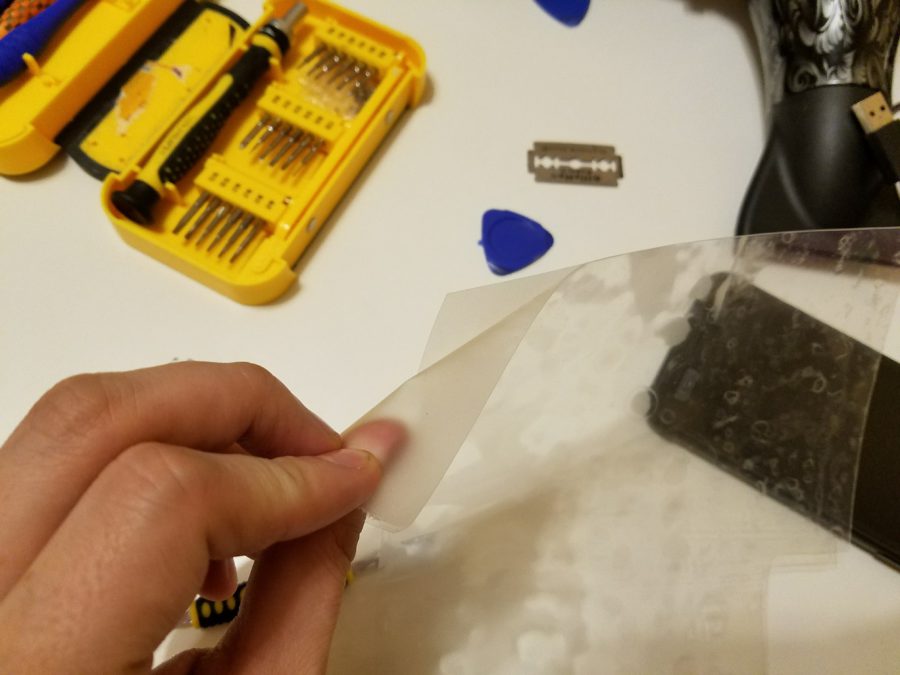
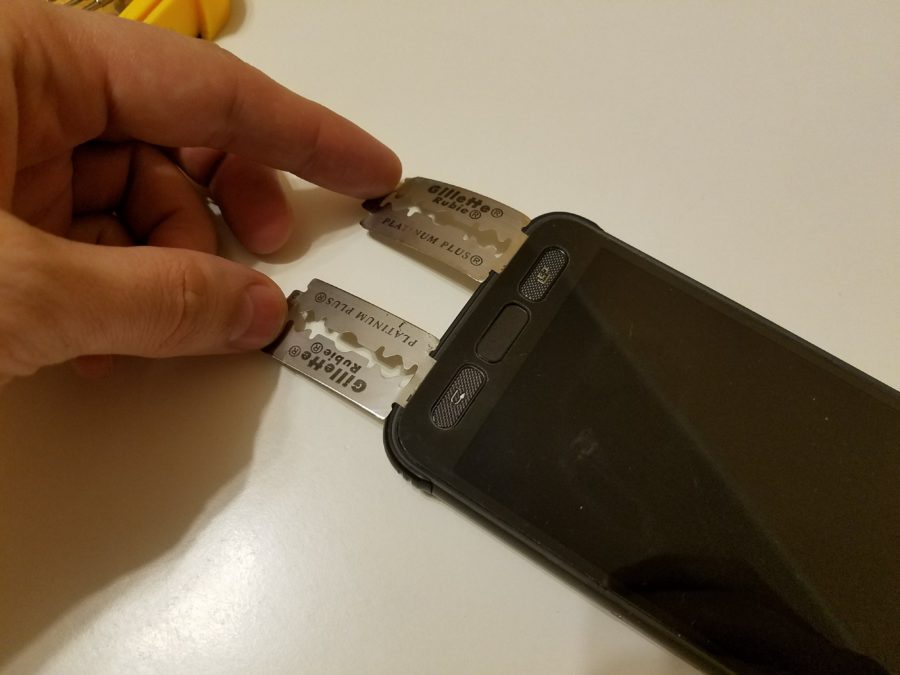
First you need to prepare the tool. I have two ordinary blades for the initial stage of raising the matrix, as well as my personal know-how (I fully admit that someone else uses the same method), a regular film for lamination of documents. With its help, it is convenient to disconnect the module by sawing through the glue. The film is pre-ironed, which gives it rigidity while maintaining flexibility. One edge is deliberately unfinished so that the film remains thin and soft there – I will cut off this edge and use it to cut the adhesive layer when I can pry off the matrix with a thicker film.
Immediately I want to warn against the use of metal blades for this operation, which many masters use in videos on Youtube – the Amoled matrix is very fragile and most likely will not withstand pressure from a metal tool. I also don't recommend using plastic picks in the second step. Their use is justified only at the first stage of glass separation from the edges. In other words, do not push a hard tool inside during the parsing of such structures – you will split the matrix.
Under glass
After the instrument is ready, it is necessary to thoroughly warm up the display. For this I used a regular household hair dryer. This.
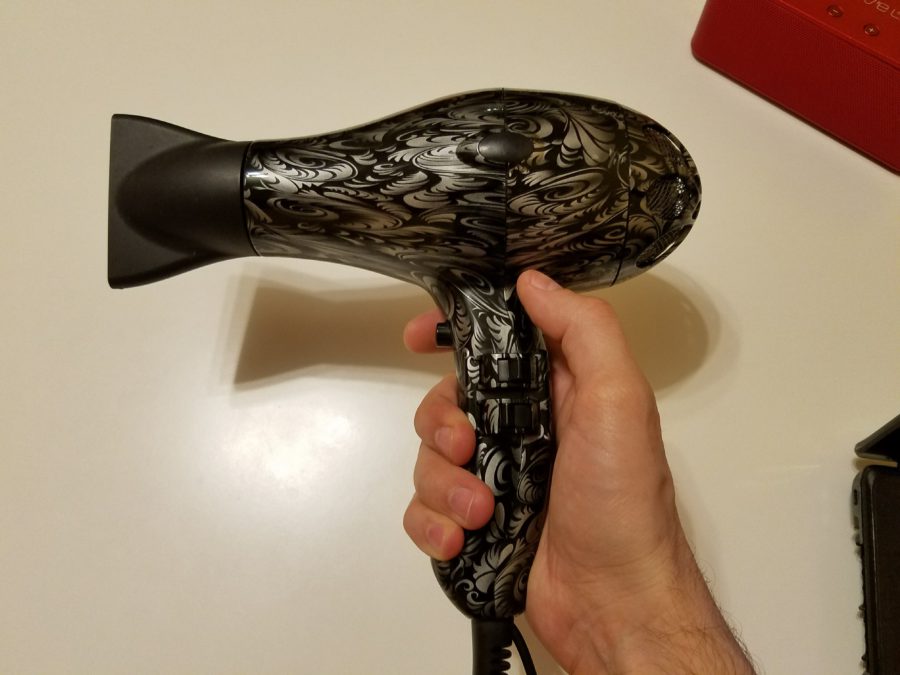
You can heat without fear of damage, since Amoled can withstand high temperatures well. It is better to heat in parts. First, the lower part, from which you need to start disassembly. Do not start at the top – there is a high risk of damaging the loops at the top.
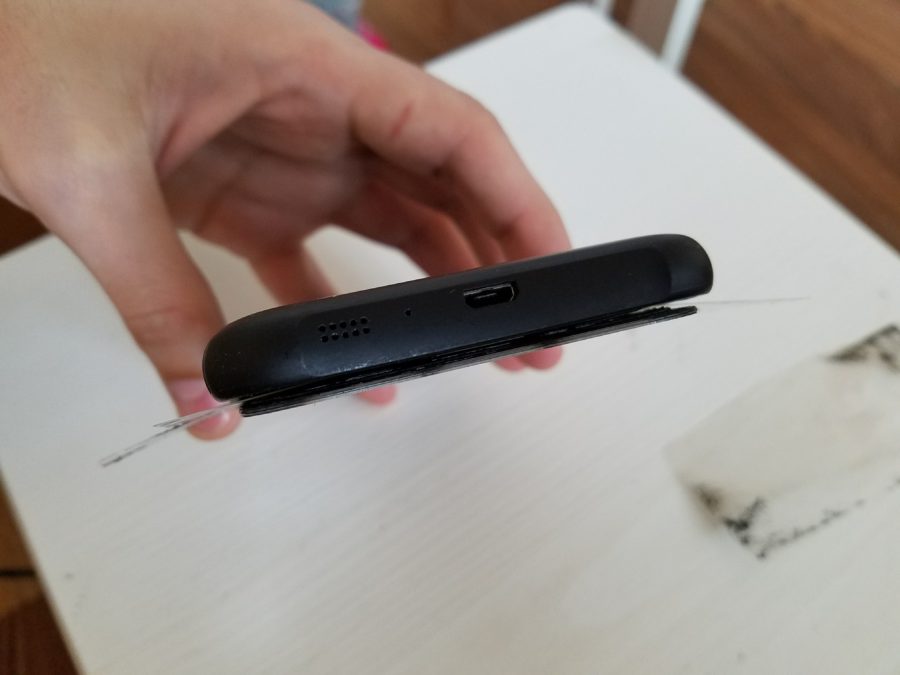
We take the heated device and with a blade we penetrate into the joint of the module and the case, and then we pry the glass, lifting it. The blade is flexible and thin and therefore will not shatter the glass.
Next, you need to create a load by bending the blade. After that, you need to warm up the module in this place. It is better to use gloves – the blade heats up instantly. After we managed to slip one blade, we do the same with the second. We enlarge the gap so that our film can be inserted into it.
We push the film and, periodically heating this area, we begin to drive the film around the perimeter of the lower part, removing the adhesive tape. We need a lot of pieces of film. Please note that the films are black at the edges – this is the adhesive tape with which the module is glued along the perimeter. If you do not remove it, then, while cooling, the module will again stick to the case.
We go through the film to the middle of the case. It is important to put the film on the sides under the glass by 2-3 mm, since then there will already be a matrix that can be damaged.
After the perimeter has been cleared, it's time to move on to entering the matrix.
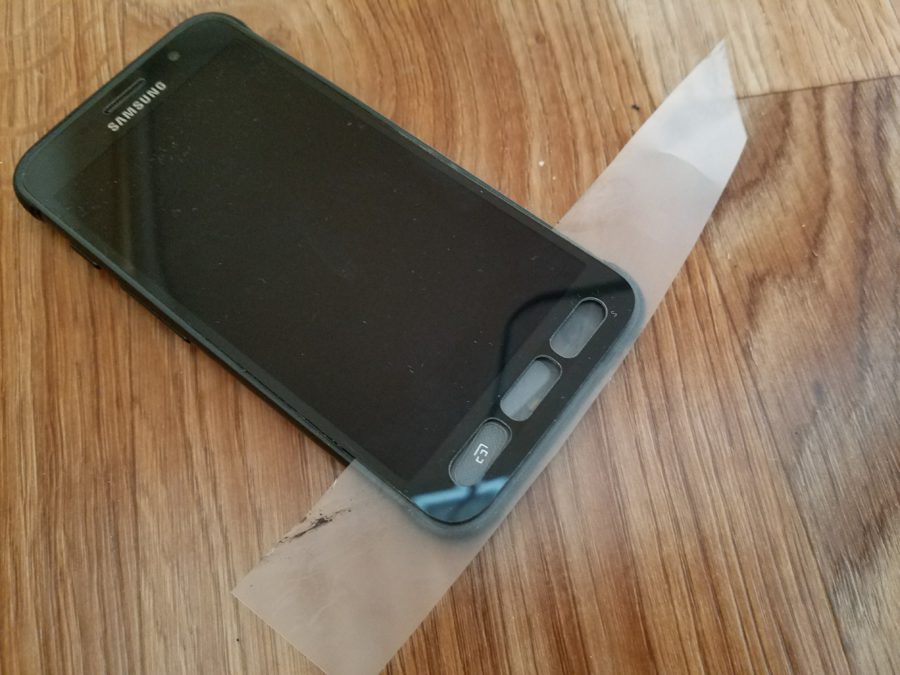
But before that you need to overcome the keys. To do this, our task is to pass the tape over the keys. Be careful, there is a thin ribbon cable running from the Home key to the right, which can be easily damaged. We pry the edges with thick picks so that the gap is sufficient, and, thus fixing the module, creating tension, we warm it.
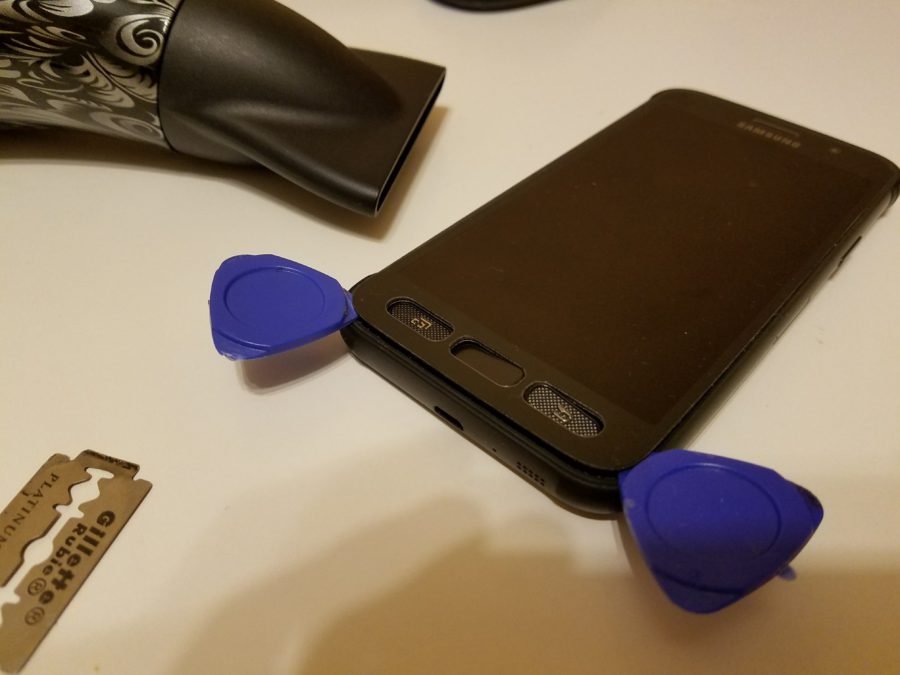
Do not hurry. The tension and warmth will do the job for you. I warmed the module for about half an hour. During this time, he perceptibly rose above the body, which then allowed me to easily wind the plastic over the keys. Having done this, leave the plastic over the keys and proceed to the next stage.
Matrix separation
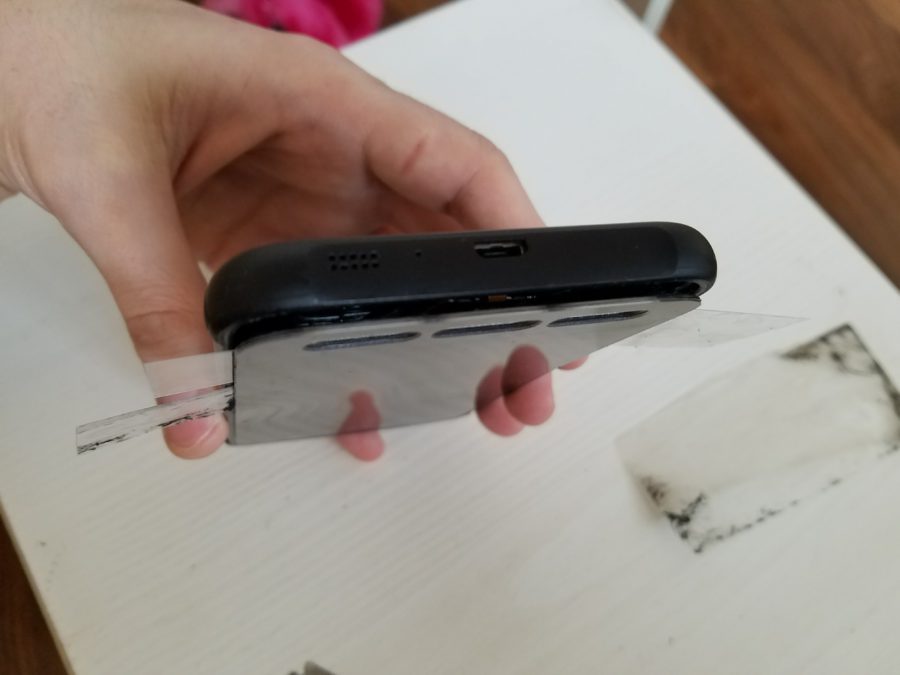
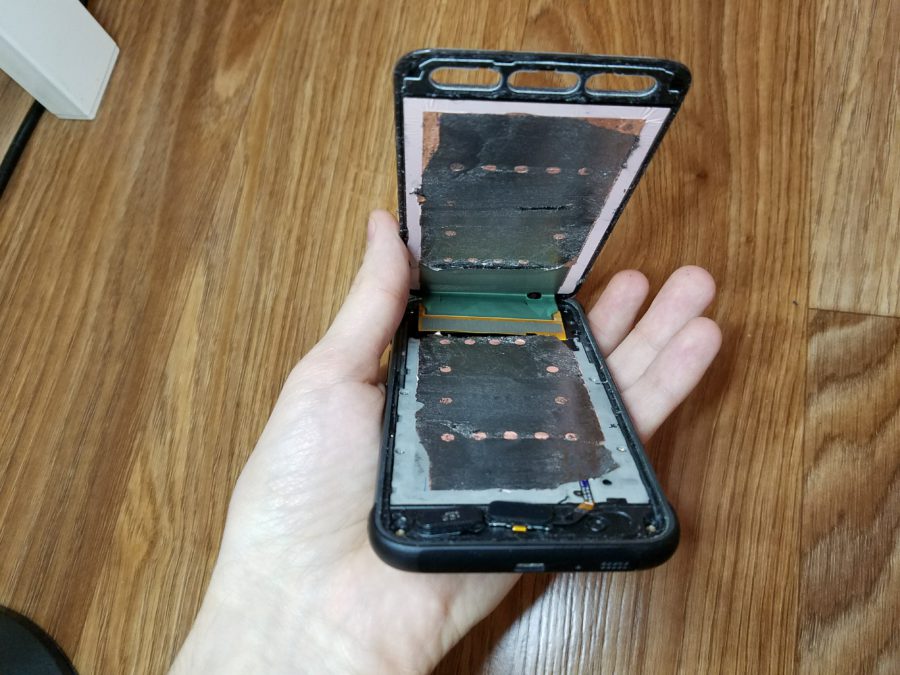
Now we have a design that allows us to go under the matrix. It is better to do this from the corner, very slowly and carefully. With sawing movements, we achieve that the laminate falls under the corner of the matrix.

After this has worked out, we begin to carefully move inward, not forgetting to heat the matrix where the laminate is moving. Our task is to ensure that the film comes out on the other side. The main rule here is 'take your time'. Better to lose an extra hour than RUB 16,000. to the new module.
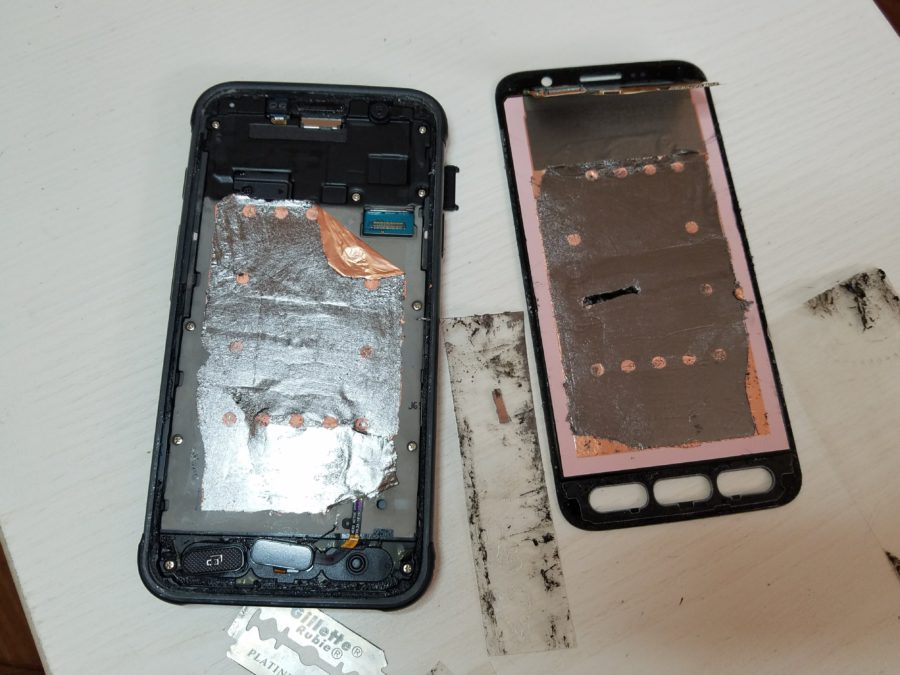
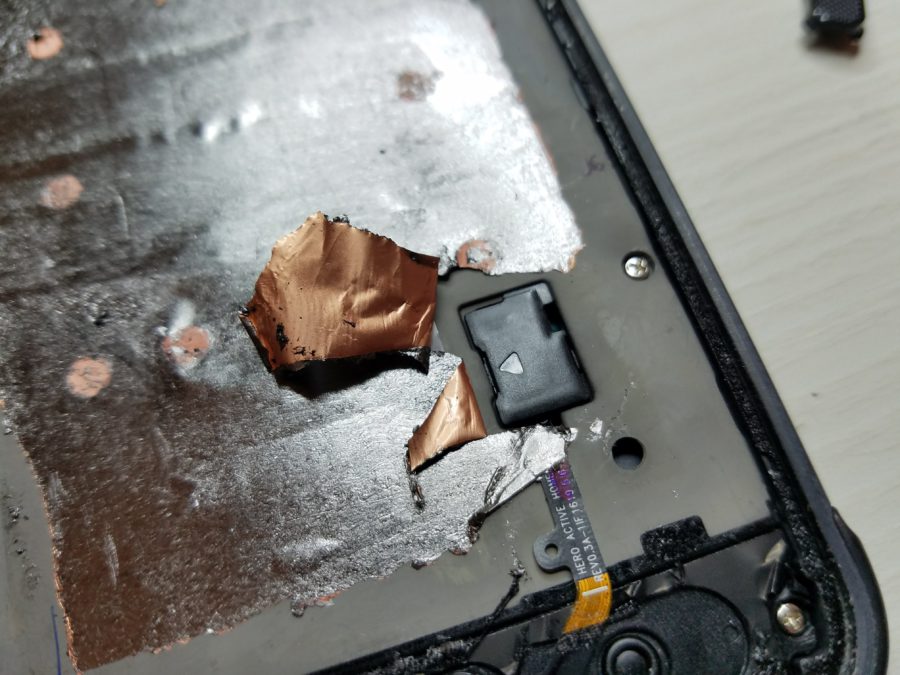
This can be tricky, as the matrix is internally glued to the frame with two layers of copper foil, between which there is a heat-conducting damping material. The ideal option would be if you manage to get into this layer and divide it into two parts. This is why it is recommended to use a thin film and not to rush.
I did just that. Hurrah. After it turned out to go from edge to edge, the very thin, unironed part of the film comes into play. We push a thin film next to the laminate, after which we remove the dense laminate. Now we start cutting the glue.
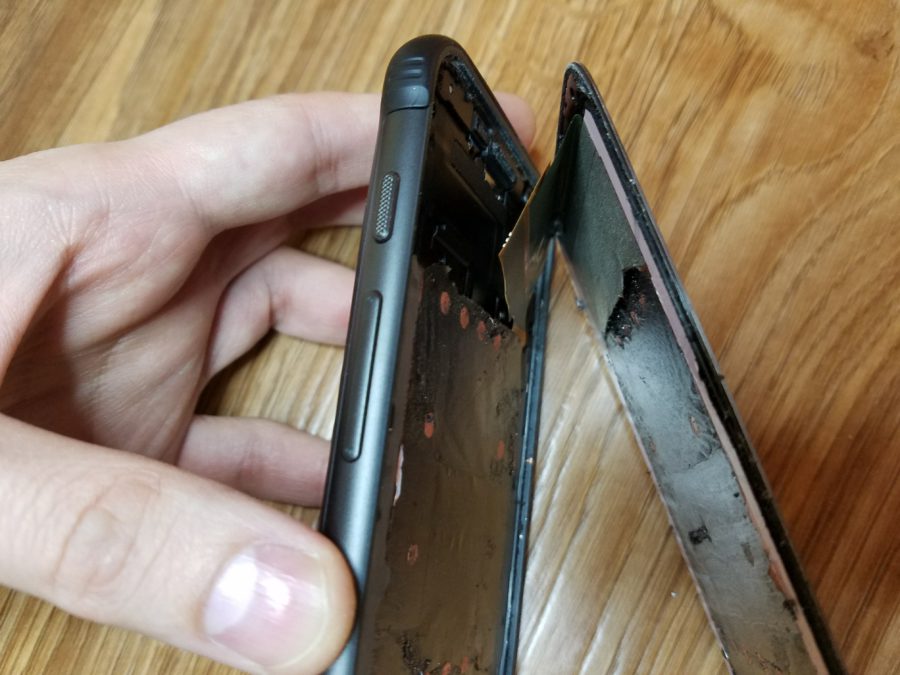
We move to the middle of the volume button. This is important because if you cut further, there is a risk of damaging the train. After that, not forgetting to warm up the matrix, raise it from the side of the navigation buttons and remove these same buttons so as not to interfere. The Home button cannot be removed at this stage, since, unlike the navigation buttons, it hangs on the loop.
Having opened the matrix slightly, remove the remnants of the glue and bend it higher. Do not rush, bend it slowly, preheating the upper part – there is still scotch tape.
When the corner is comfortable, it's time to unfasten the module. The connector is located under a plug, which is better to pry with a plastic spatula. Before turning off the matrix, we check it to make sure that our work is not in vain. The module survived – you can move on. Turn off the phone, unfasten the module and put it aside.
Full autopsy
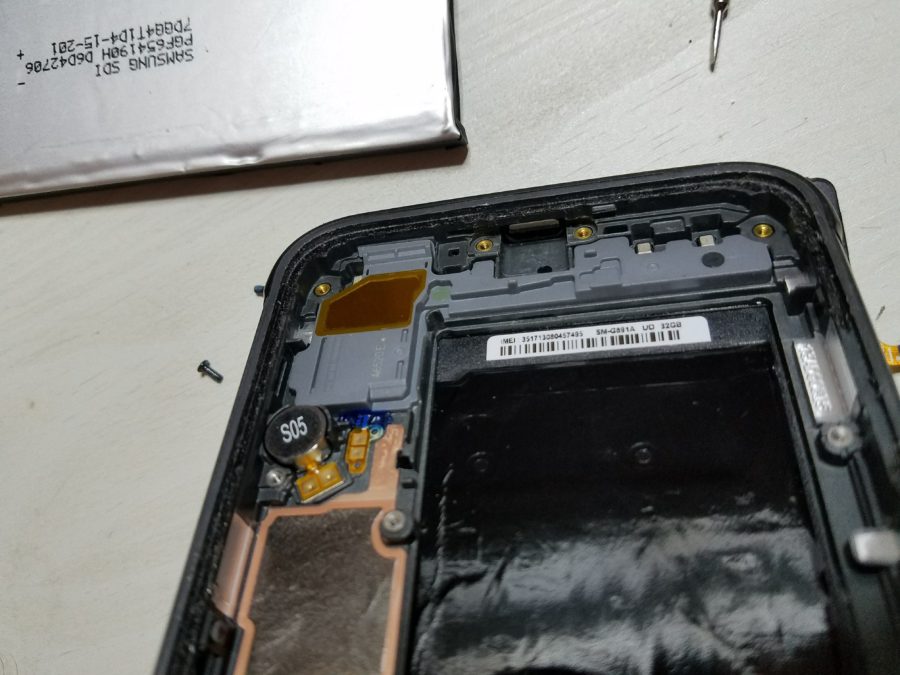
Now you need to get to the camera. To do this, disconnect the Home button and the battery, after removing the plugs. We unscrew the screws around the perimeter and, importantly, one in the center of the lower half.
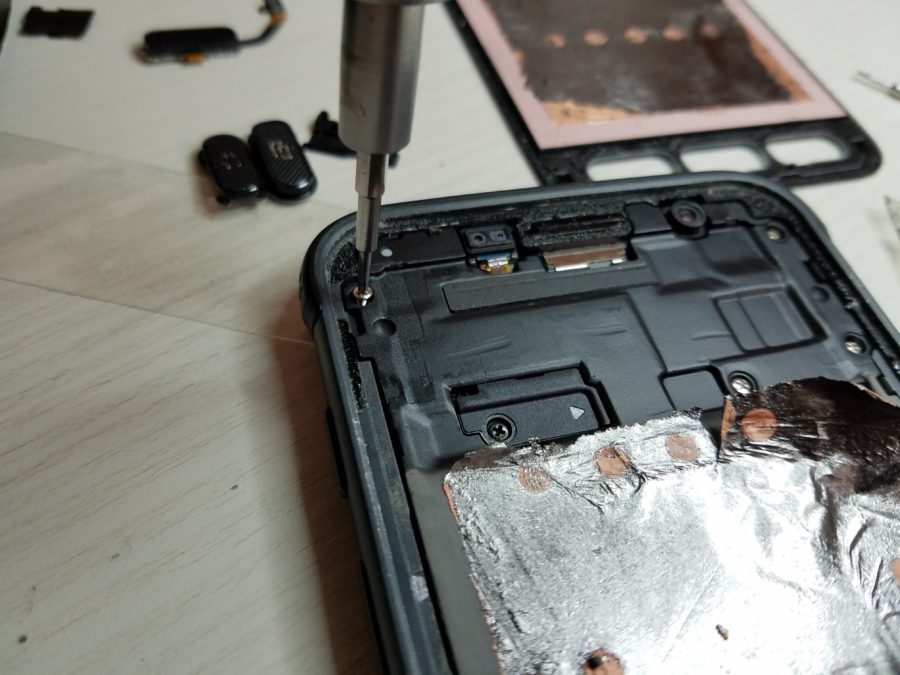
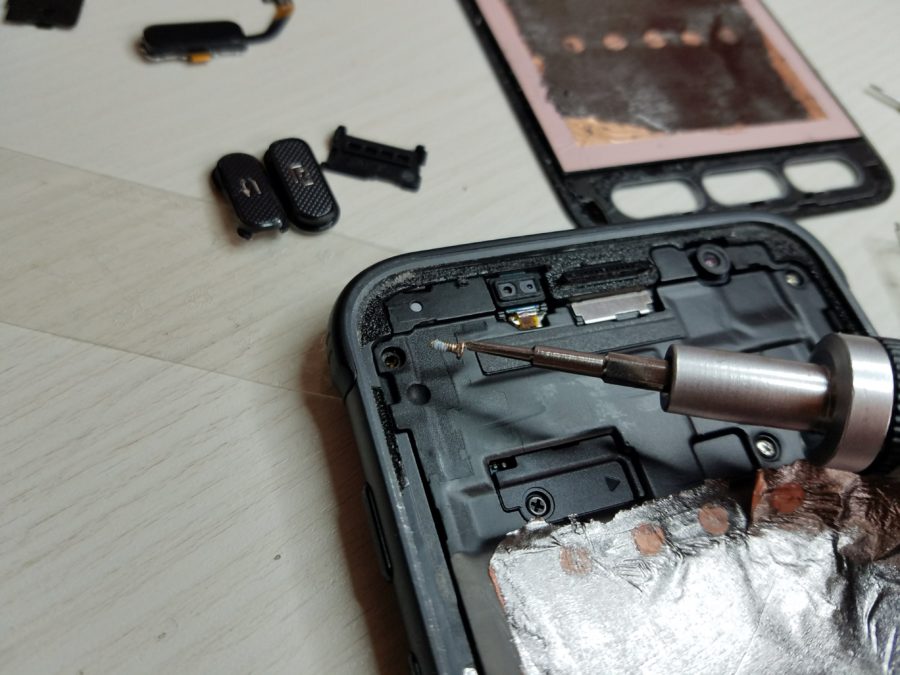
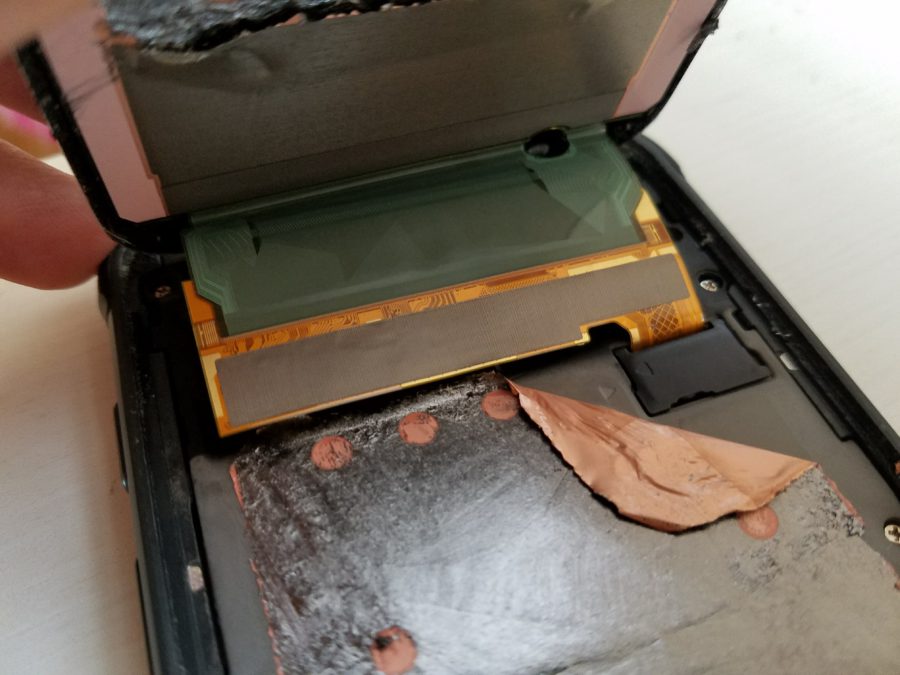
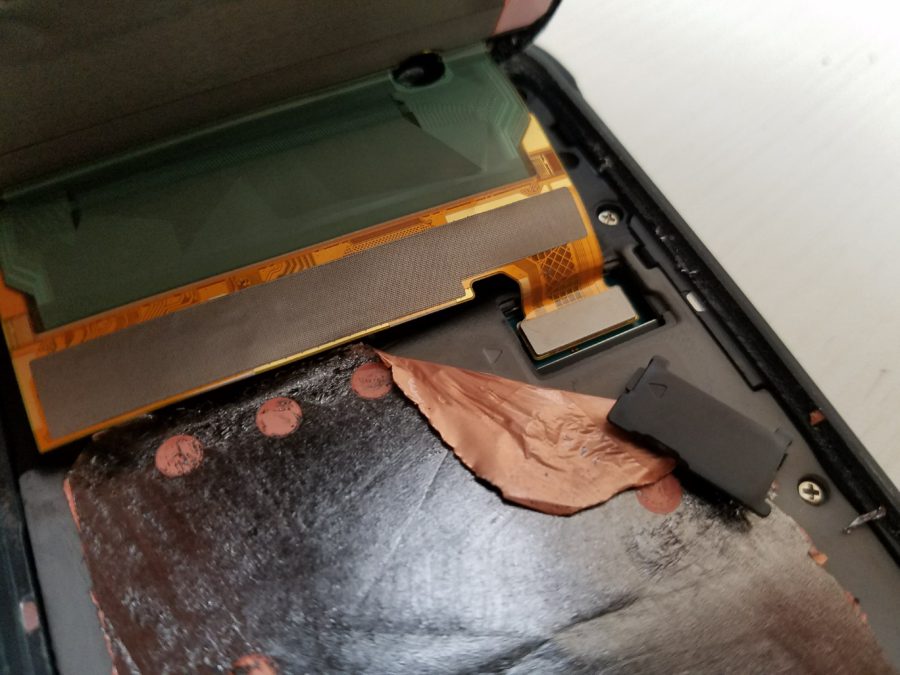
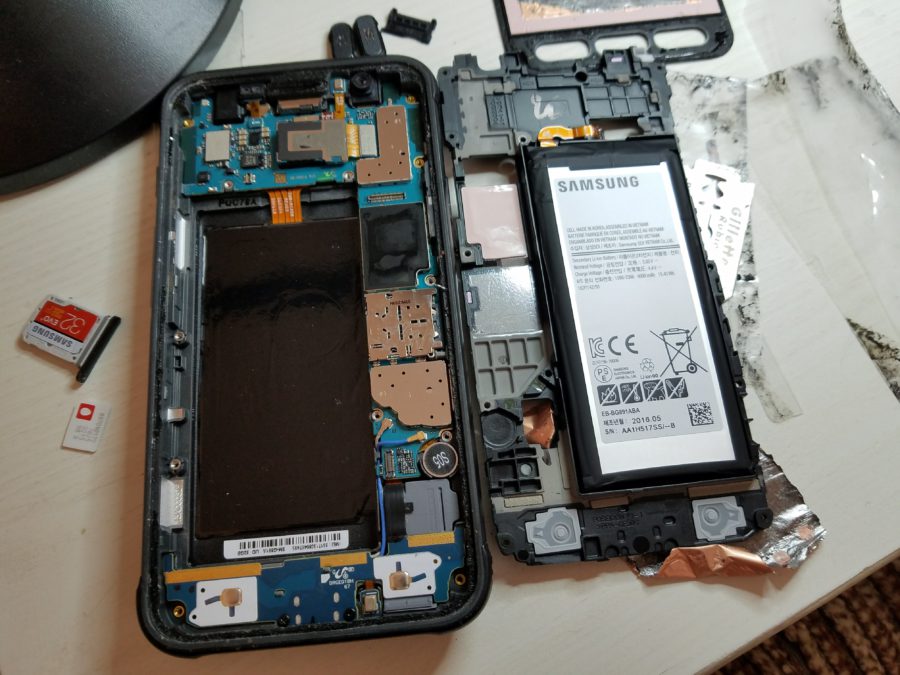
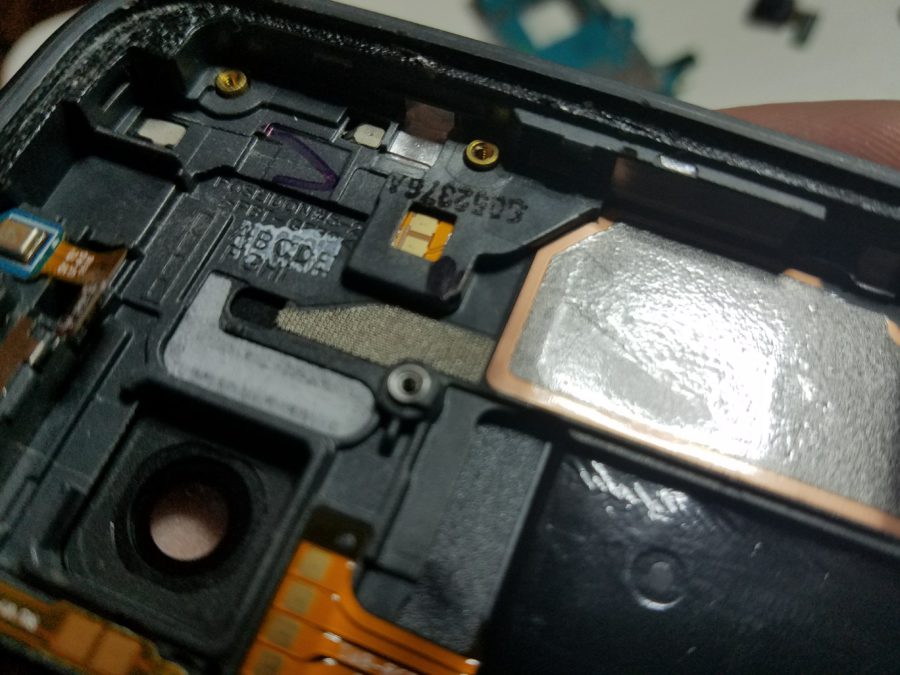
After that, we pry the protective frame along the edges and remove it from the case. The frame itself is made of metal and is part of a supporting body that provides rigidity to the structure. The frame contains a container for the battery.
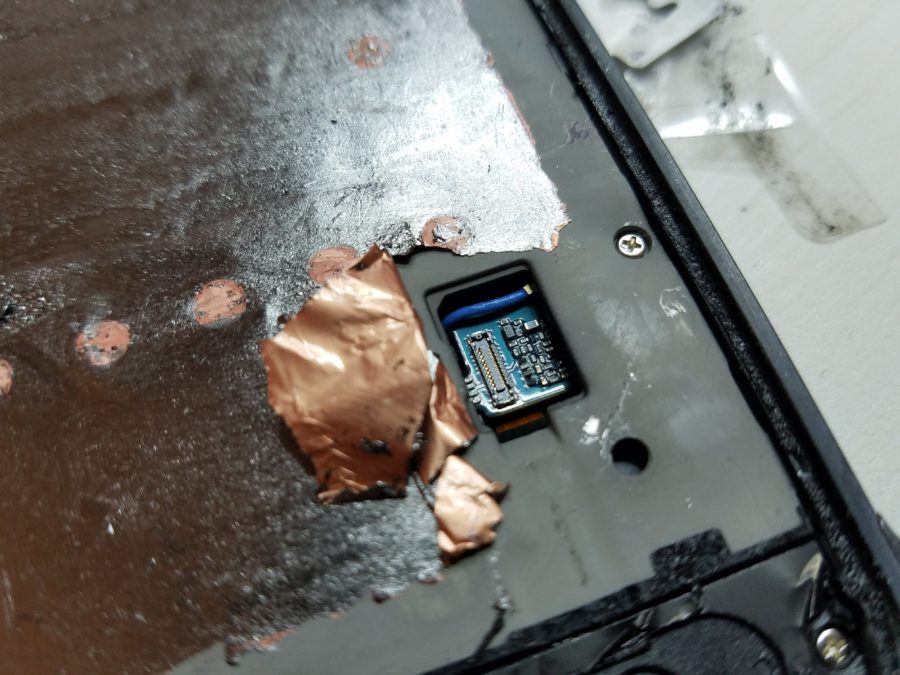
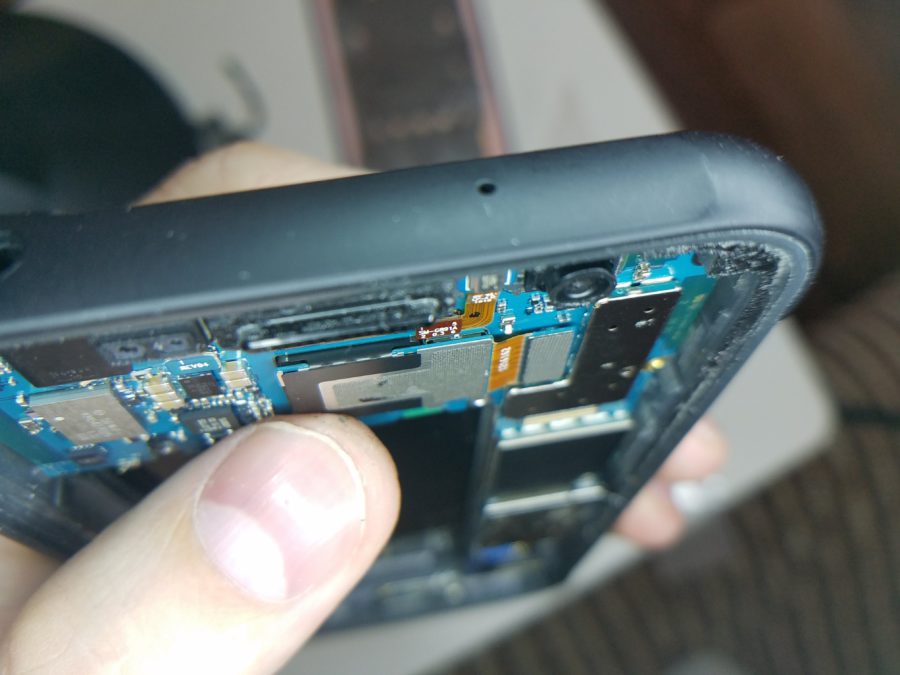
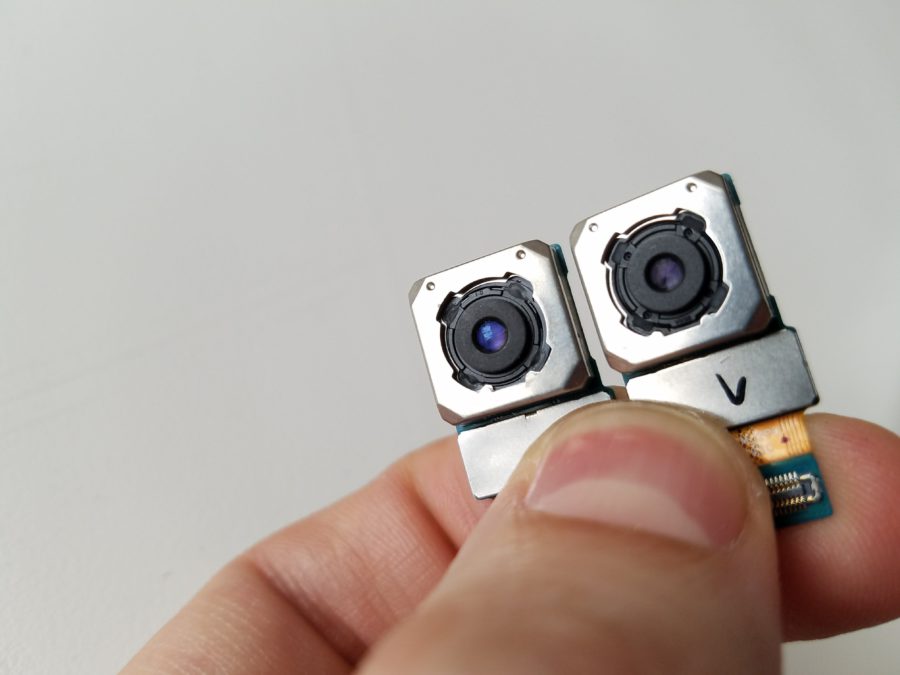
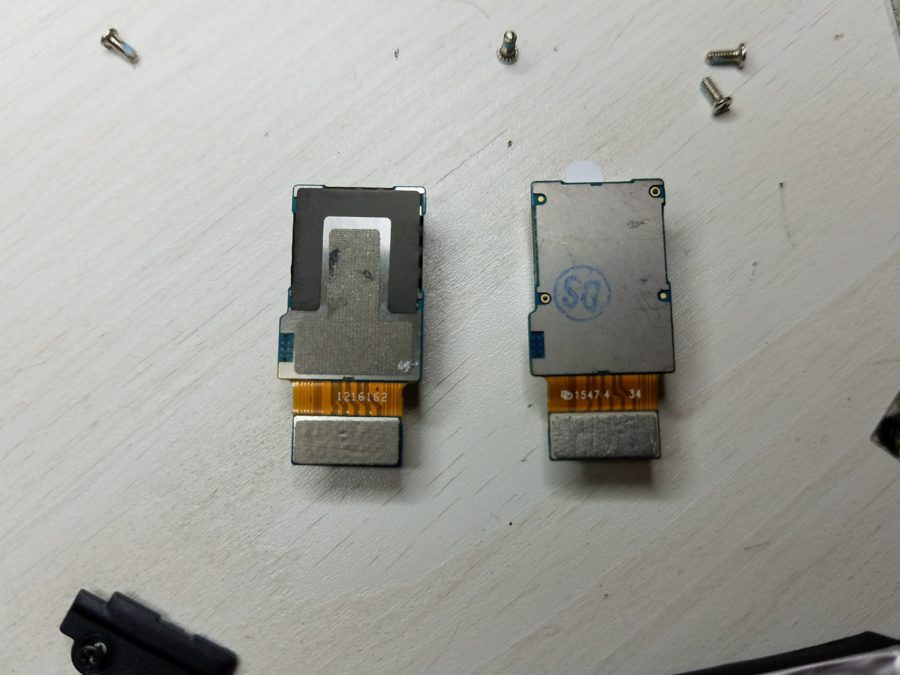
And here is the culprit of the whole undertaking – the camera module. The first thing I noticed is that the camera connector is not fully buttoned. There was a hope that the module is in good order, and did not work just because it was not tightly fastened. Alas, hopes were not justified.

We take a new module, remove the protective sticker and understand that something is wrong with it. First, it is different from the one that was extracted from the phone. If you compare them head-on – in the little things, but different. Secondly, it has different markings.
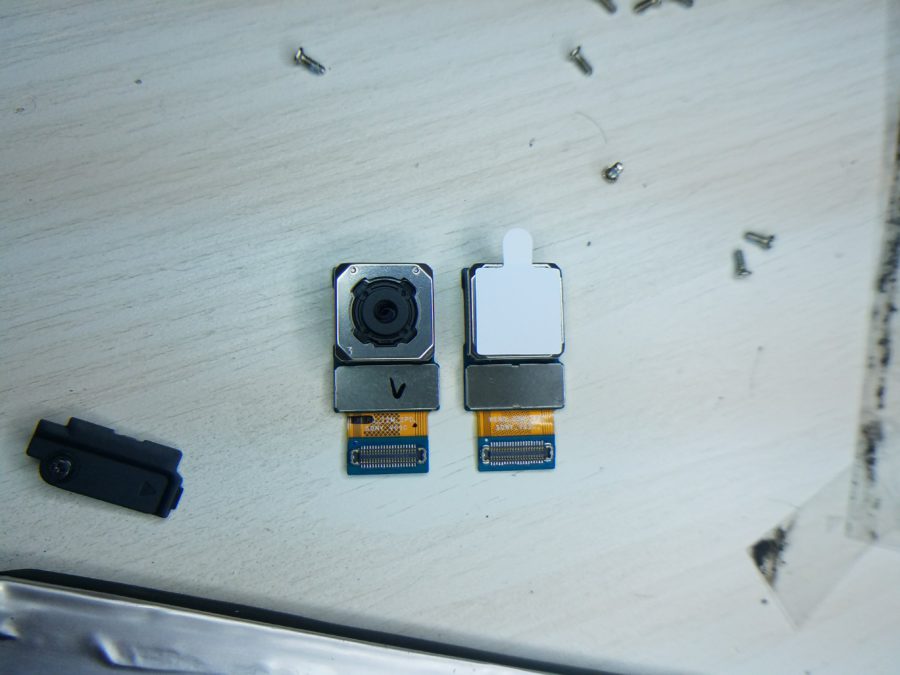
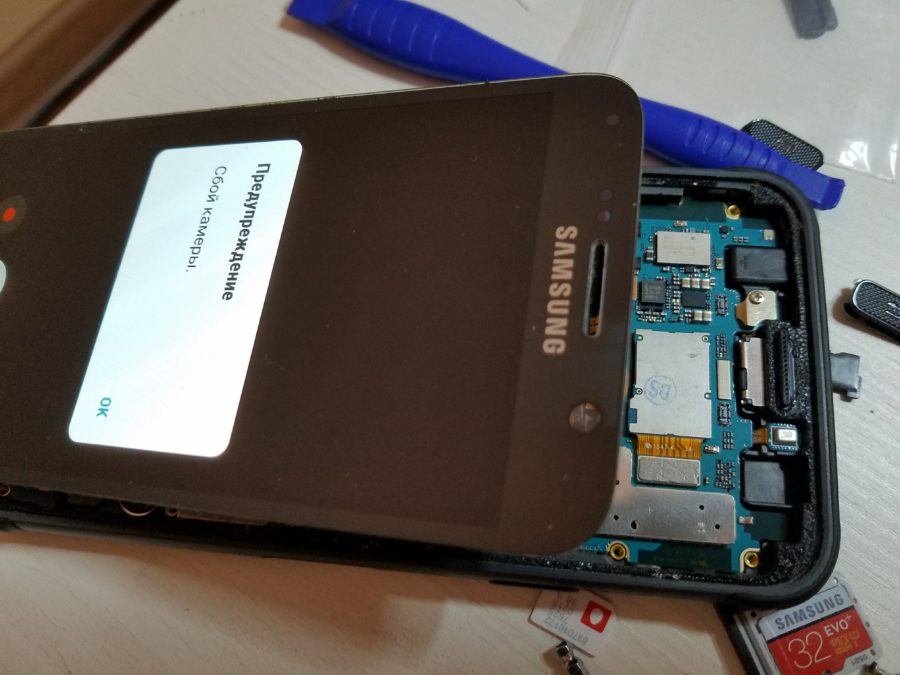
With the hope for the best, we connect and try to start the phone. As expected, the new camera didn't work.
And when I started to shoot it, something happened that plunged me into a slight shock – the camera lens just fell out of the body!
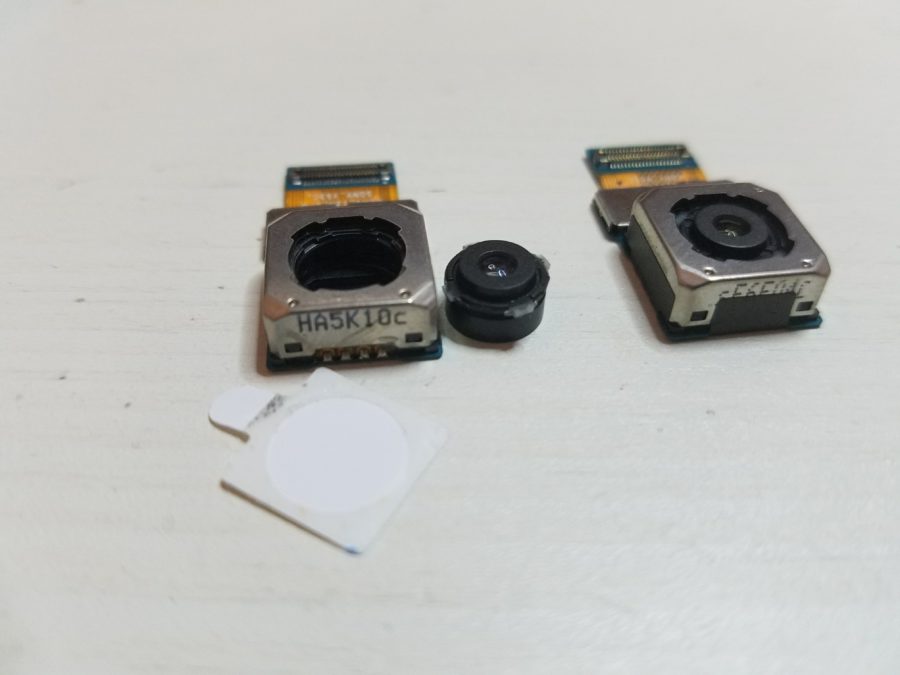
Wow, this is the original … There is only one way out – to open a dispute on eBay, wait for a refund and, remembering the seller with the last words, look for a new, original module.
As a result, the original module was found on the same day on Avito, disassembled, and bought out. While waiting, the phone will be assembled back, but not glued. While waiting for the new module, I will use it like this, nothing bad will happen.
The most annoying thing is that before buying the module on eBay, I asked the seller several times about the originality of the camera module, to which I was repeatedly given an affirmative answer. Well, for eBay Buyer Protection, that would be an additional argument in my favor.
Conclusion
It does not always work out the way you want, and there are circumstances beyond our control that can ruin the mood and shake faith in the correctness of the chosen strategy. In such moments, it is important to remember that failures can happen to anyone and the only important thing is how you can overcome them. In fact, this episode with a defective part is nonsense. A new and this time exactly original spare part has been found and is already on its way to me. And knowing eBay, the issue will be resolved with the seller.
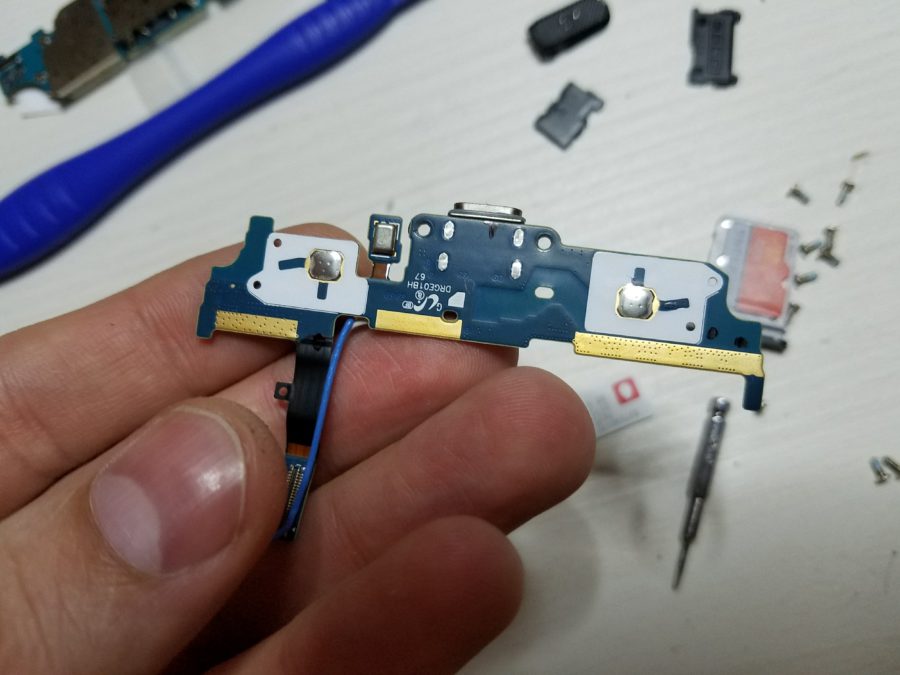
However, despite this unpleasant moment, I have nothing to complain about, because now I can disassemble the Samsung Galaxy S7 Active and know how it works inside. The main thing in this business. do not rush. By the way, water resistance is implemented here much more reliably than the usual 'seven'. Everything is soldered between layers of plastic. The lower loop with the system connector is easy to change.
New knowledge is more valuable than any little thing.
There will be no third series about Active. The camera will come to me, it will be installed, and if everything goes well, the phone will be sold, since there is already a buyer for it who knows the whole story. And I just have to decide which device will be next, and select a malfunction that I have not yet fixed, but I can definitely fix it.