Based on materials Android Pit
There is nothing difficult in taking a better picture with just a Android smartphone in your hands, you just need to leave your comfort zone. Those. exit the automatic setting mode. Here are some helpful tips and tricks to help you get better footage. They are applicable to most Android smartphones and will make your footage better for free or for a fraction of the cost.
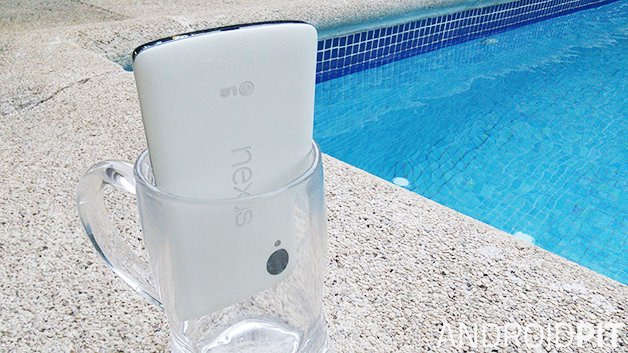
Avoid using flash
Even when you have a DSLR in your hands, it's best not to use the built-in flash unless otherwise possible. If you can use natural light for your shot, then it's always worth doing. You want natural colors, right?
There is a time and place for the LED flash of a smartphone camera, but since it is usually located in the immediate vicinity of the lens, it can create an unpleasant flare. If natural light is insufficient, you can increase the exposure (EV) and ISO speed. But remember that increasing the ISO increases the graininess and noise in the photo.
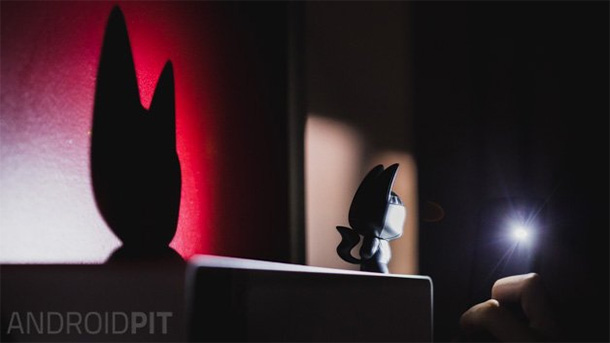
Natural light is the best light for photography
Do not use digital zoom – NEVER!
Digital zoom (digital zoom) is the best way to ruin your smartphone photo. If you do not have optical zoom, when the camera lens can really increase its size, protruding beyond the smartphone body (as in the not very successful Samsung Galaxy K Zoom), then all you can achieve is zoom and crop the frame. But you can do the same after you take the photo. This is the whole point! The digital zoom is almost exactly the same as your image processing capabilities. Take photos with the zoom off and then crop as needed.
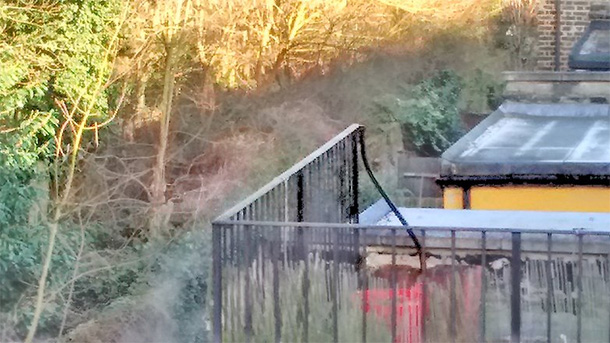
The digital zoom on the Moto E (2015) is terrible, but it doesn't look much better on top devices either
Compare settings on your best, worst and automatic photos
We all have shots that are exceptionally good, while others are just horrible. Whenever you have a great or creepy photo – see the photo info for details on settings so you know what ISO, exposure and shutter speed were set. This way you will gradually understand which settings on your smartphone allow you to get the best shot in certain lighting conditions. This is partly useful for photos taken in the automatic mode of choosing settings – you can see what settings are in your camera by default and adjust them accordingly.
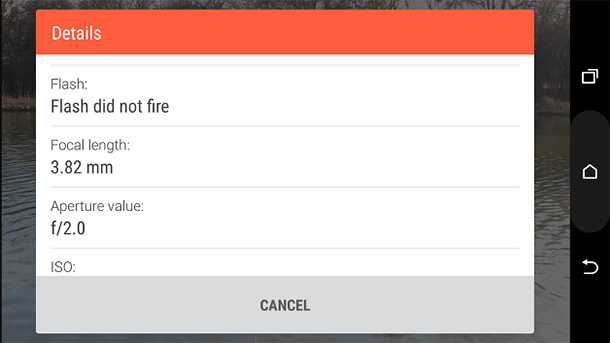
See shot info to find out which settings best suit lighting
Use HDR mode
HDR is a great mode for photographing stationary subjects if your hands are not shaking. In HDR (high dynamic range) mode, your camera sets the optimal exposure settings for light and dark parts of the frame independently. This is useful for high contrast shots. The camera takes two or more frames at the same time and then combines the best and brightest bits into a single shot. You are required to keep the camera as level as possible so that the picture does not come out blurry.
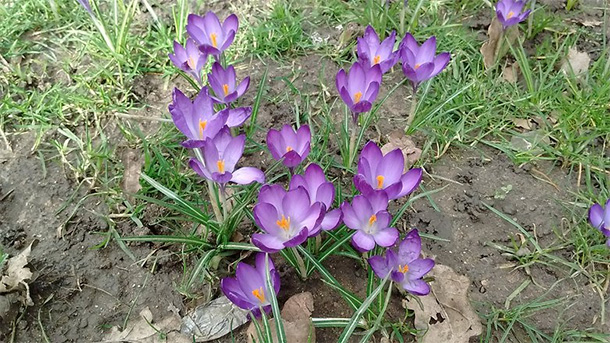
Flowers without HDR
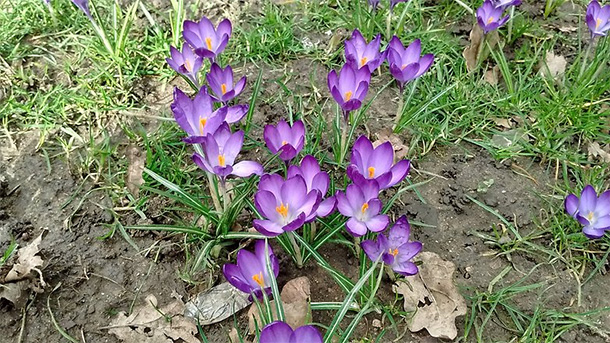
The same flowers with HDR – feel the difference?
Use filters for post-processing
There are tons of people who are ready to throw contempt on the filters that are dear to your heart, allowing you to improve your pictures. But for an amateur photographer who takes a shot from time to time, all these 'retro', 'black and white', 'windy', 'Icelandic' and other hipster filters are a good way to add originality to a photo. Most Android smartphones come with a pre-installed set of good filters, but if you don't have enough of them, then try the Pixlr app (formerly Pixlr Express) for more processing options.
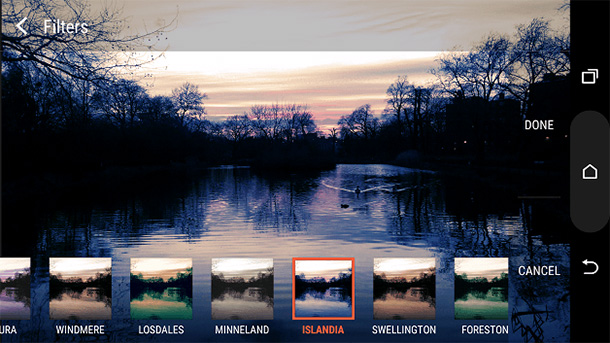
These hipster filters can be annoying, but they can also look fantastic.
The 'mirrored sunglasses' trick
If you have a pair of reflective coated sunglasses on your lenses, you can use them to get great perspective in your footage. You can see an example below. The light source should always bounce off the lenses to help you better represent the scene or event in the frame.
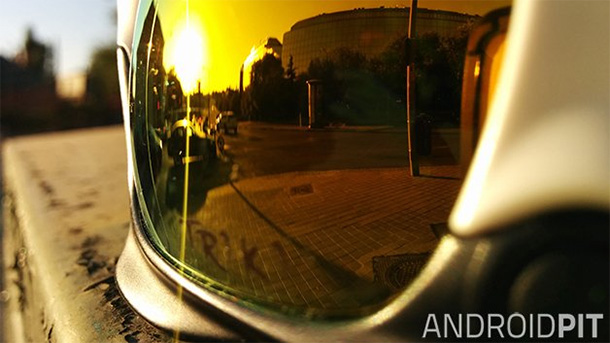
Reflection on mirrored sunglasses allows for some cool perspective shots
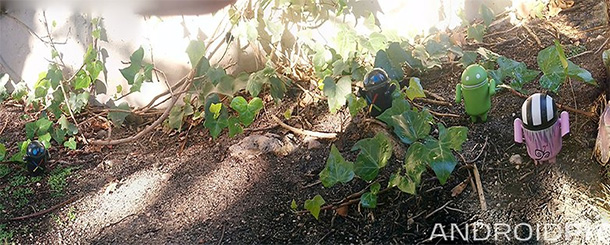
Make the subject repeat in the panoramic shot
The Google Camera app can be downloaded from the Play Store, so anyone with a smartphone running Android 4.4 KitKat or newer can use it. The application allows you to use the panoramic mode so that you can take a picture from several combined frames and cover the entire surrounding landscape. For a somewhat creepy effect, take one object and move it with the camera so that it appears more than once in the frame. The key to doing this job successfully will be holding the camera while you move the subject, so it is best to involve a helper.
Rule of thirds
This is one of the simplest principles of photography, but invaluable for composition. The idea is that our attention is naturally drawn to images split into thirds where the subject is slightly off-center. In order to take advantage of this effect, most smartphone cameras have a grid of two vertical and two horizontal stripes displayed on the screen when photographing. The subject should be at one of four intersections of these lines, which theoretically will give the most pleasing to the eye shot. Try it!
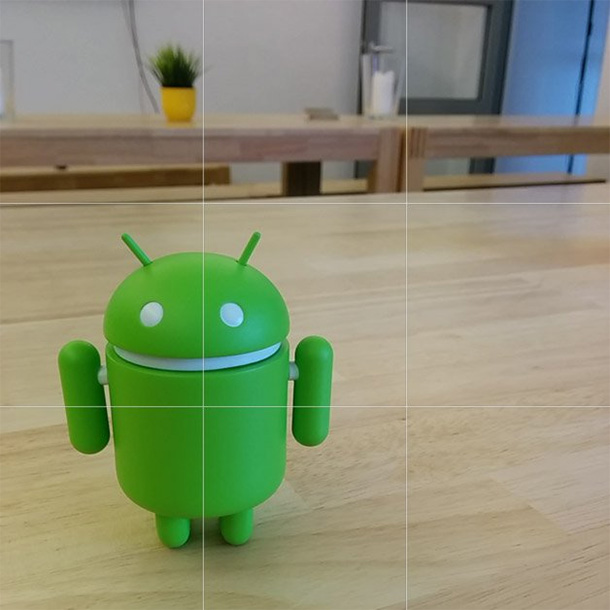
Use a simple 'rule of thirds' to improve composition
Augmented color reality
Colorify Augmented Reality is a relatively little-known app from the Google Play app store. With it, you can change the color of clothing or object to whatever you like. The more contrast the photo is, the better it works. It is worth noting that the application changes color on all objects in the frame if they are the same color. In the example below, you can see that Colorify has changed the color of the jeans as well as the color of the sneakers.
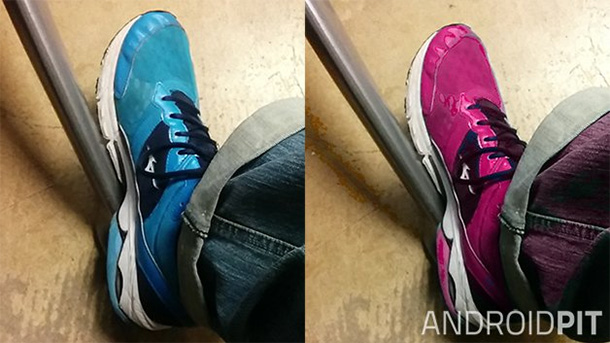
Changing the color of an object using an app
Small planet
Another cool way to tweak your photo. You can turn your panoramic shots into a kind of globes. This effect is known as the 'little planet'. We recommend two applications that can achieve this effect. The first, Tiny Planet FX, is paid, but has a number of options for adjusting the effect for more entertainment. The second, Small Planet, is free. You will have to tinker with its settings to get used to, but as soon as you figure it out, you will be able to make really interesting shots.
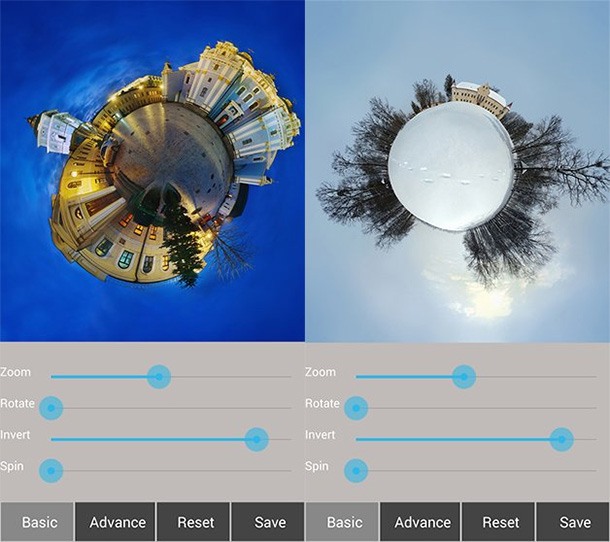
The 'small planet' effect is truly unusual
There are hundreds of ways to enhance your smartphone photos. Which ones do you like? If you have any of your own proprietary improvements for the OS Android, then do not hesitate – share in the comments!
