Hello!
In an article about the Galaxy S7 EDGE water resistance, I wrote about my long-standing idea to make a waterproof Galaxy S6.
And I was so captivated by this idea that I did not put it on the back burner, and decided to start my own, no matter how ambitious, so useless from a practical point of view, a project.
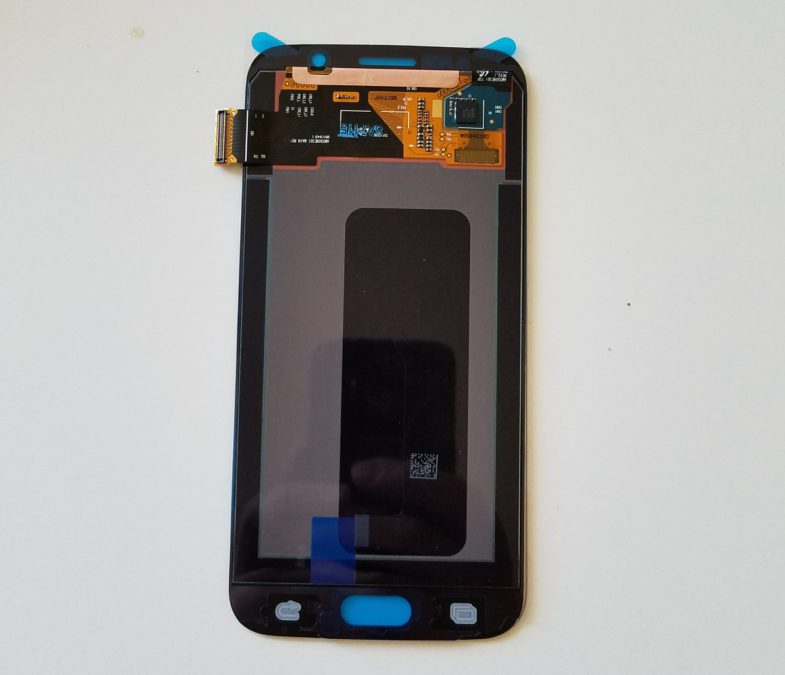
For this, a test subject with a broken display was purchased, for which a new module was purchased separately.
Start
To begin with, we disassemble in order to assess the scope of work, as well as the reality of the whole undertaking.
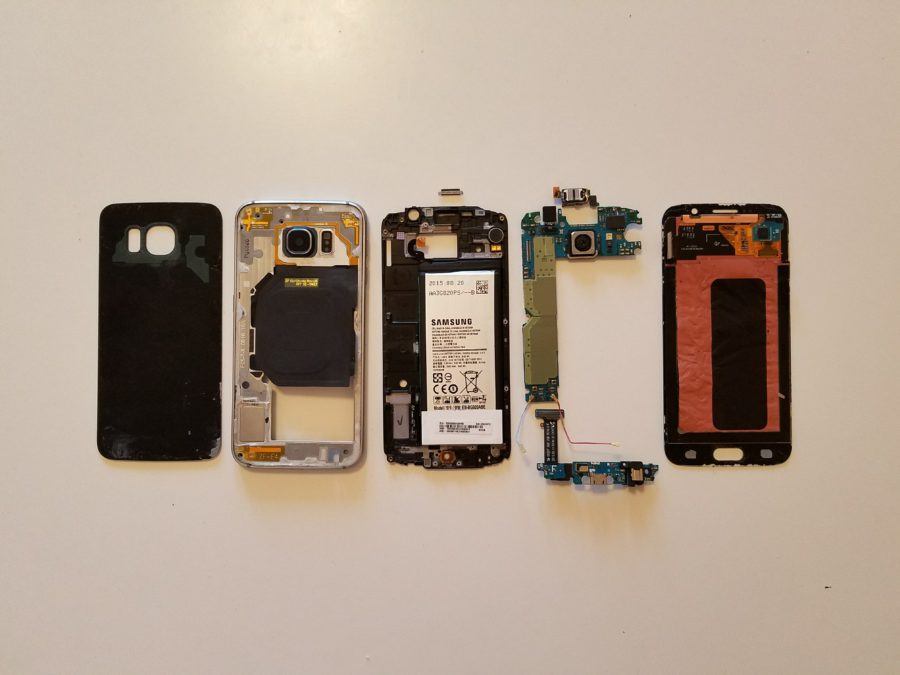
В отличие от S&/S7 EDGE, в нашем случае конструкция несколько иная. In addition to the metal frame, motherboard and cover, the S6 also has an internal plastic base on which the main elements of the internal filling are attached.
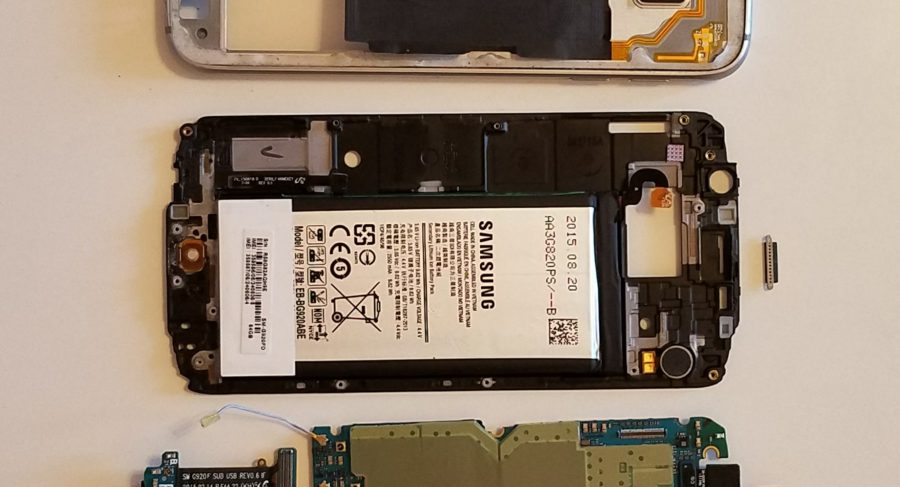
This will create additional problems for us. But I hope they are surmountable.
Cap
The simplest element to seal is the back cover. It will be necessary to carefully glue it around the perimeter, and also replace the transparent seals in the area of the camera and the flash with high-quality tape in order to prevent moisture from penetrating through the opening of the camera.
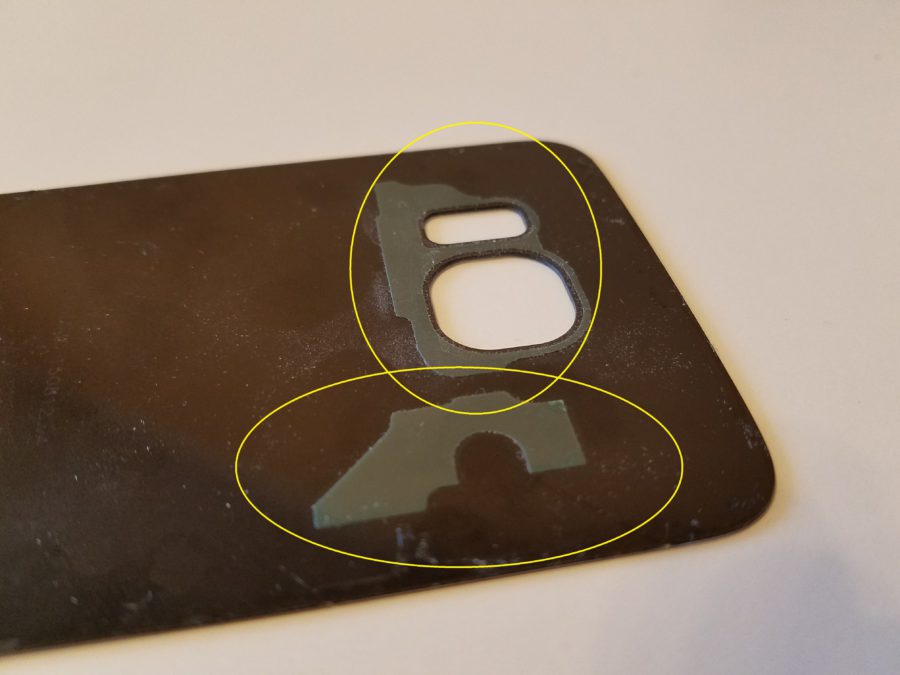
For reliability, I plan to use two methods at once – glue and scotch tape.
Frame
Let's go further. Next, we have a supporting frame. There should be no technological holes where the frame will come into contact with the back cover.

To do this, we remove our own adhesive tape around the perimeter, and check for the presence of holes we do not need.
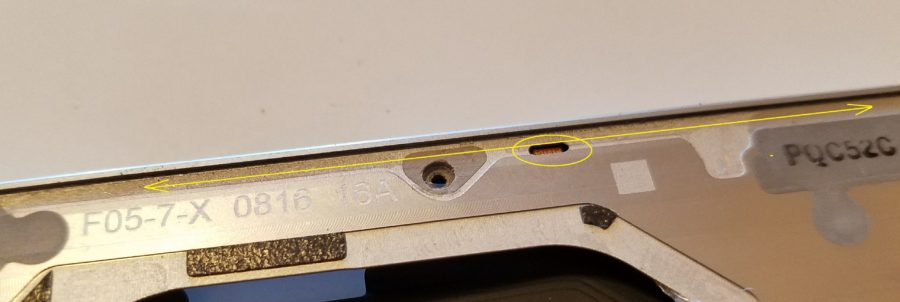
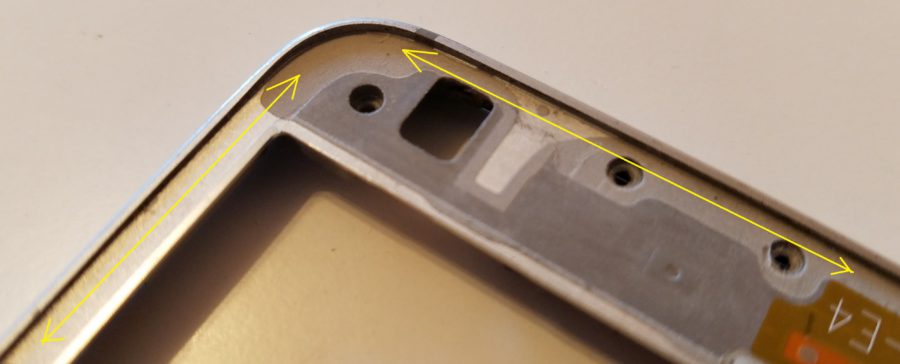
By the way, the tape is used here the same as in the Galaxy S7 / S7 edge. There is a feeling that they also wanted to make the S6 waterproof, but for some reason they did not.

Everything is in order around the perimeter. There are no extra holes. Those that exist will not interfere with us. Fine.
Moving on.
We turn the frame over and estimate the width of the sides on which the module will rest. This is important, since it depends on how reliable such a connection will be, and whether it will be possible to glue the perimeter well.
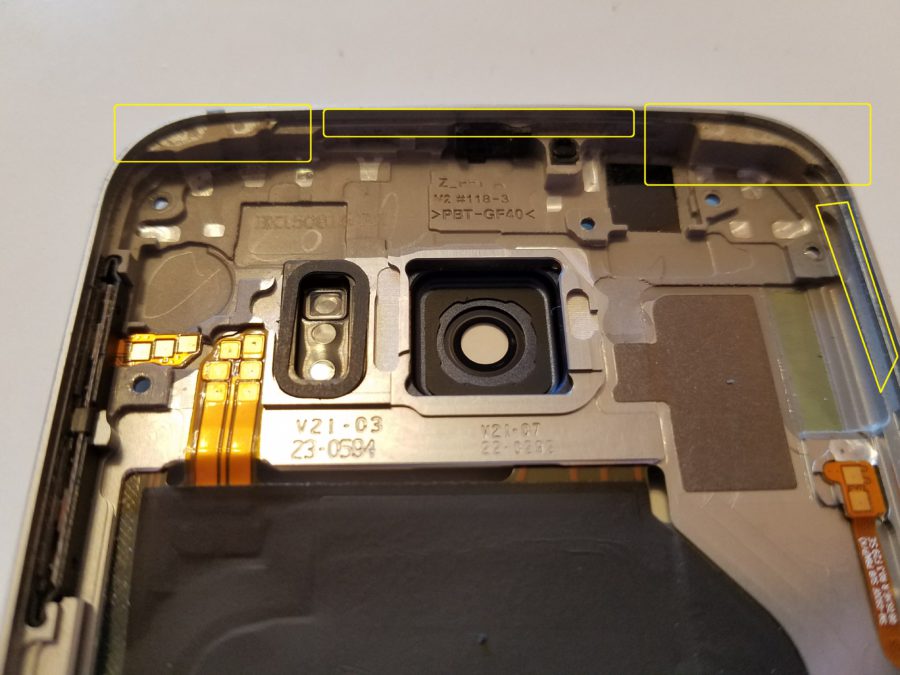
Due to the geometry of the sides, problems are possible – in some places the sides are too narrow. We will try to compensate with more glue and tape on the plastic frame.
Buttons
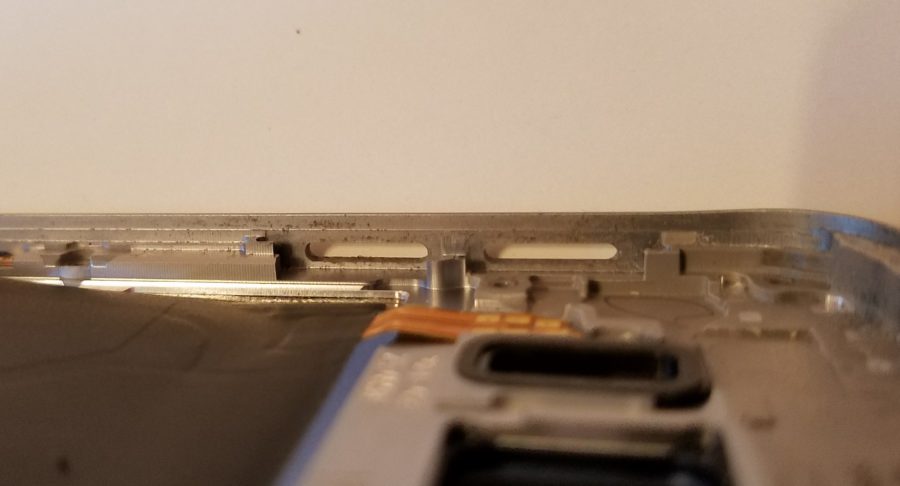
Next, we look at the buttons that caused concern in the S7 EDGE.
The design is similar, the button itself is a pusher, but the groove in the body is made for the entire size of the button. There are two options for solving this problem.
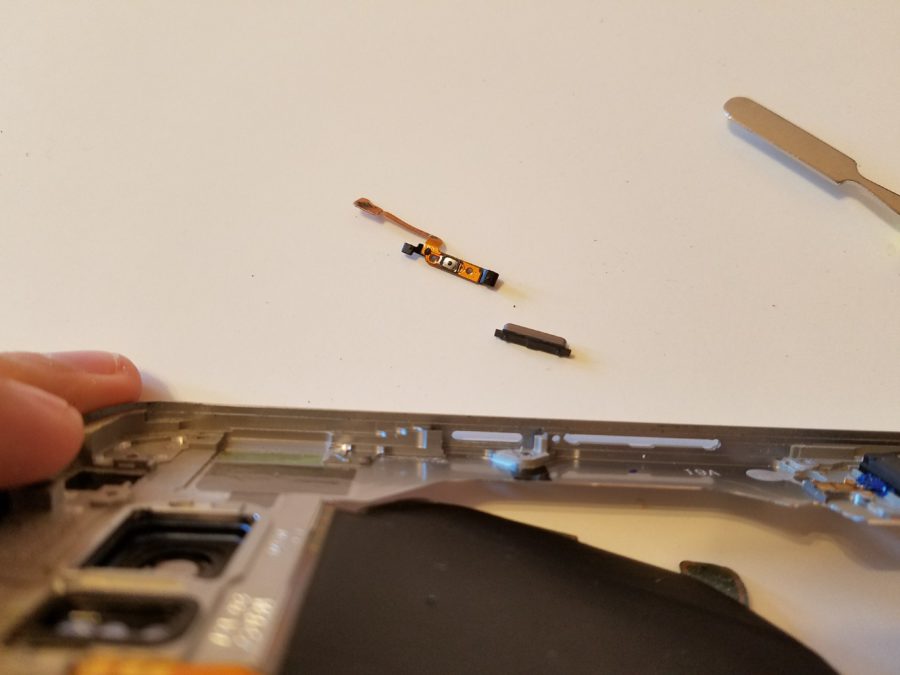
The first is to glue the button landing site with tape over the entire structure, and then fill it with glue or varnish.
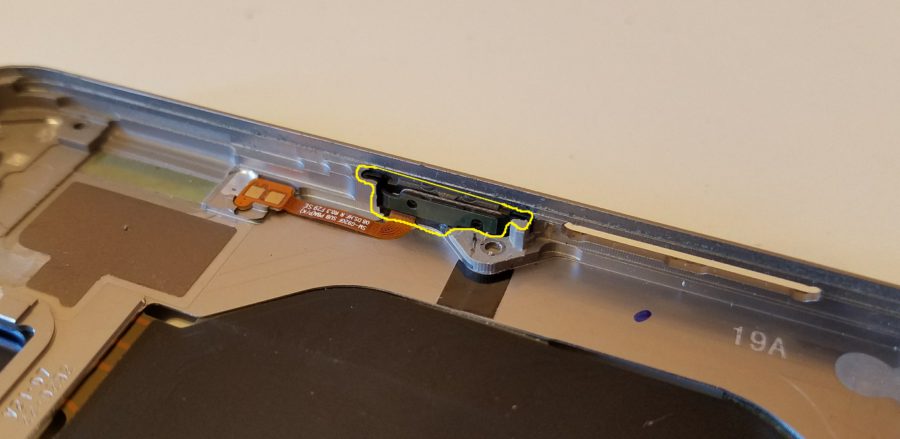
But this method is rather crude and can cause the glue to interfere with the rest of the structure. Worse, the water in this case will come into contact with the metal elements of the structure, which means it will create problems.
The second way is to make a so-called skirt around the key, and stick this skirt to the body, thus creating a flexible membrane that does not allow water to pass through. Perhaps I will.
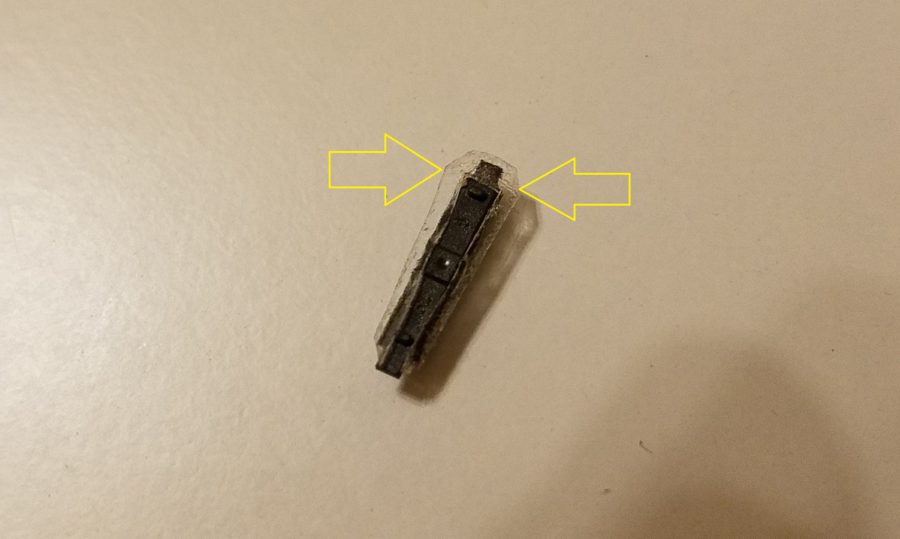
It can be made either from scotch tape, which is not so reliable, or from silicone or rubber. We'll have to look for suitable membranes from other phones.
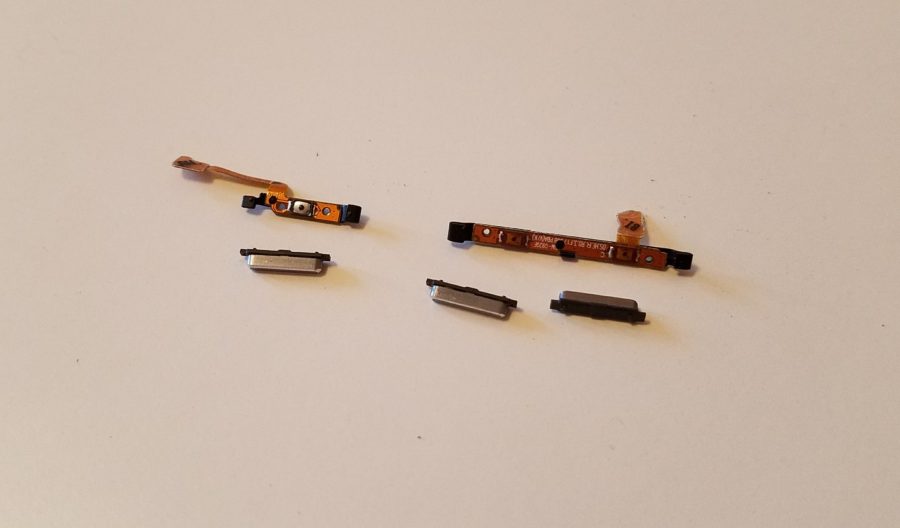
The volume buttons are an exact copy of the power button, so everything is clear with them too. We will do it by analogy with the power button.
Microphones
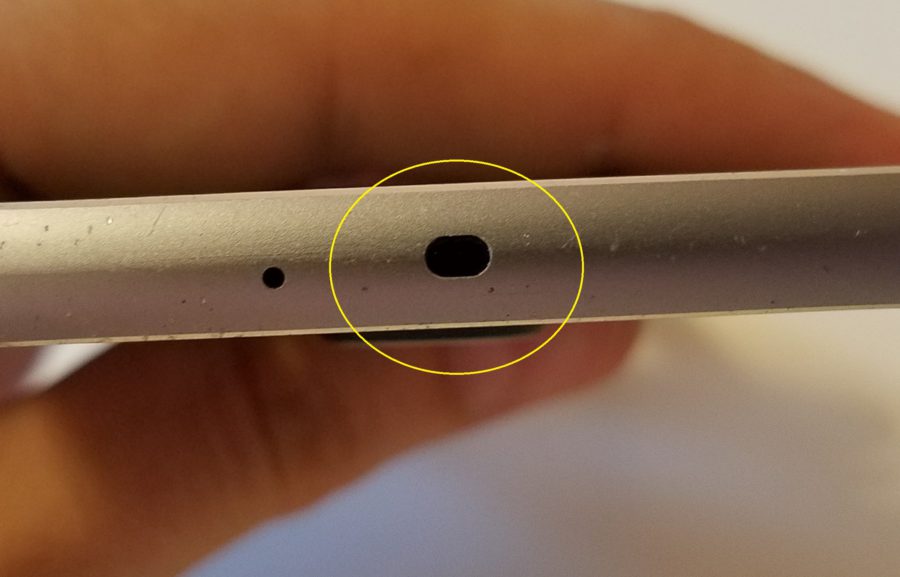
Top and bottom. It uses a regular mesh, which can be replaced with a Galaxy S7 membrane, since you can order one without any problems. Or find a faulty donor. Solvable.
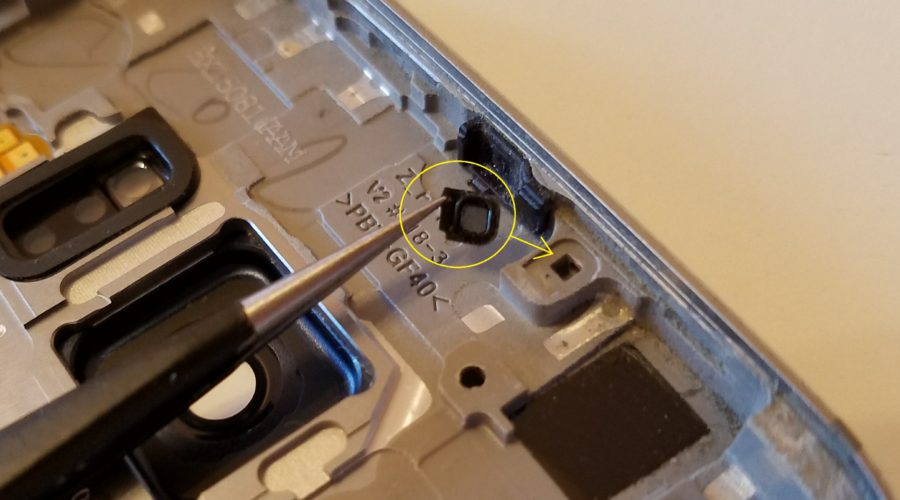
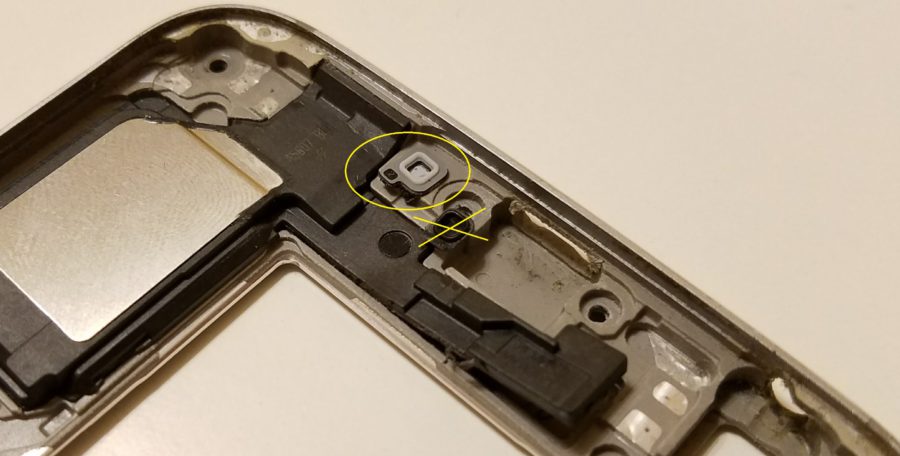
The IrDA window itself is well glued, and does not cause concern, but it will also be removed and glued. God saves man, who save himself.
Connectors
And then one of the most time consuming parts. Bottom cable with headset and charging connectors.
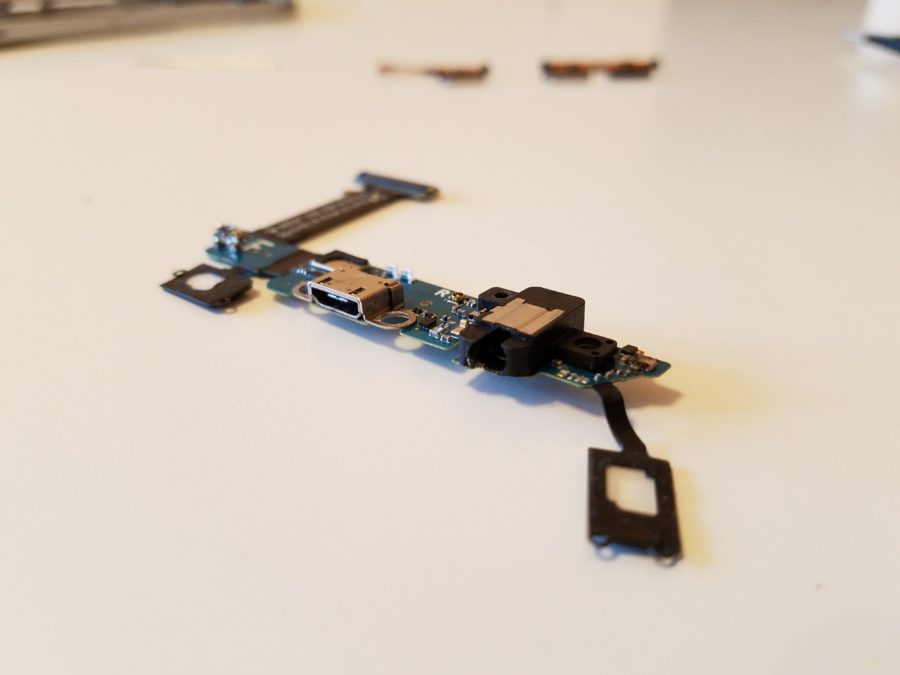
It will be necessary to build up seals on the body. This can be done either with the help of silicone, or simply by taking it from the S7 donor case. The second option is preferable, but not so interesting.
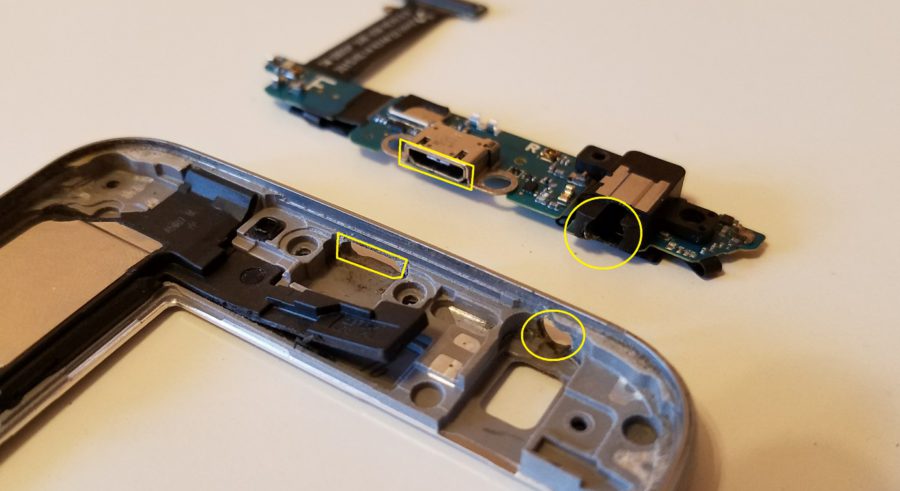
Among other things, it will be necessary to prepare the connectors themselves on the board. The easiest way is to fill all suspicious places with glue to ensure the waterproofing of the connector housings. With the MicroUSB connector, it's pretty easy. since all contacts are already covered with varnish, the manufacturer took care of this. But the jack 3.5 will require a brush and glue. But this is also all pretty simple.
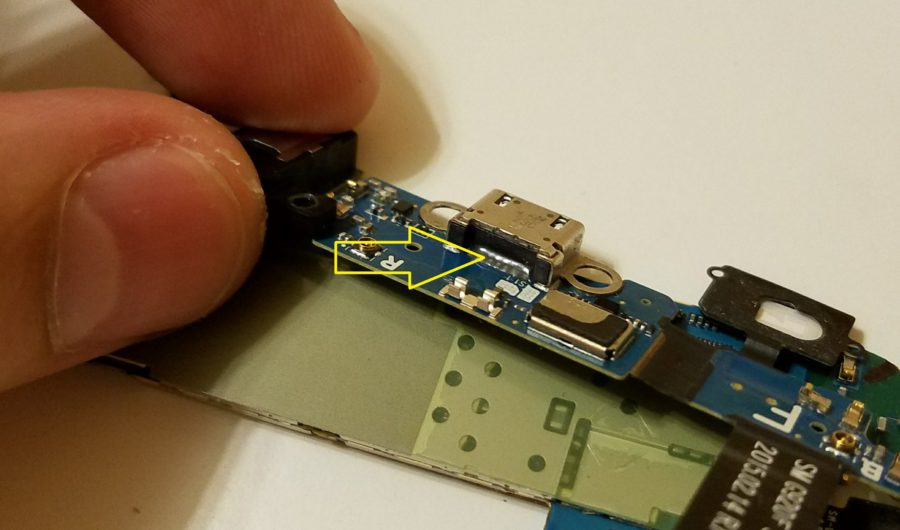
I repeat, the main thing is to provide the place where the connectors and the frame dock with reliable seals.
Music speaker
But there is also a music speaker below. What about him? The speaker housing itself is very well glued to the frame, and does not let water through anywhere, except in one place – the area of the resonance chamber, brought out to the central part of the frame. I turned it back to glue it.
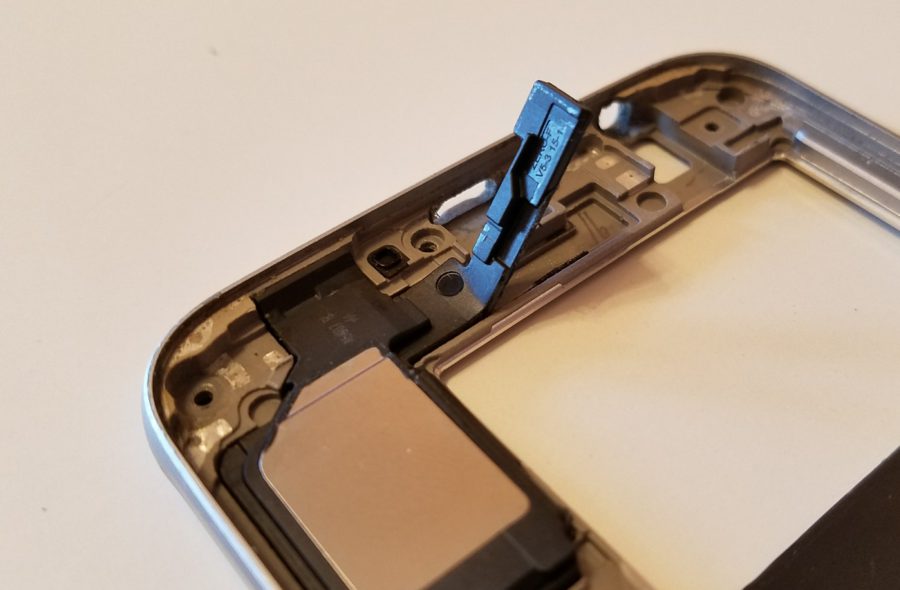
You can just take a syringe and spill it gently with glue on top.
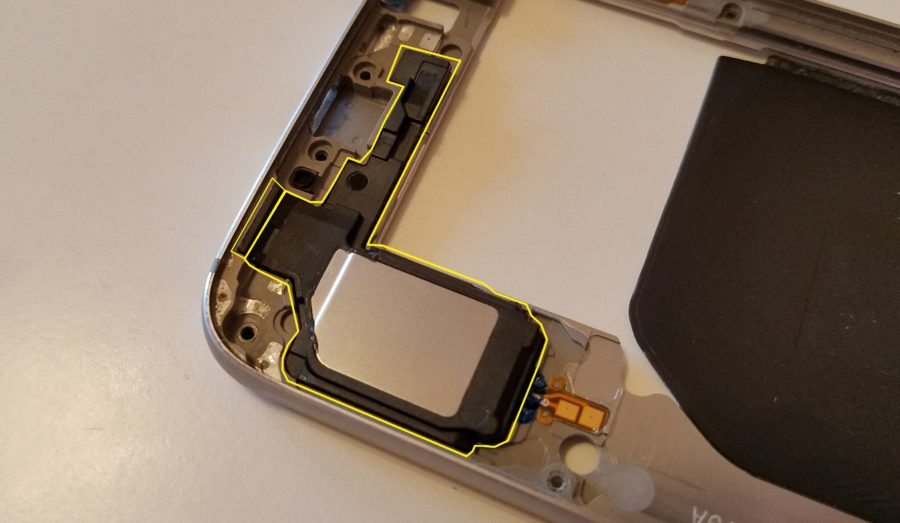
It'll be enough. Only you will have to glue around the entire perimeter of a rather massive speaker case. The fact that water will get into the speaker housing itself is not scary. It won't hurt there.
Plastic base
Next in line is the inner plastic frame, which also adds to the problems. The main points worth paying attention to are the place where the loops of the touch buttons are output, which will then be covered by the display, as well as the central mechanical button. The exit points of the loops are simply filled with glue, end-to-end with the plane of the frame, and then on top of the glue there will be another layer of adhesive tape reinforced with a layer of glue.
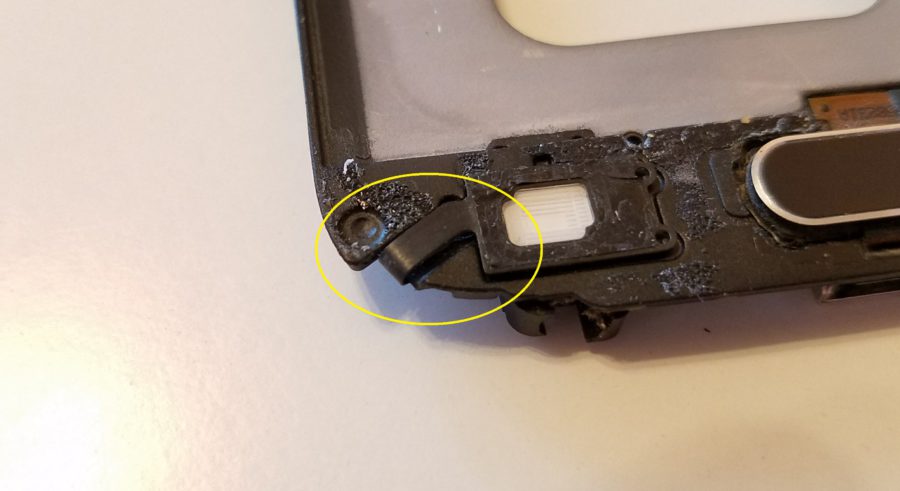
But you have to tinker with the button. And here we again have two options. The first one is to 'knock' a membrane like the one on the buttons iPhone, for example like this:
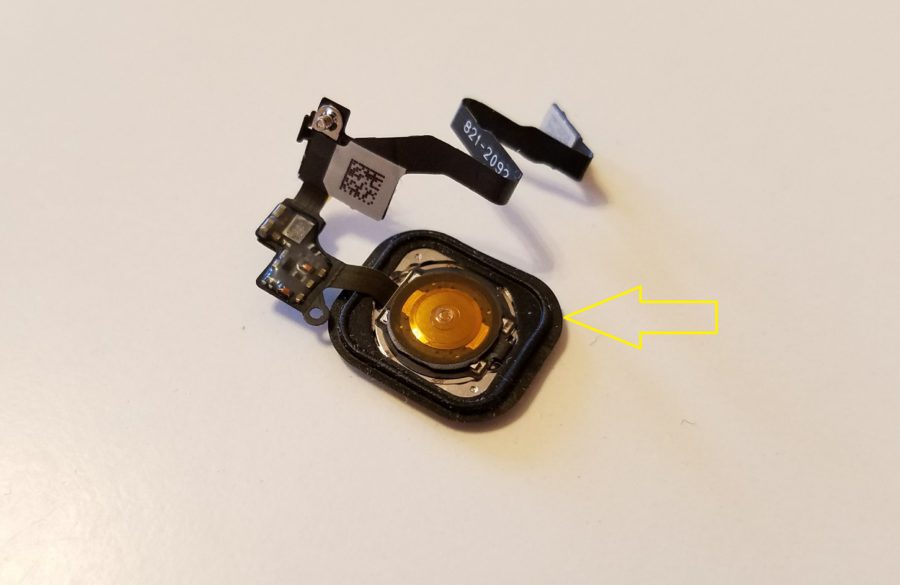
You can simply remove it, then cut and glue it in two places, wrap our button with it.
And the second way, more expensive, is to remove such a membrane from the Galaxy S7 button. There are also two ways here – either find a donor or order a button separately. I have a donor from whom I will shoot everything I can.
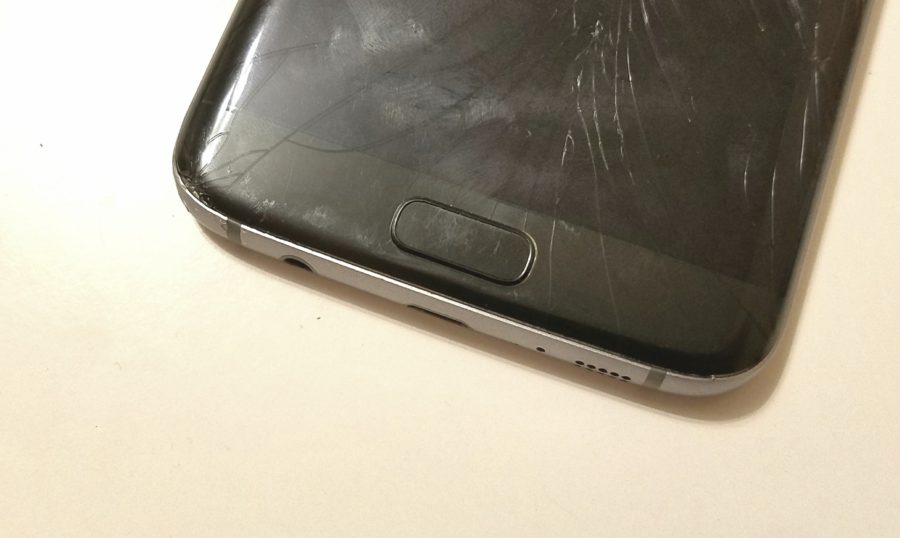
Donor
If you make the membrane yourself, then you will have to make it sticky so that it sticks to the glass when assembling the module and the plastic frame.
SIM card tray
And it is difficult and simple, but you cannot do without a donor. You will need to take a tray from S7, and borrow a seal from it. Fortunately, there is a place for it.
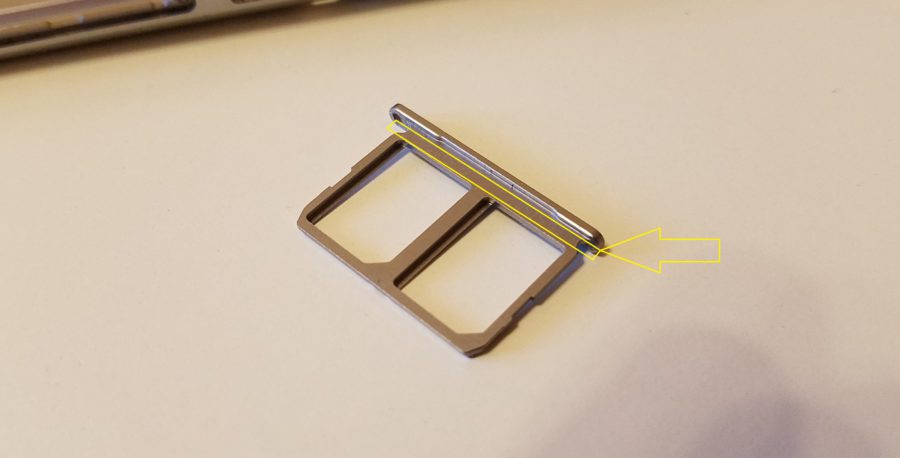
The gap between the body and the tray at the S6 allows you to add this seal there.
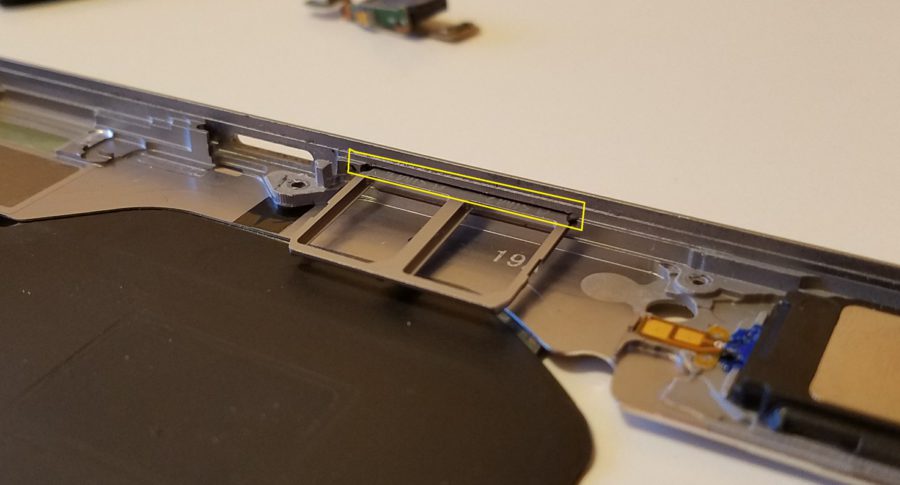
Which again suggests that Samsung had plans to make the S6 waterproof, but then something went wrong.
Speaker
Moving on to the top. Here we are waiting for a quest with a speaker grill and the speaker itself. First you need to glue the grate itself to the plastic frame.
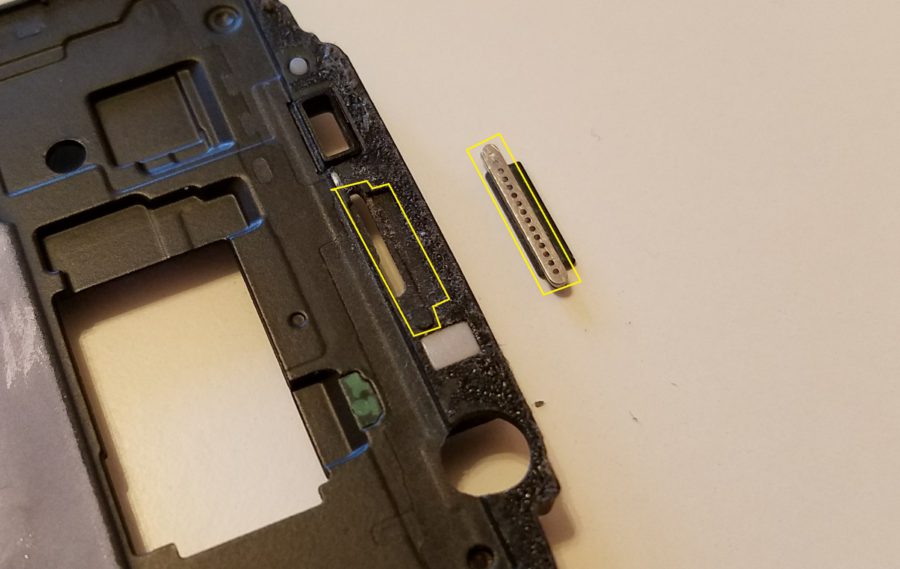
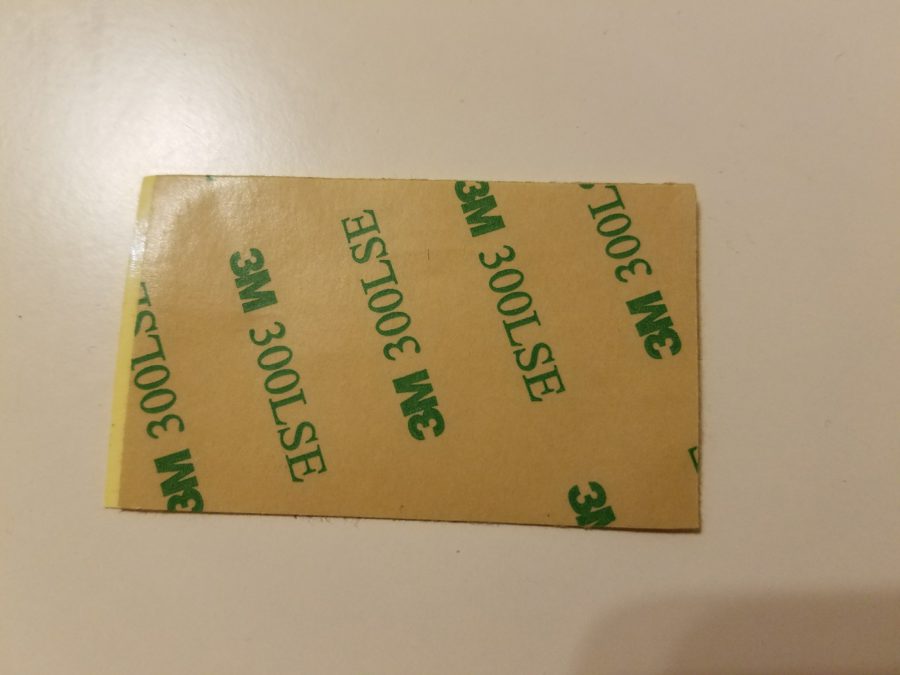
Then it is necessary to prepare the surface for gluing with the module. It's not a problem. Everything is solved by using good scotch tape. For example, the original 3M.
After that, we turn the frame over, and solve the issue with the speaker. The speaker itself does not let water through, as it is made in the form of a sealed unit. So there is little left to do – to make the speaker-frame connection sealed. By tradition, I'll take a seal from the donor Galaxy S7. If a seal is not found, you can simply glue the perimeter of the speaker with a thin strip of good tape or glue, such as B7000.
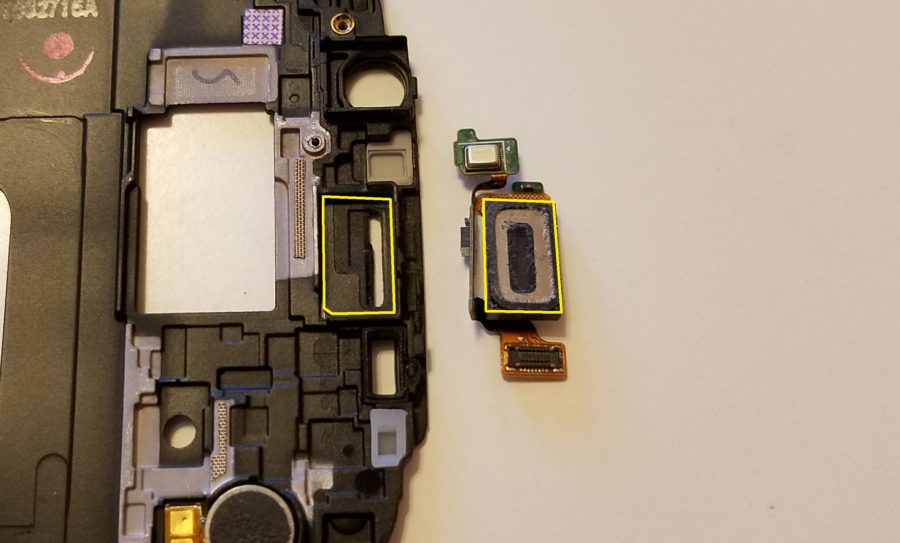
Let's move on to the display module.
Disassembling the device, I noticed that the adhesive tape of the module does not go along the entire perimeter of the glass, but has gaps in the area of the touch buttons, as well as in the corners of the upper part.

They will have to be filled with glue. In general, since the original adhesive tape of the module is hardly designed to fight water, it would be desirable to replace it with something more reliable, but it is very neatly cut out.
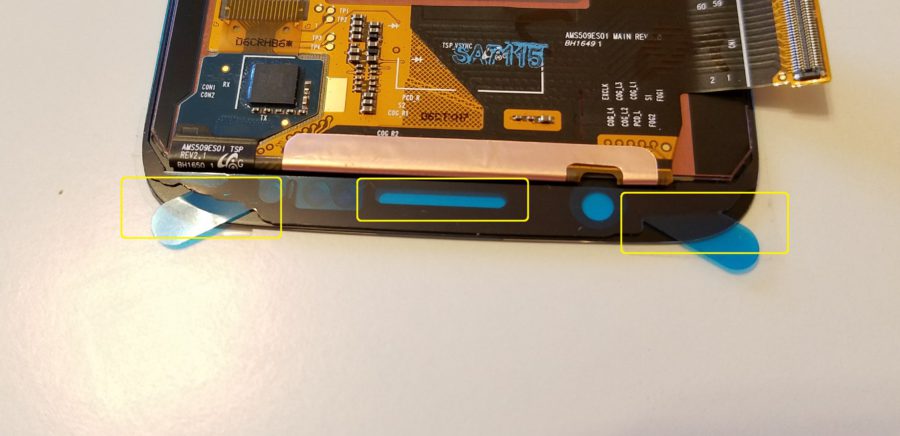
Perhaps I will manage with additional gluing with glue. What makes B7000 glue great is that. that it can be poured without regret. Once dry, the excess is very easy to remove by simply rolling it up or scraping it off with a plastic spatula.
After that, it remains only to slowly, carefully and thoughtfully assemble this Frankenstein, rechecking every knot and joint, wiping all the places of planned gluing with alcohol and hoping that he did not miss anything and did not forget.
Conclusion
In theory, everything turned out to be not as difficult as it seemed at first. But this is only in theory. The only thing left is to order the missing parts and materials, find the time, sit down and collect everything planned into a single whole. As a result, what is planned will turn out, or Frankenstein will simply drown, time will tell. But it's definitely worth a try.
As soon as all that is missing comes to me, the experiment will be completed by the solemn immersion of the apparatus.
By the way, when analyzing the S6, I drew attention to the battery, or rather to the connector and the size of the battery. I could not resist, and opened my S7 EDGE, which I glued last time. And it turned out that the size of the battery from the S7 EDGE is almost identical to that of the S6.
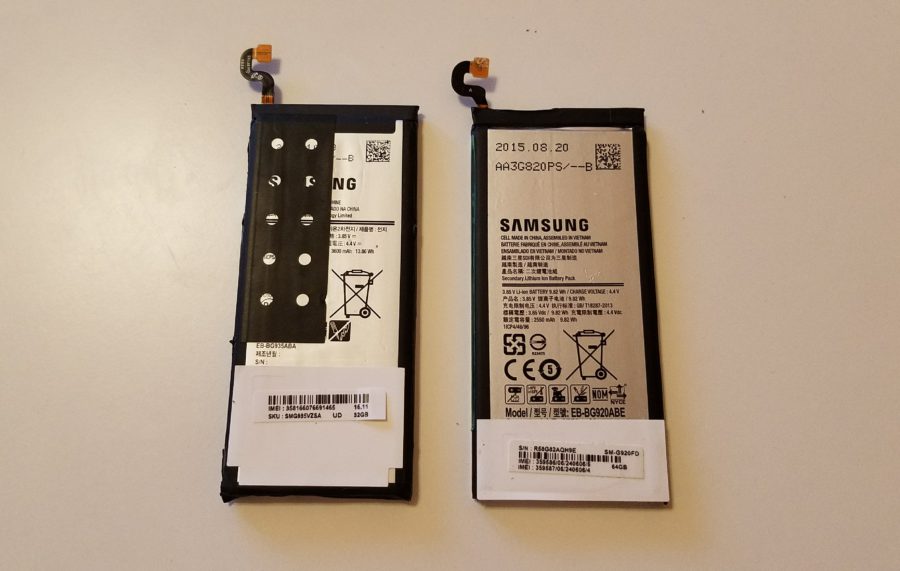
Moreover, the connector turned out to be exactly the same and connected perfectly to the S6.
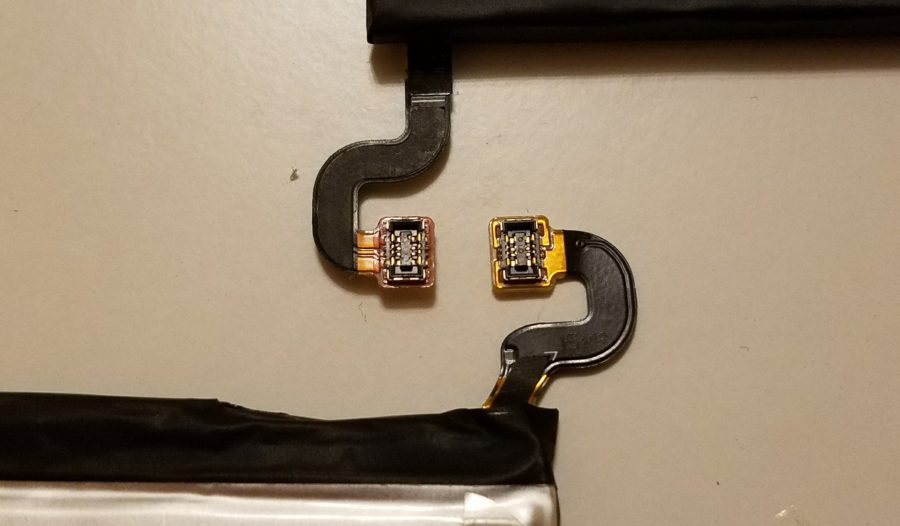
The only difference is in thickness. The battery from the S7 EDGE is slightly thicker than that of the S6. This is not surprising considering the difference of almost 1000mAh.
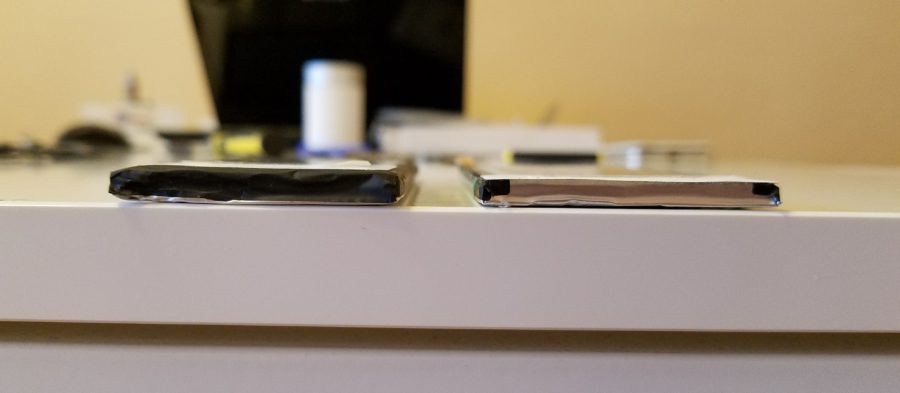
However, the battery in a simple 7 is more than 500 mAh, which means it should be thinner than in EDGE. So it must fit into the 'six'. Or you just have to add one layer of tape to make the lid a little higher. Given the sharp edges of the S6, it will only benefit him. The grip will become more confident.
Resolved. Along with the rubber bands for the S6, I will order a battery from the S7, so that later I can stuff it into the S6. Maybe someone else will find this information useful.
That's all for now. The project enters the final stage – waiting for components and assembling.
Don't stop learning how the outside world works from the inside! ?
