Hello! It just so happened that all the photos for my articles I did and do on the phone. Most often, his photo capabilities are enough and no difficulties arise. However, there are situations when there is not enough ambient lighting, and it is inconvenient to expose a separate light. For example, when photographing small objects and parts of devices and accessories. Therefore, it was decided to assemble your simplest light box or light box.
There will be little text, only the assembly process itself.
Preparation
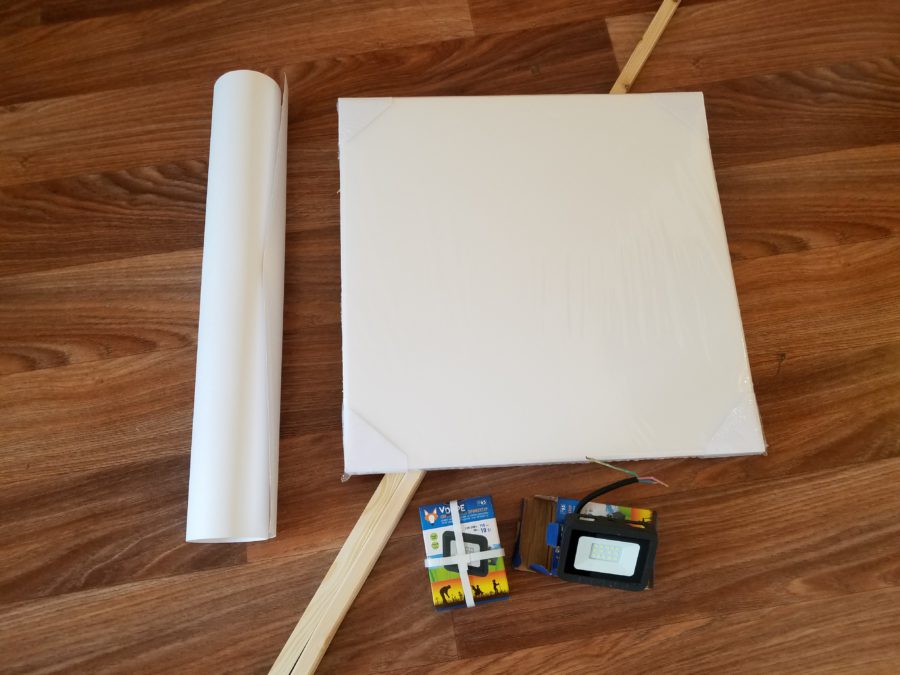
For assembly, we need the following components:
- Foam sheets – ceiling tiles without patterns and reliefs. This will be the body of our box
- Whatman paper as background.
- Two LED floodlights of 10 W, 750 lm (it is better to take four).
- Wooden lath 2030 mm
- Wires with plugs for sockets – 2 pieces
- Scotch
- Self-tapping screws
- Tool (screwdrivers, saw, stationery knife, scissors)
The thinner the slab, the better, since the sides of the cube will act as diffusers.
Body assembly
First, we glue the body of foam plates. To do this, lay the slabs end-to-end with the front side inward and glue them with tape. Someone bothers with corners and other fasteners, but I think this is superfluous, since during operation the case does not bear any loads, which means that the simpler the better.
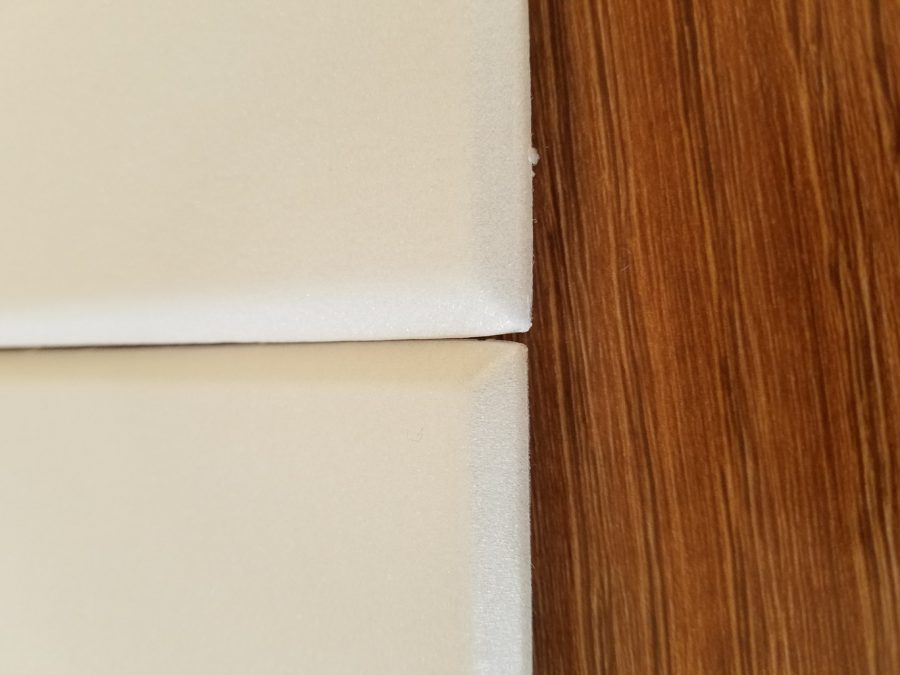

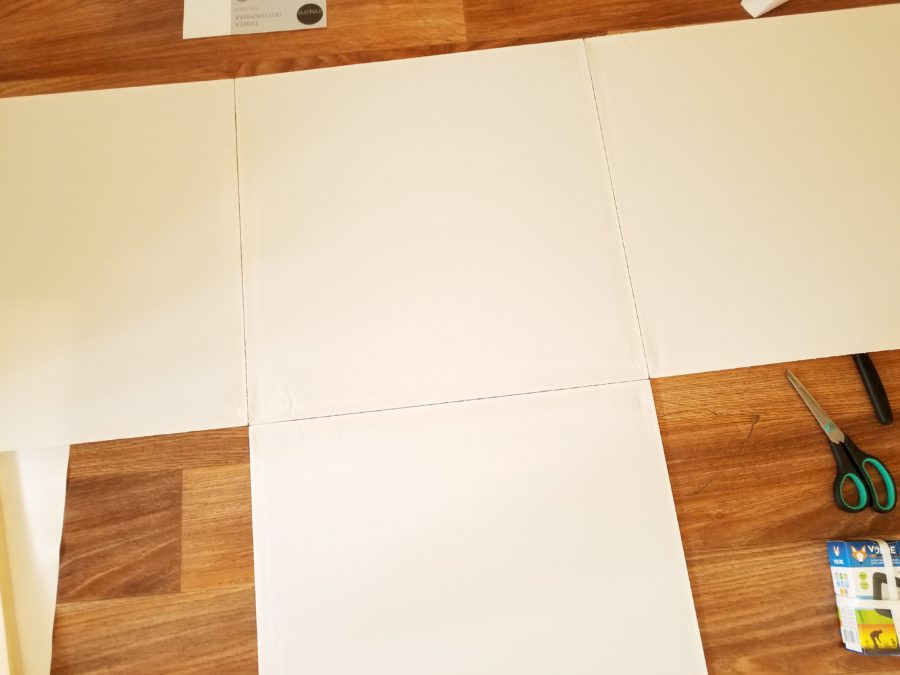
As a result, you should get a cube without two sides.
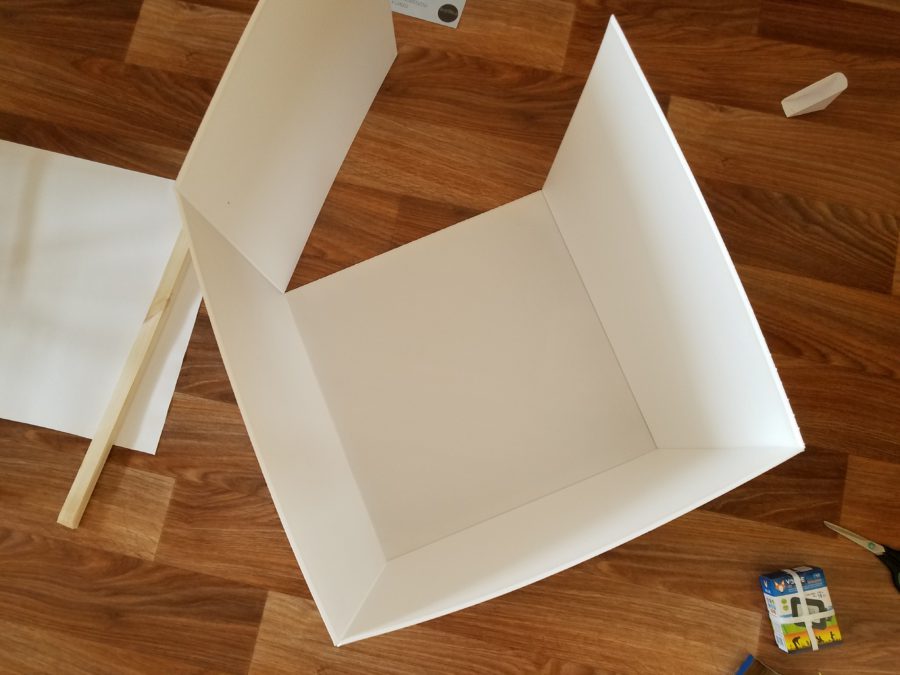
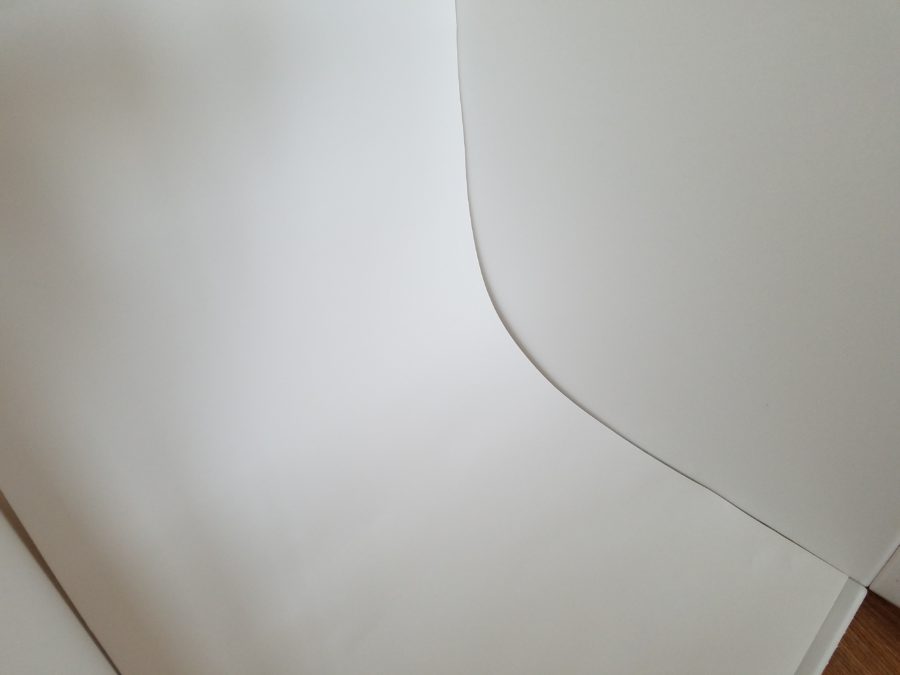
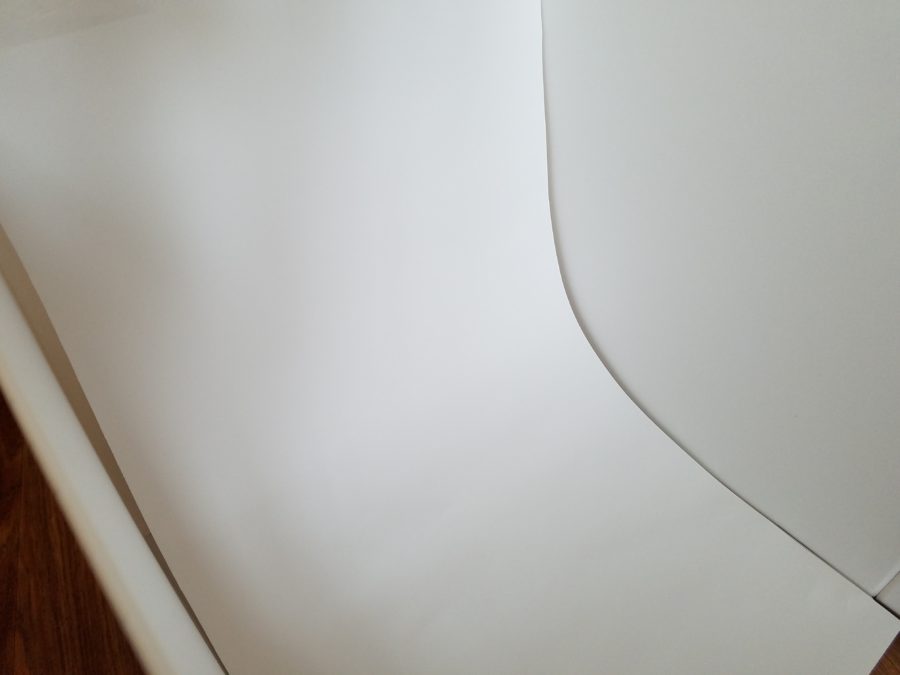
Then we cut the Whatman paper to the width of the cube. With one side we attach the drawing paper to the edge of the cube so that it hangs freely inside the resulting structure. This will be our background. It can then be changed to any one you like.
Then we attach another side of the cube.
In the remaining tile, cut a round hole through which we will photograph objects inside the cube.

We attach this tile with a hole to our cube only in the upper part, so that it can be folded back and placed inside the filming objects. You can glue the plate with the hole completely, but then only those objects will fit inside that will crawl through the cut hole. Decide for yourself what is best. I made a reclining one.
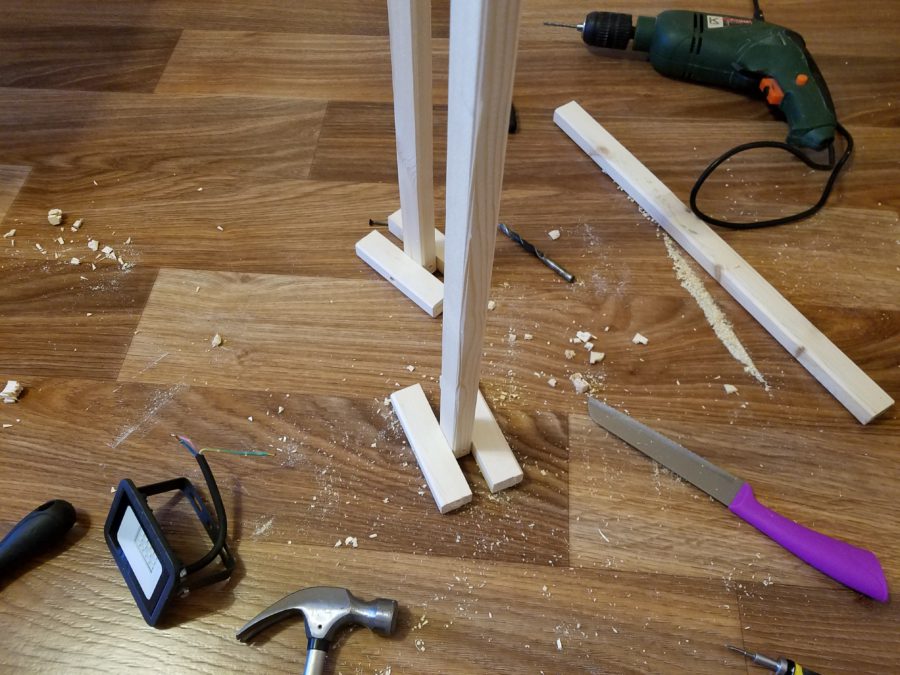
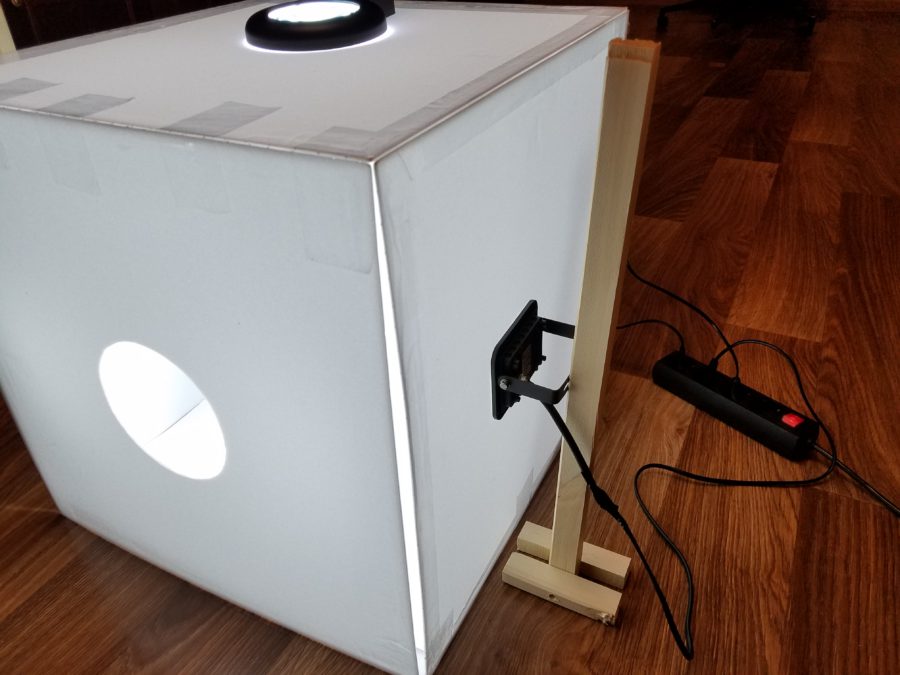
Racks with spotlights
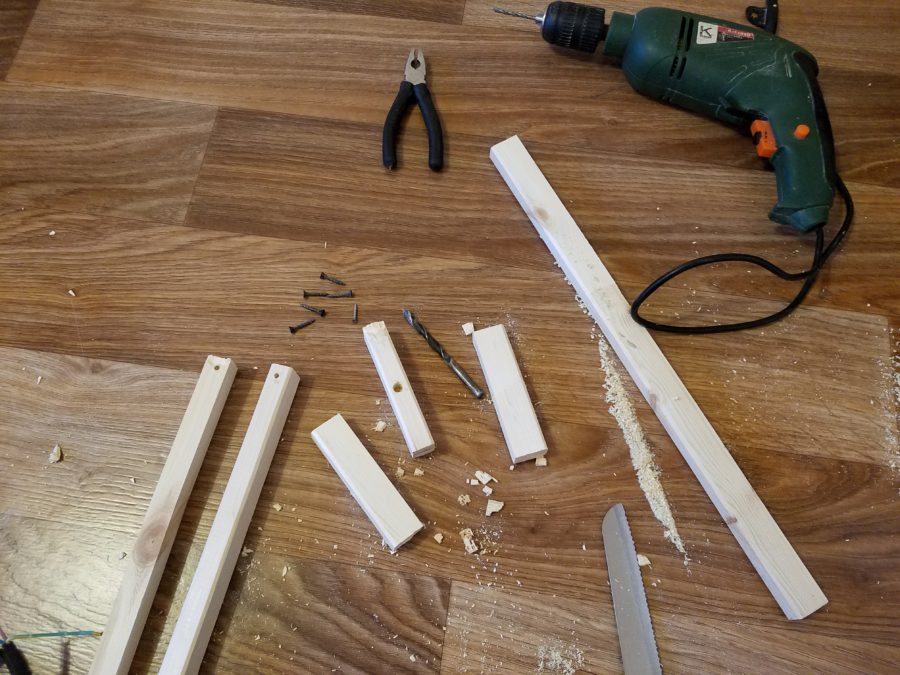
Now let's assemble the racks with spotlights.
To do this, cut off two cube-high pieces from the rail. And four more small bars that will become legs. With the help of self-tapping screws and obscene vocabulary, we collect the simplest rack from the received firewood. We do not take to the exhibition – it will.
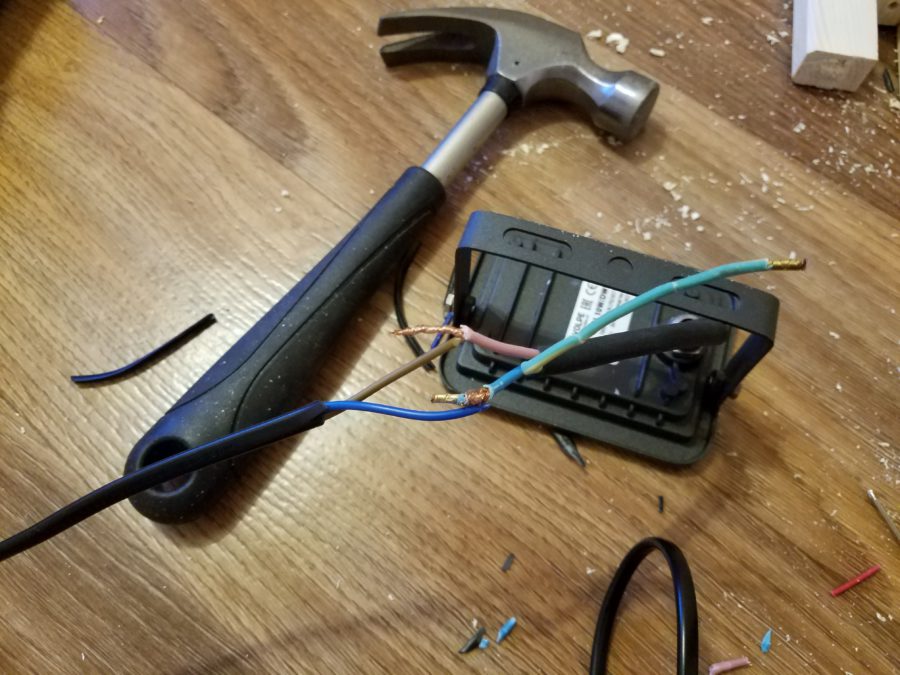
Now it's the spotlights. From the store, spotlights come without forks, which means that pre-prepared forks will come in handy. You can buy them at any electrical store. I cut them off from faulty equipment.
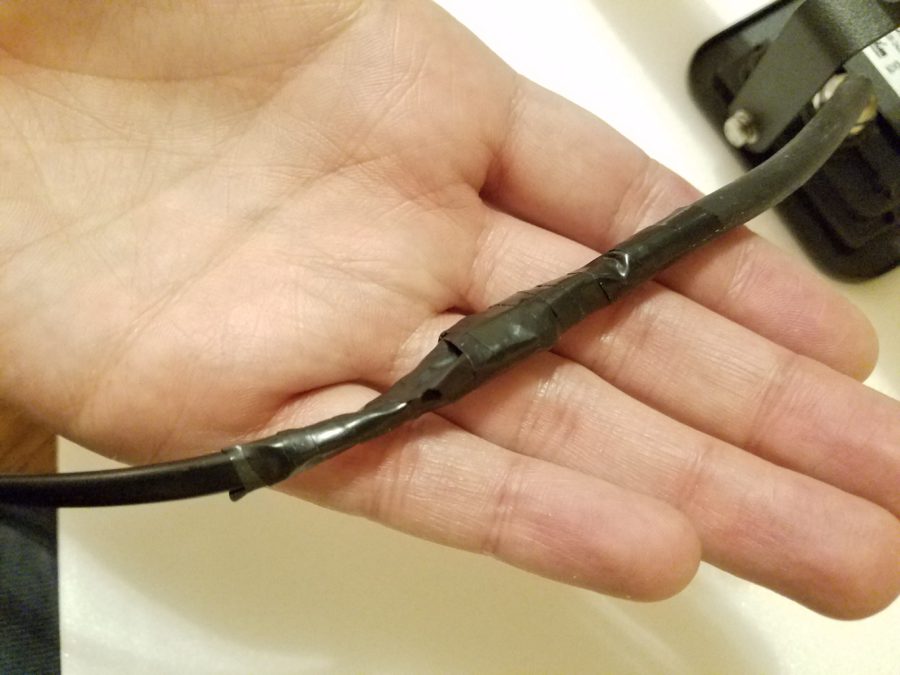
The spotlights have three wires. We only need two. We read in the instructions for the floodlight which of the three wires is 'ground', and cut it off. We won't need it. The other two are twisted with a wire with a plug. We insulate with electrical tape (alas, I only have black, blue electrical tape – the design cannot be considered reliable :)).
After the spotlights are ready, it's time to screw them onto the posts. For this we use all the same screws.
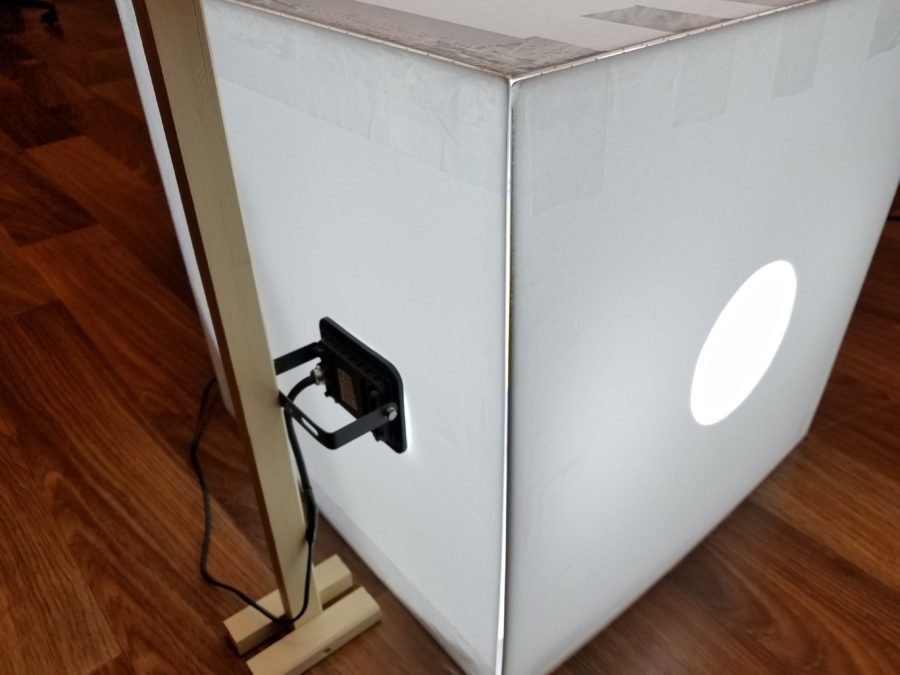
We twist. As a result, this is the construction. Cheap and cheerful. If you are very confused, you can make stands with adjustable height of the spotlights. But not today!

The only thing left to do is to test the resulting pepelats. Start key. Go!

It seems to work. As I said at the very beginning, you could buy four spotlights instead of two. There is a little lack of light. Therefore, a table lamp for soldering work will come to the rescue. Then I'll replace it with two more spotlights. But the illumination received is quite enough.
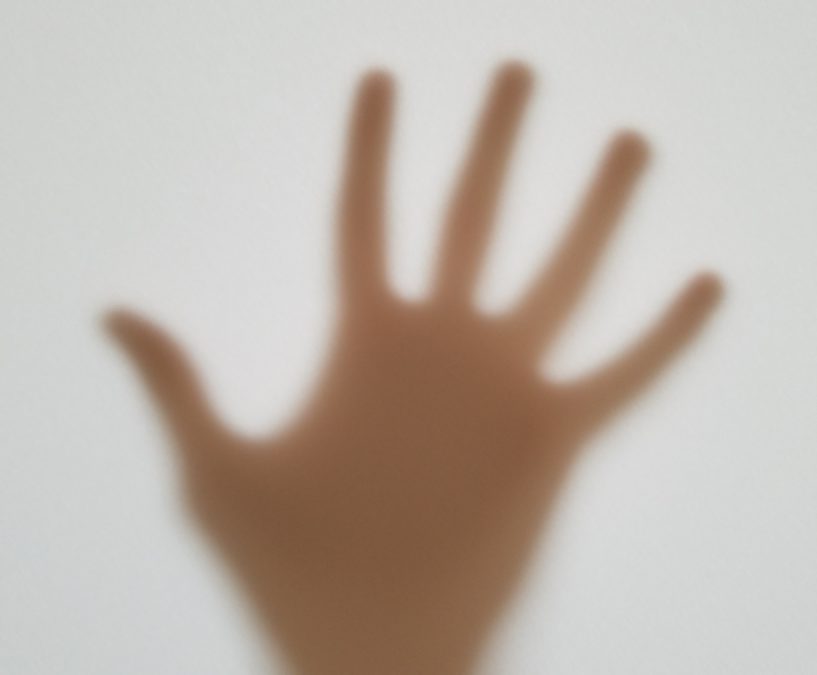
Testing on experimental subjects. First, a colorful cat from Barcelona hit the lens.
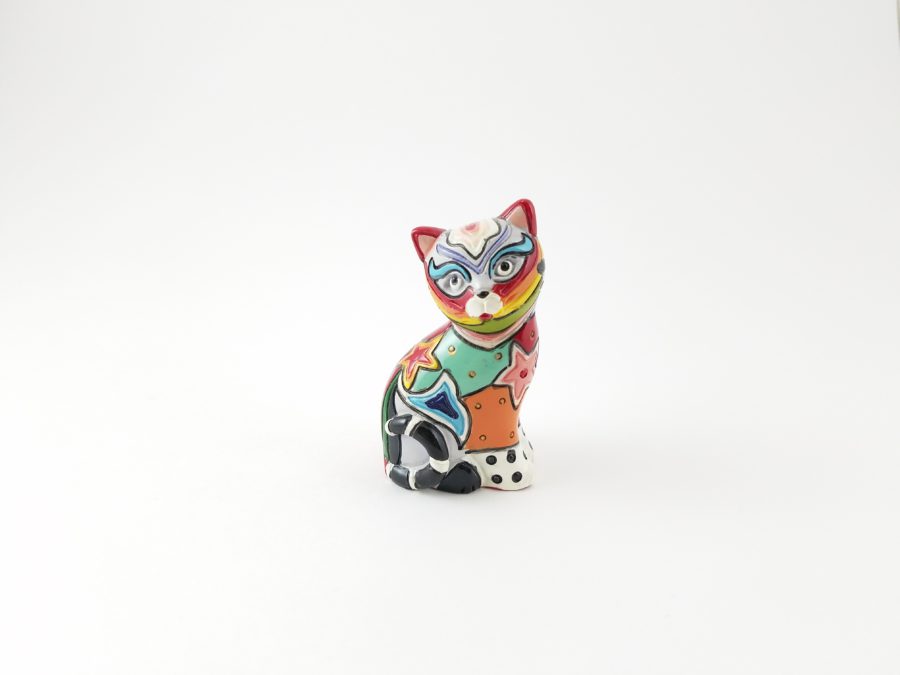
It seems to be not bad, but there are some shadows on the sides. After increasing lighting with two additional spotlights, the problem should go away.
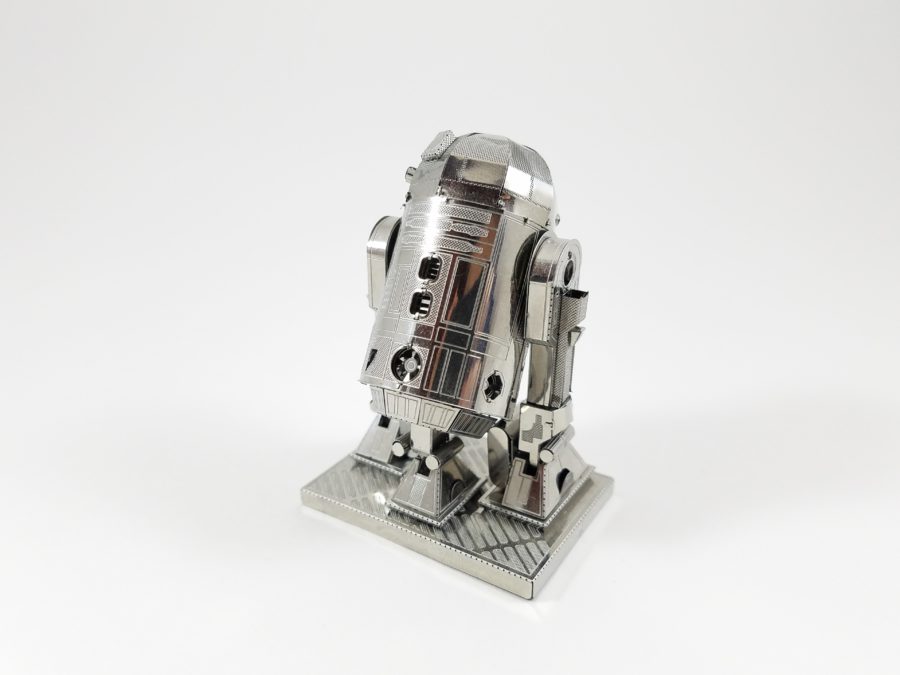
The second model is a droid known to most, in my opinion, the main and real hero of the entire saga. ?
Conclusion
To begin with, a little about the estimate:
- Foam panels, they are also ceiling tiles – 70 rubles. for 8 pieces (1 pack).
- Two spotlights – 168 rubles. thing.
- Rake – 20 rubles.
- Whatman paper – 50 rubles.
- Self-tapping screws, tape, tools, power cords were available at home, but I don't think it was very expensive.
Time spent – two and a half hours for everything about everything. Well, and an hour and a half for a trip to the store for shopping.
As a result, we have a convenient tool that allows you to take photographs of small objects without looking for a good angle, background and lighting. All this is inside. It is lightweight, simple, and quite affordable. I am more than happy with the result.
Good photos everyone!