While everyone is happy with Samsung's new products and discussing cameras, screen holes and colored cases, you can do your favorite hobby and make something.
The need to create another Frankenstein monster is inspired by the lifestyle and realities that I have faced over the past few years and, as a rule, after the next moment when I had to frown at the inconvenience, I just forgot about it until the next time.
We are talking about the features of charging your phone on the road.
The lifestyle that I mentioned at the very beginning is travel. I love to travel and try to do it as often as possible. However, there is one caveat – all my trips, short and long, do not happen on 'allinkluziff' vouchers, but on their own, without any parasites in the form of travel agencies, which often means complex logistics. Because of this, I often find myself in places where the infrastructure is difficult, and there is simply nowhere to charge the phone.

The most obvious solution to this problem is to buy a high-capacity external battery. But the use of an external battery can be extremely inconvenient when you need to frequent the phone while charging.
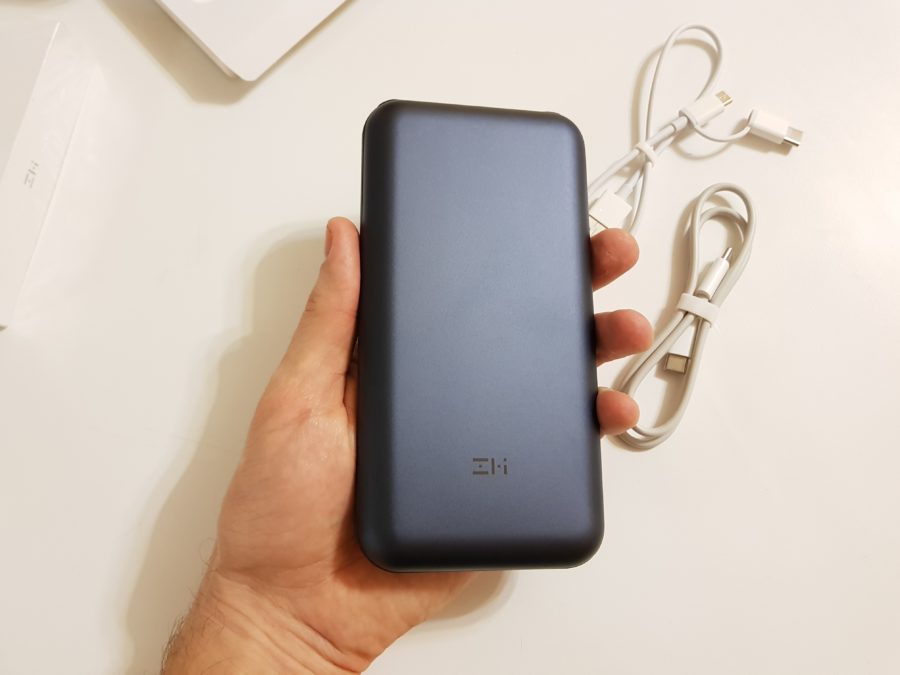
Anyone who has used an external battery on trips will understand me – every time you need to get a phone charging in your bag, you get tangled up in the wires, make sure that the plug does not bend too much and does not break itself or, much worse, does not break connector in the phone.
No less inconvenience is created by the phone in the pocket, the cable from which stretches into the backpack behind the back, where the external battery (hereinafter referred to as the 'bank') lies, or into the same pocket, which turns out to be protruding due to the weight and dimensions of the bundle of the phone, cable and external battery.
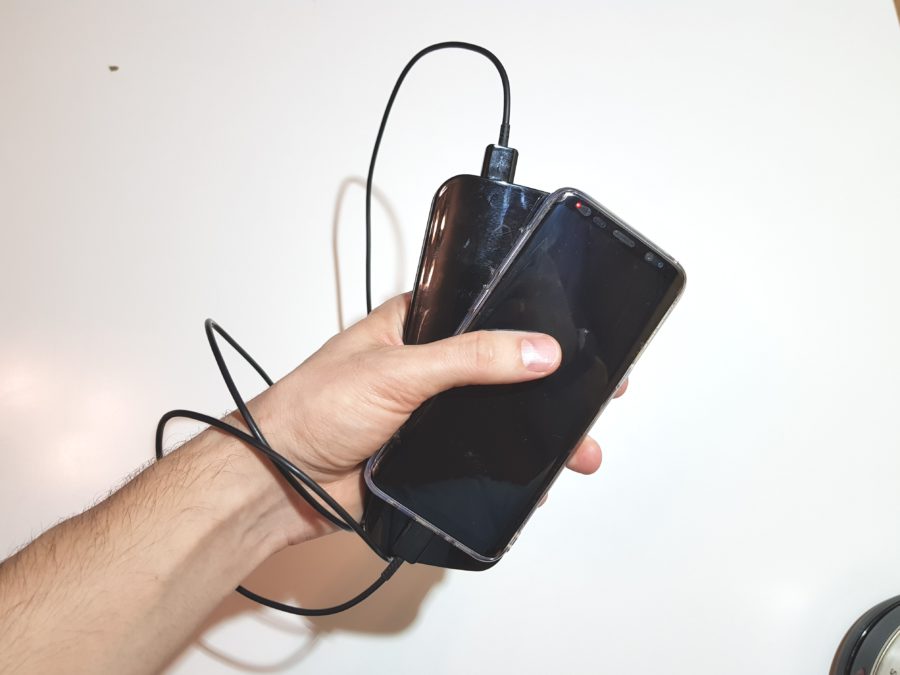
And every time I had to endure these inconveniences, I thought that I needed to do something about it, and happily forgot until the next time.
Slightly more convenient than a regular external battery, there is an intermediate solution, a battery case, but there are a couple of drawbacks – low capacity and noticeably growing dimensions of the device, which makes the phone also inconvenient to use.

And so, before the next trip, I remembered this problem and decided to deal with it.
I will say right away that for many such a problem will seem insignificant, and many will not bother with what will be discussed later – happy people.
I not only have a need for this, but my hands are just itching to improve and modify something for myself, increasing the comfort of use, at the same time enjoying such a peculiar hobby.
We master
But before you start, one more disclaimer – this solution is suitable for those who have a phone that supports wireless charging. Given the tendency to reject wires and holes in smartphones, wireless charging will become a mass function in the very near future, which means that my Frankenstein monster will not be idle.
So, to solve the problem of wires, we need:
- Inexpensive wireless charging module
- Pocket or sock pouch or similar
- Clip (if not included with the cover)
- USB cable
- External battery – any, to choose from.
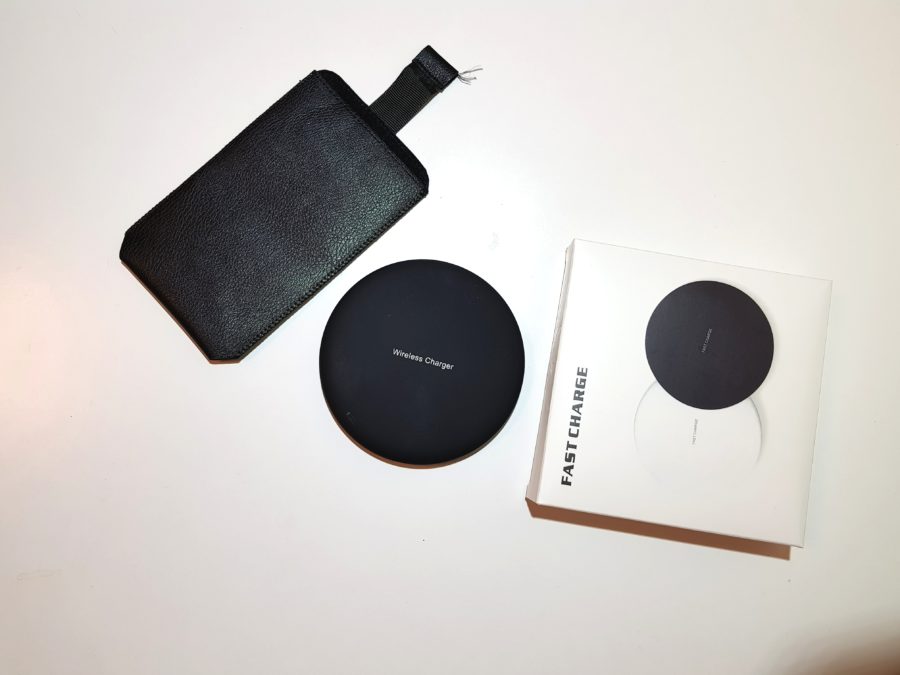
To begin with, we will prepare the coil, for which we will disassemble the wireless charging module and evaluate the design. It looks like what you need.
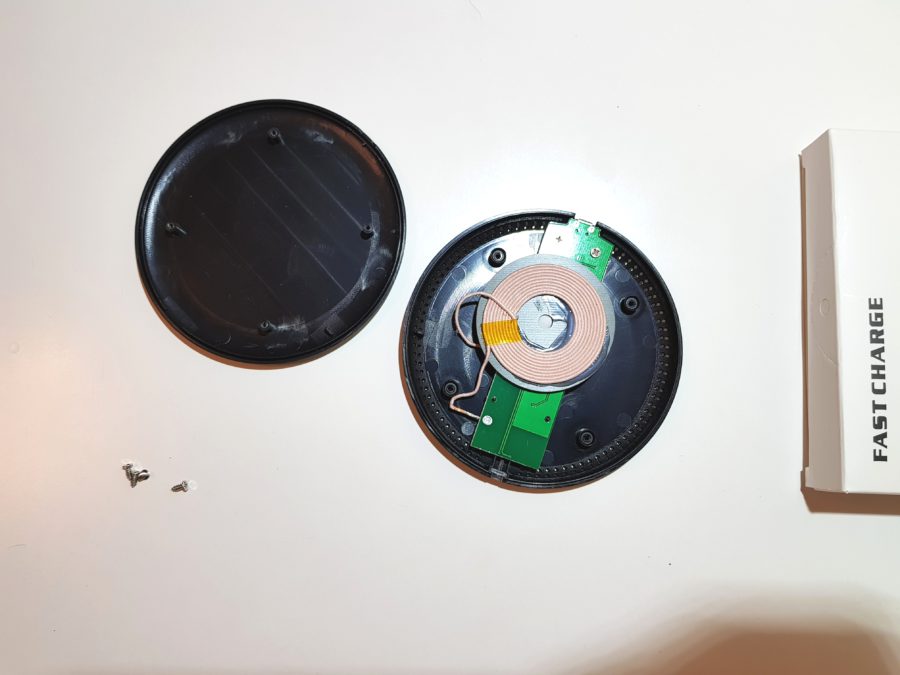
We only need the internals, so the case can be thrown away or adapted to fit a mug holder. ?
Ideally, it is better to buy a module that, without the absence of a phone, does not create a load on the bank, and therefore does not consume its charge. But this is the ideal. In fact, almost all banks will perceive the load from the coil as insignificant and will turn off the power supply. So there must be order with that.
Another important point is heating. The smaller it is, the better, so before buying it is better to test how the module will behave from this point of view – try the coil with your phone. And take the one that will be the least heated. If the coil has a heat sink, leave it as it is.
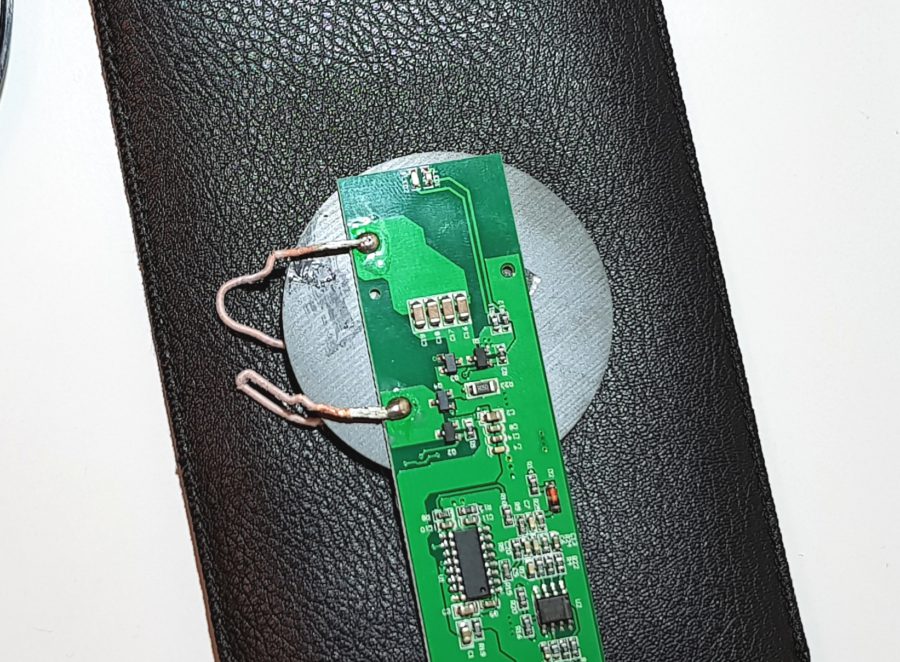
Gray disc under the coil – insulator and radiator at the same time
Now you need to prepare a cover that will act as a charger.
To do this, you need to understand how to attach the coil to it. A two-layer case is ideal. It will be possible to place our wireless module between the layers. We turn out the cover and make an incision into which the module will fit.
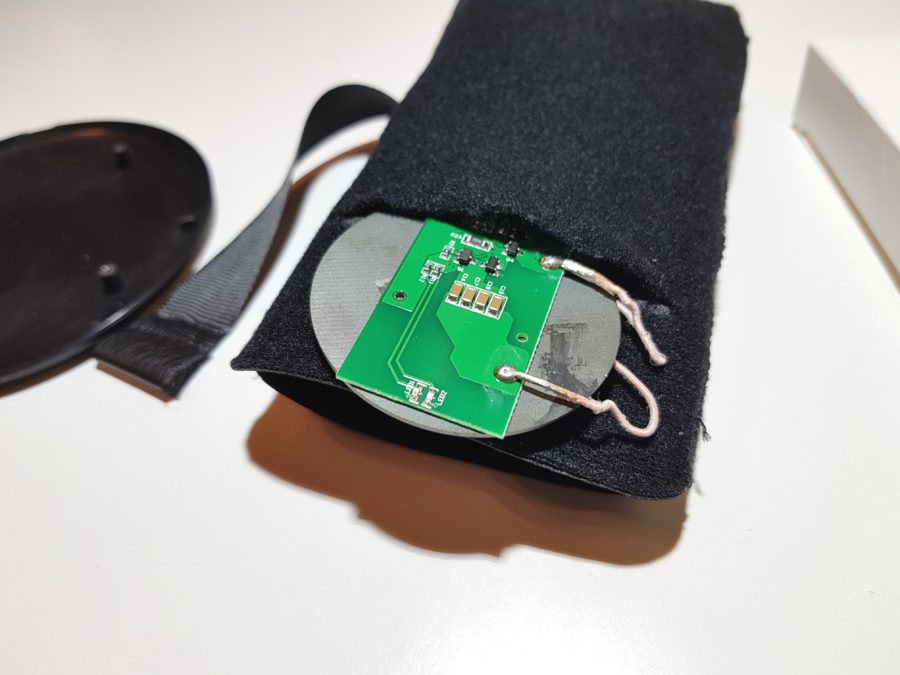
I will place the coil in such a way that its connector goes down, as it will be attached with a clip to the inner pockets of a bag, backpack, pants or belt.
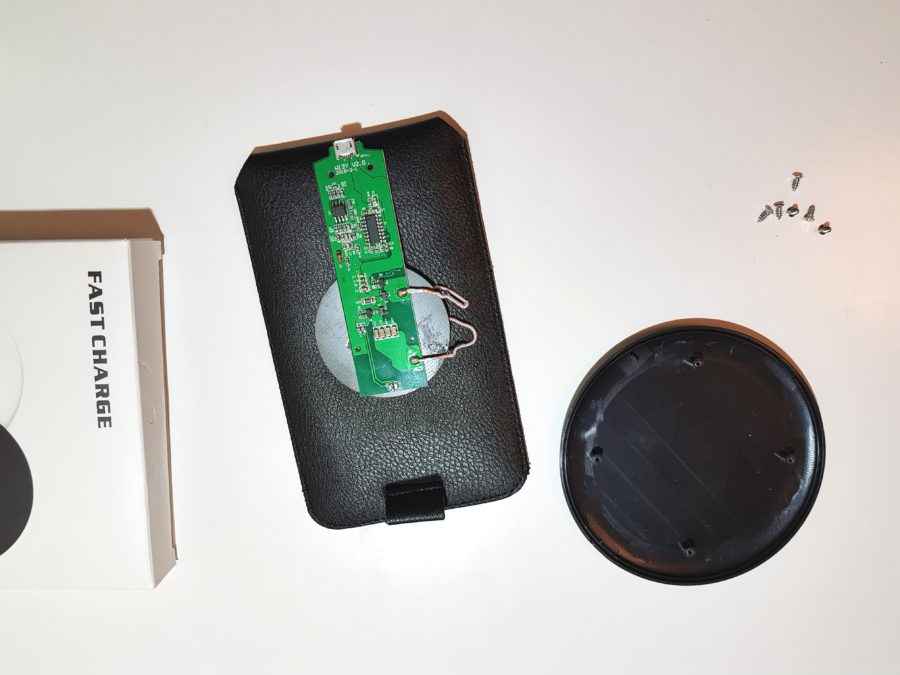
This will avoid wires sticking up and preventing this bag or backpack from closing. This will also allow you to place such a cover in your pocket, making a hole in it, through which you can pass the cable, and put the jar in an inner pocket, for example.
After both the can and the case are prepared, all the most complex calculations of the CERN level have been carried out, it's time to start assembling.
We try on and see that everything fits and is at the right height.
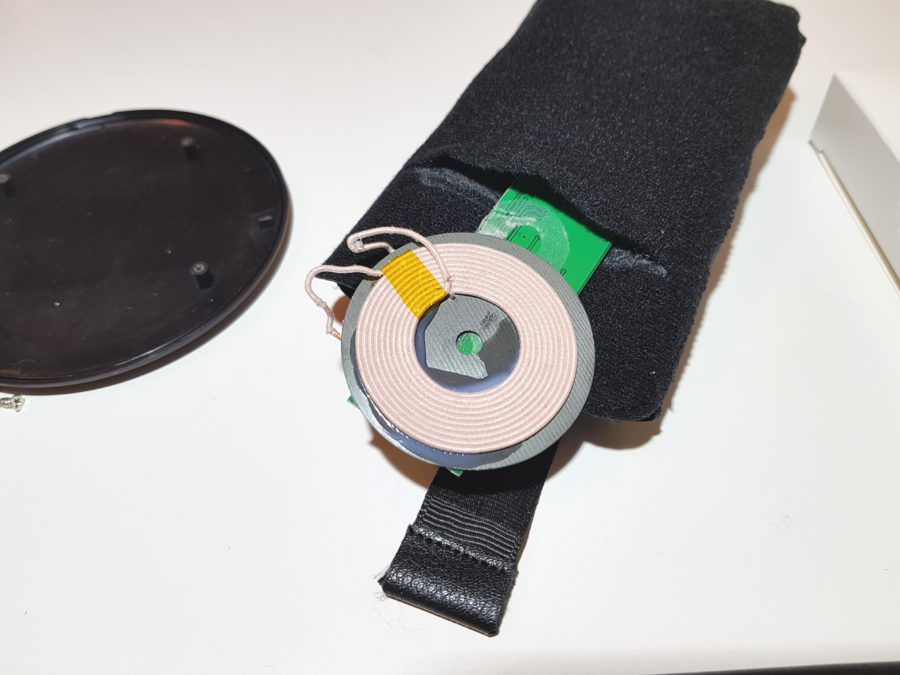
We put everything together with the help of threads, scotch tape, ingenuity and some kind of mother.
To do this, we simply sew the board to the case using the screw holes that were kindly supplied by the wireless charger manufacturer. I had to remember sewing skills …
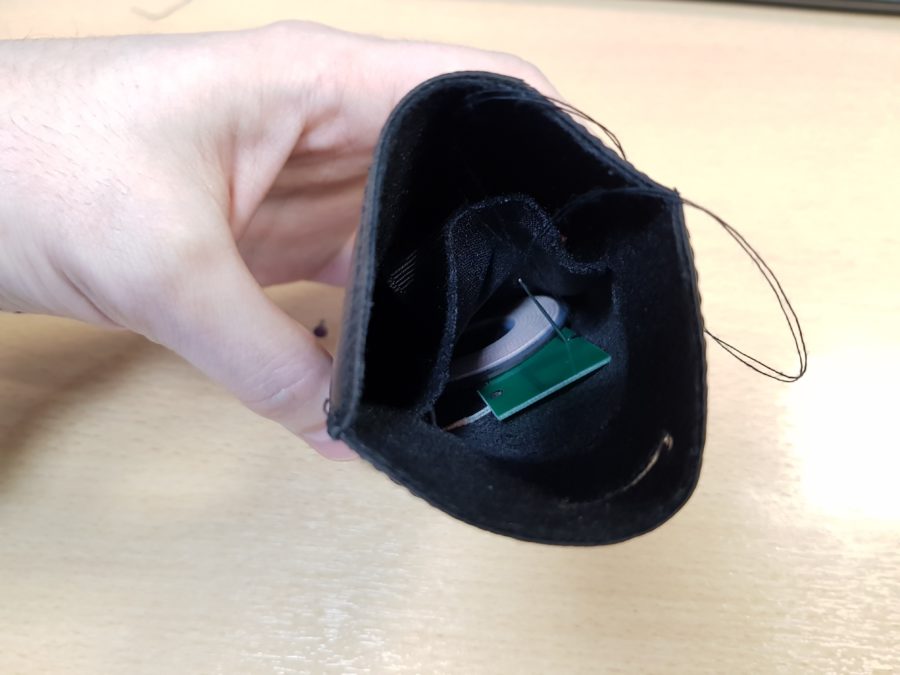
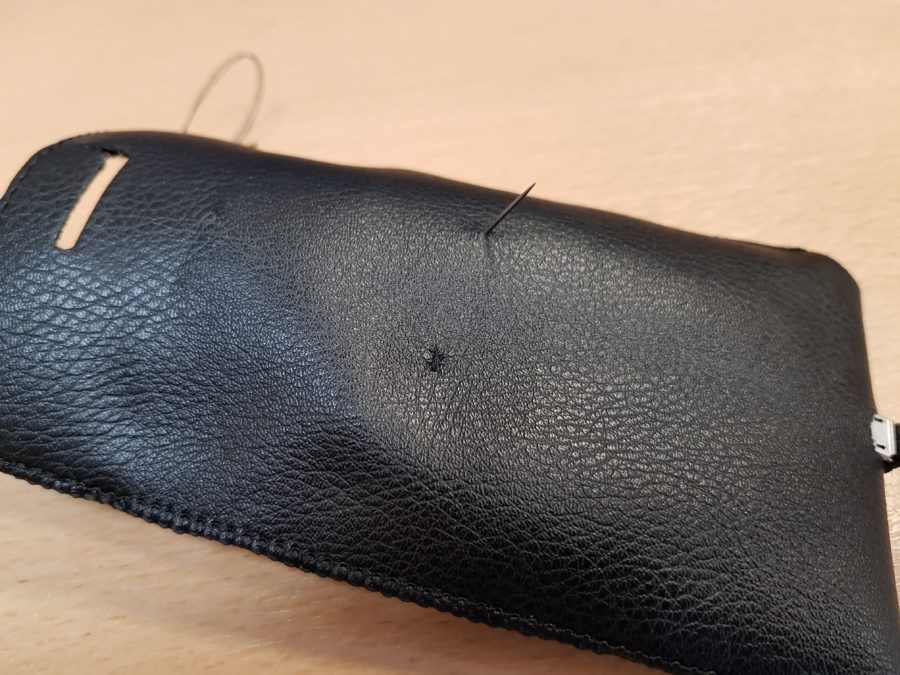
In order not to twist my fingers, it was necessary to open the cover and sew the board in comfortable conditions, but I was not sure if I would be able to sew the cover back, so I decided to get by with a little blood.
We cut the lower part where the connector will be, and adjust it so that it is convenient to connect the cable. We sew also the connector.
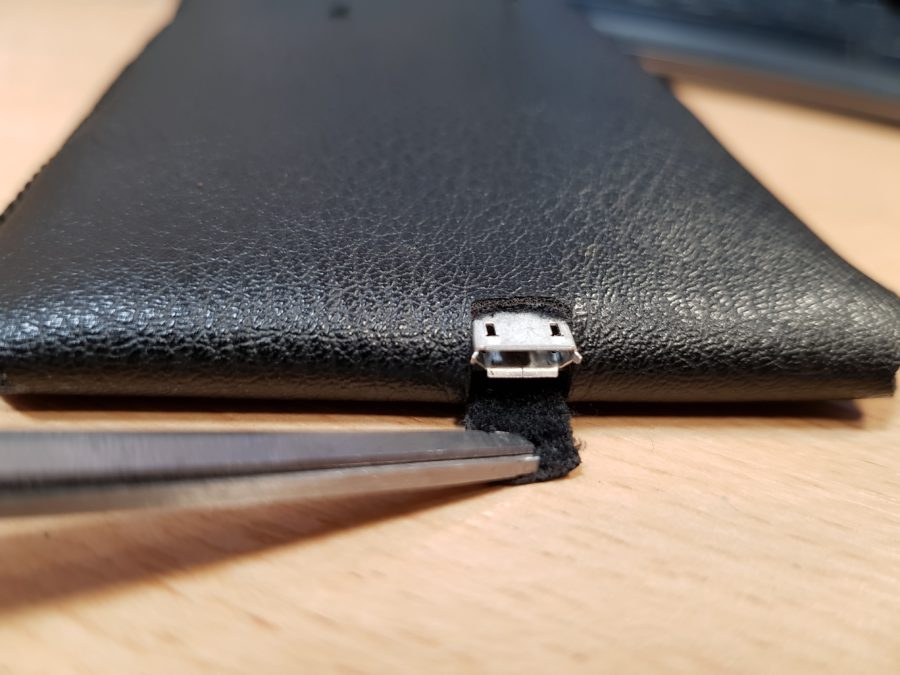
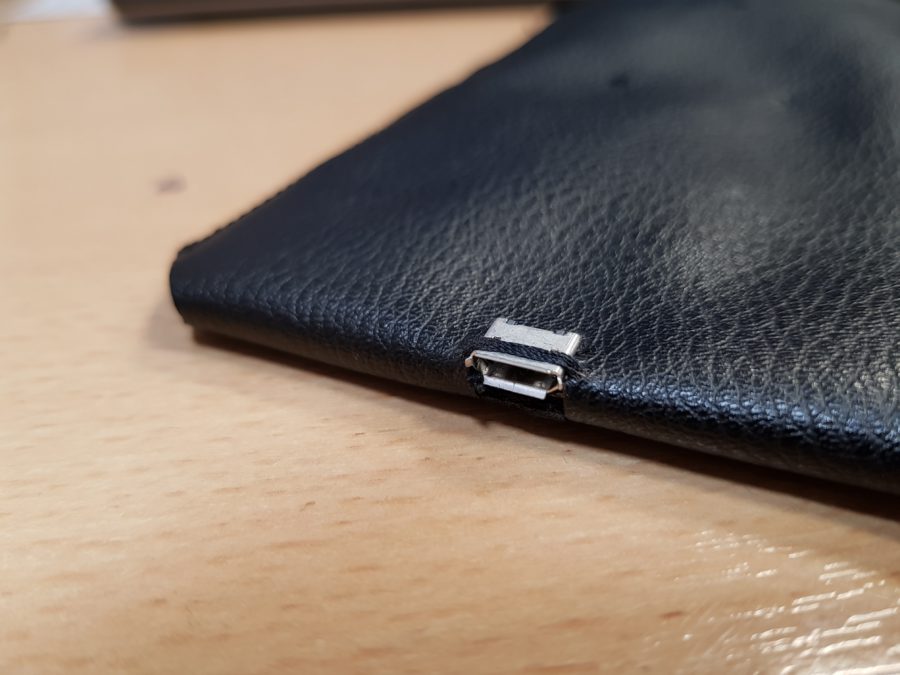
Sew on the clip. I decided to use a stationery clip as a clip, since it will not only allow you to attach the cover to the edge of a bag or pocket, but will also be convenient if the cover has to be hung on something.
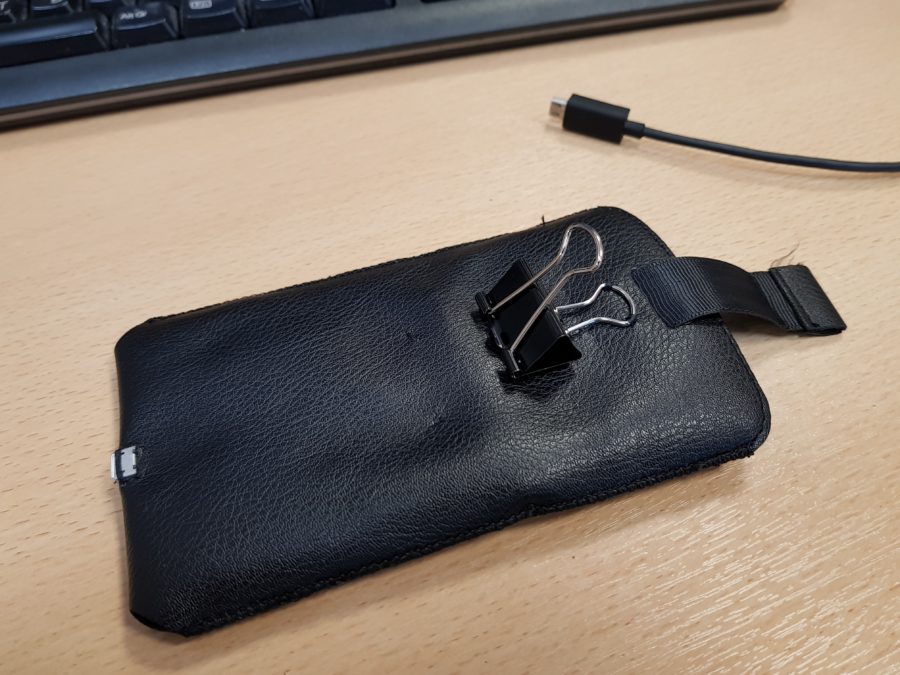
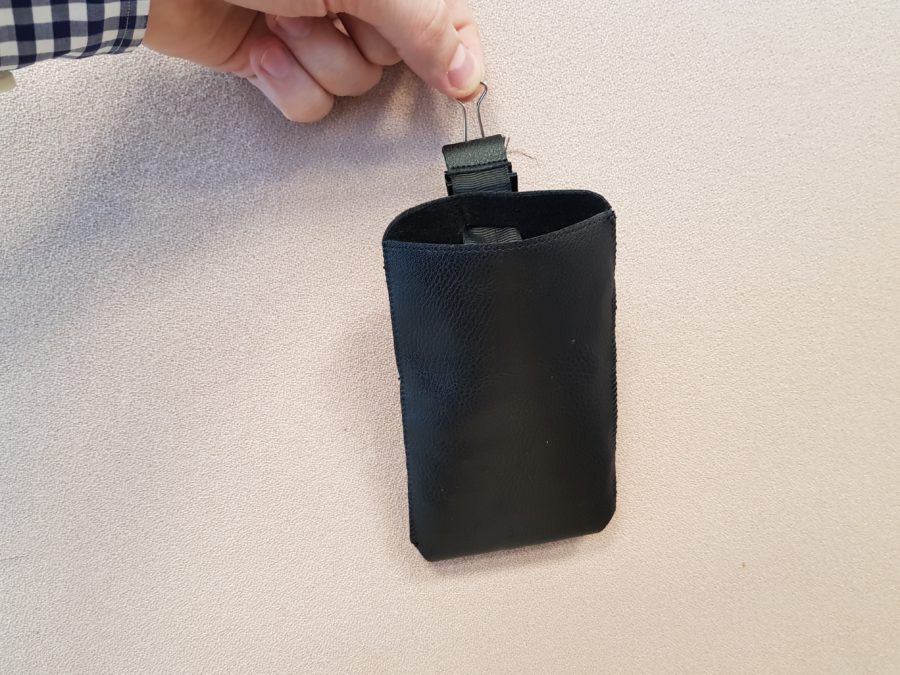
We glue the inner layer on tape and admire our handiwork.
It doesn't look so good, it certainly won't take a prize for design. Well, okay, that's not what it was going to do.
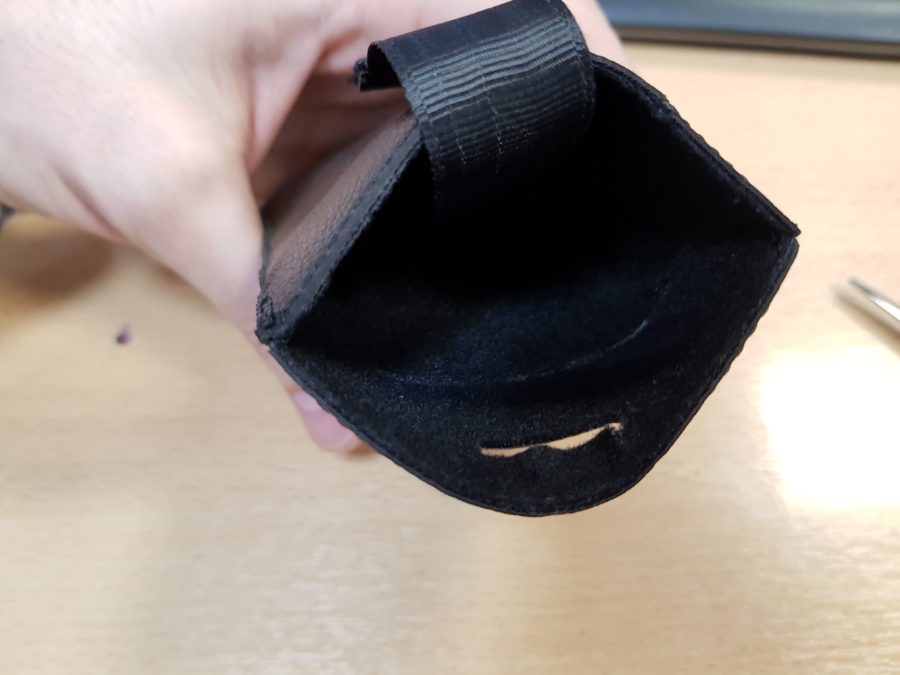
Let's try on how it will look inside the bag. It seems like nothing is right.
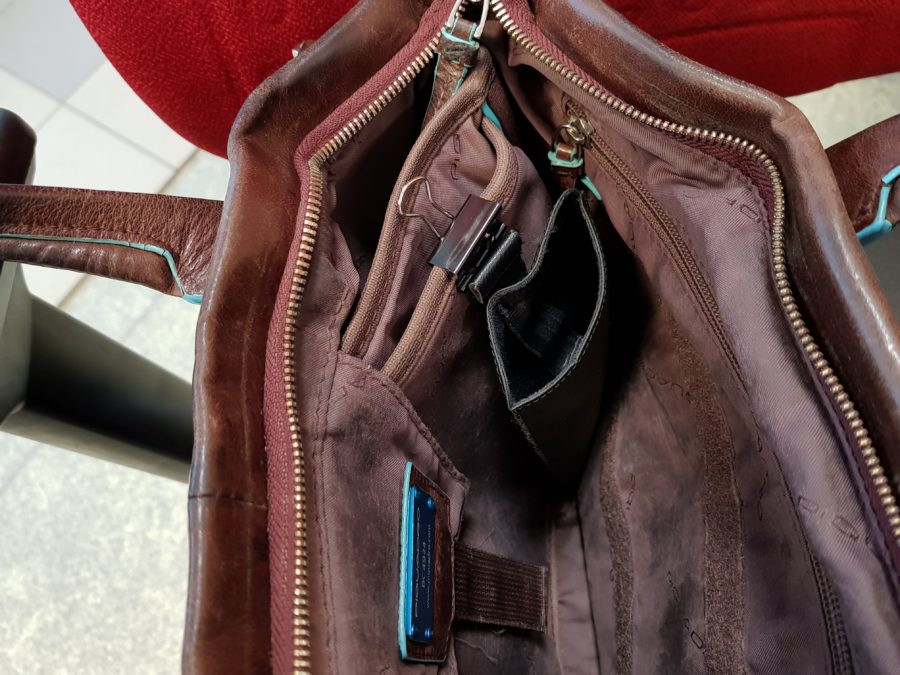
Now is the time to connect the power and check the functionality of the structure.
Putting it up, take the subject in the face of the old man Galaxy S7 and put it in the case.
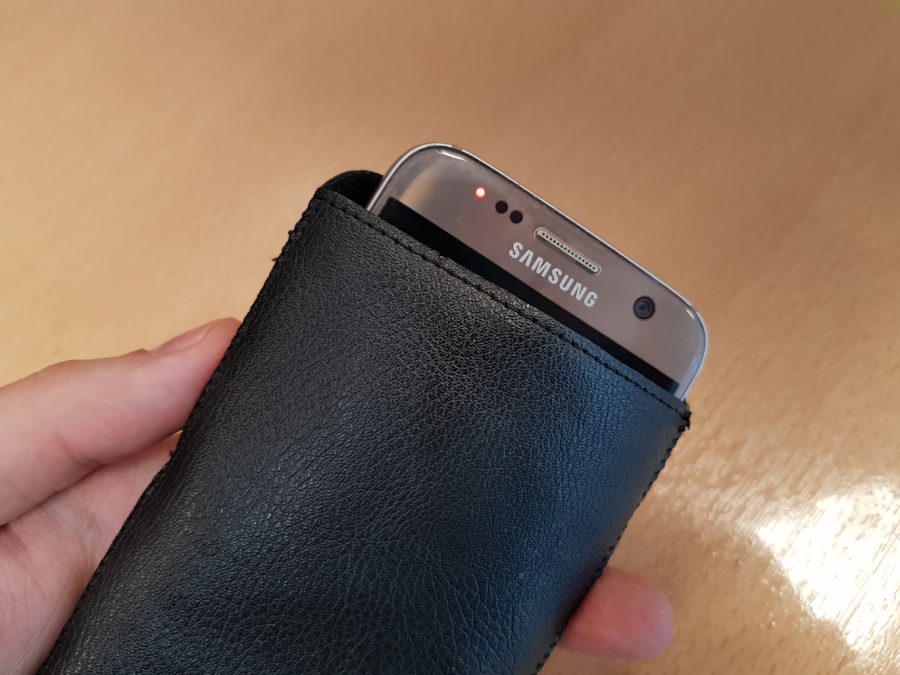
We shout the sacramental: “It's alive!”

Everything works, the phone is charging, the wires do not interfere. Hurrah! ? As an experiment, the phone was left to charge in a case for an hour and put in a bag. The resulting heating turned out to be the same as if the phone was charged on a table from a fast charge. Therefore, my fears about possible overheating were not confirmed, which is good news.
Another monster has come to life and will be useful.
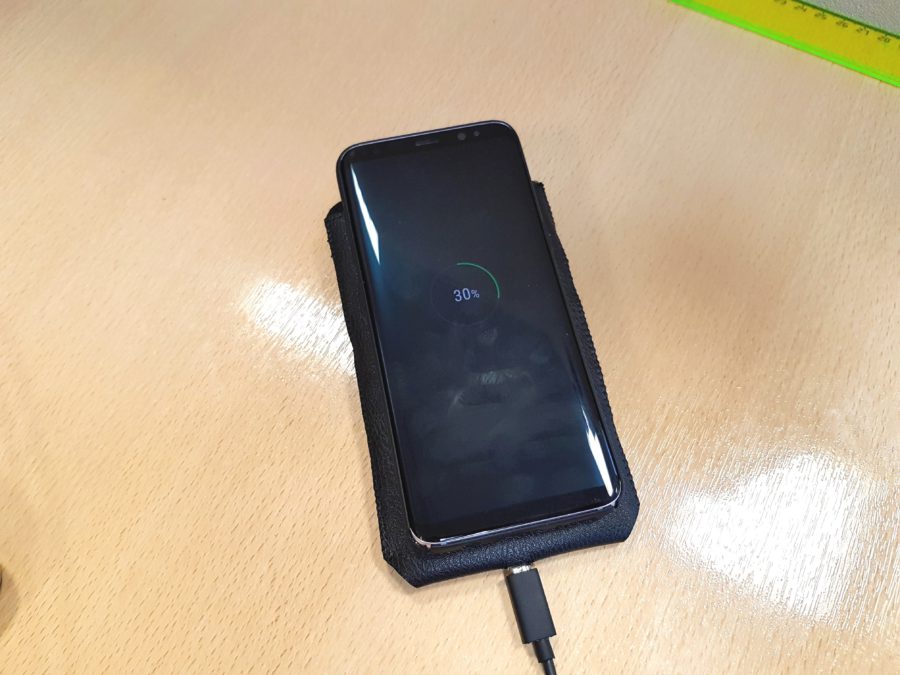
Also, the case can be used as a charging mat.
Conclusion
Once again, I must note that such a solution is not suitable for everyone, but for some it may seem like a waste of time, but for others, I hope, it will become an idea of how to get rid of the wires that are always in the way of getting tangled and clinging to everything. if you need to charge your phone on the go. I'm sure you will be able to improve this idea by doing something more convenient and aesthetically pleasing. For example, I am going to sew such a charging case made of leather and with a beautiful clip. ?

But this later, but at the moment I solved the problem – now, if the phone needs to be recharged on the road without fear of getting tangled in the wires and damaging the connector, I just have to put it in the case hanging on the clip in the bag, and it will start charging. At the same time, to start using the phone, just take it out of the case, use it and put it back.
The goal is achieved, the nerve cells are preserved and satisfaction is obtained. And all this took 400 rubles of money and a couple of hours of time.
All successes, interesting tasks and solutions.
