Hello!
We continue to mock devices for the sake of the nature of a technomaniac. Today I got another fitness bracelet Xiaomi Mi Band 3 on the operating table.
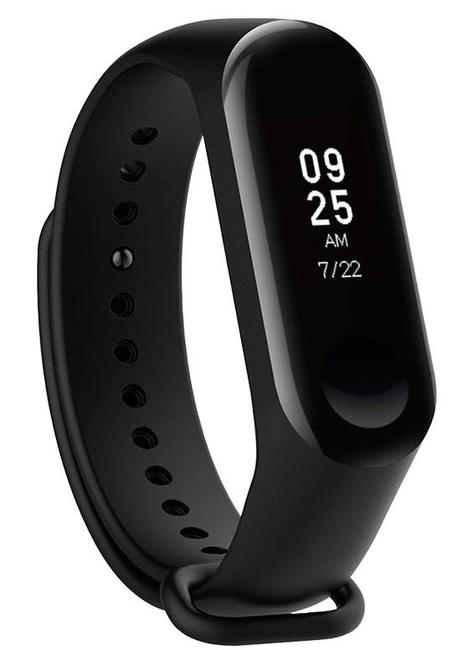
The essence of the problem is as follows – a friend ordered a bracelet that arrived defective: some of the control gestures did not work. It was not possible to scroll the bracelet menu items up and down, and without this, all other controls became practically useless.
Despite the fact that the Chinese seller returned the money for the order to my friend, it was a pity to throw the device away, and it is almost impossible to use it in this form.
With this problem, he turned to me. I could not miss this opportunity, firstly, to help a friend, and secondly, to try to figure out what is the reason for such a malfunction.
We disassemble
There is nothing difficult in disassembling this bracelet model. You can read about how to do this here:
Workshop. Learn Mi Band 3 contactless payment
After the bracelet is disassembled, it's time to find out the cause of the malfunction.
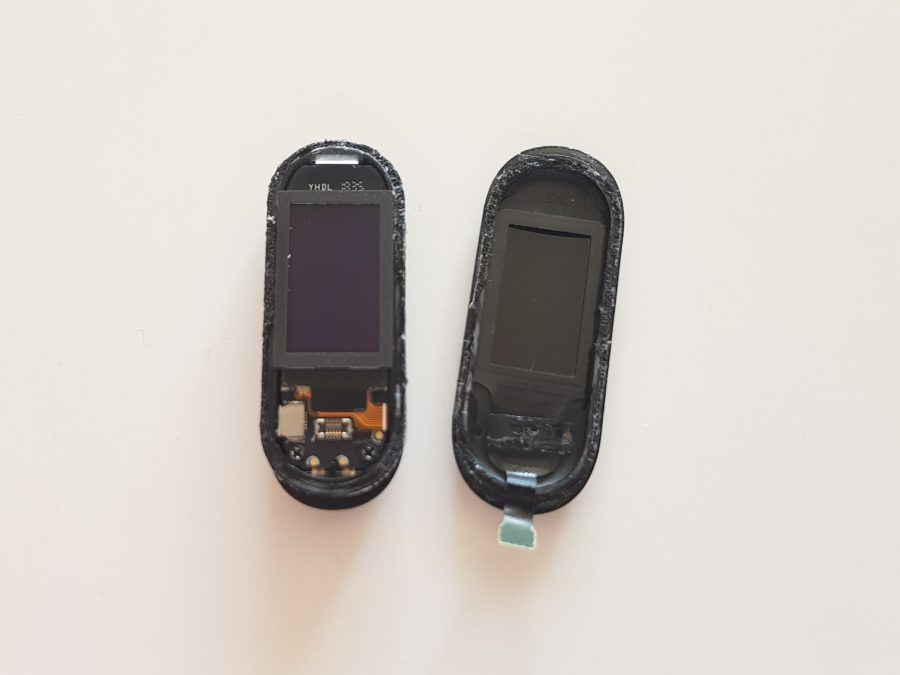
Before the start of the repair, I thought that the reason was the loose fit of the capacitive loop to the glass of the bracelet – this had already happened in my experience with this model. However, a quick inspection did not reveal any problems with the gluing of the loop. There were no problems on the board itself.
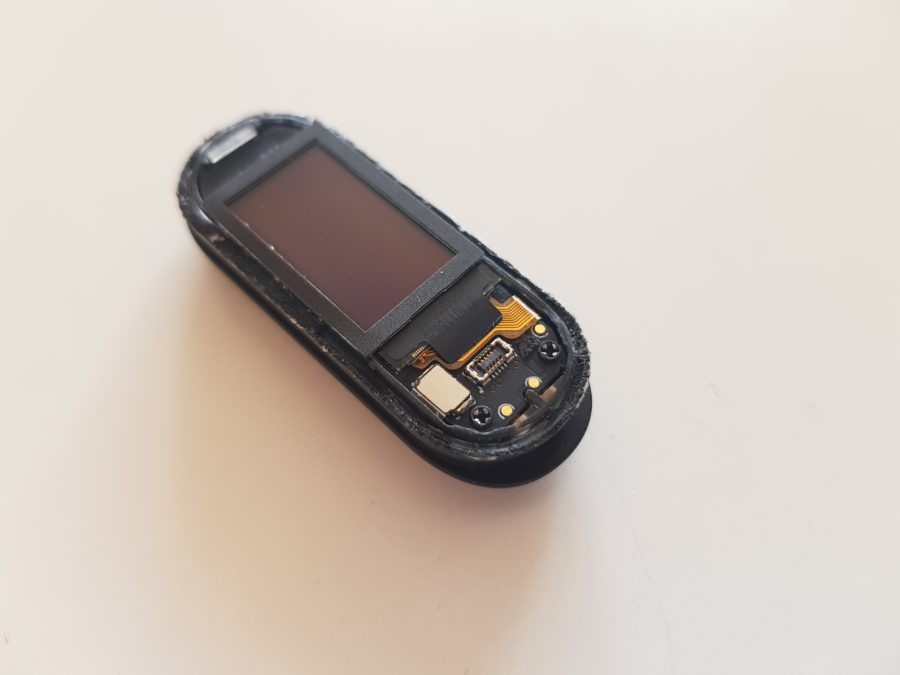
But a more detailed examination showed that there was mechanical damage to the loop connector. It looks like it happened in production during assembly.
Either the train itself was caught with a defective connector, or the Chinese who collected the bracelet did not do it very well.
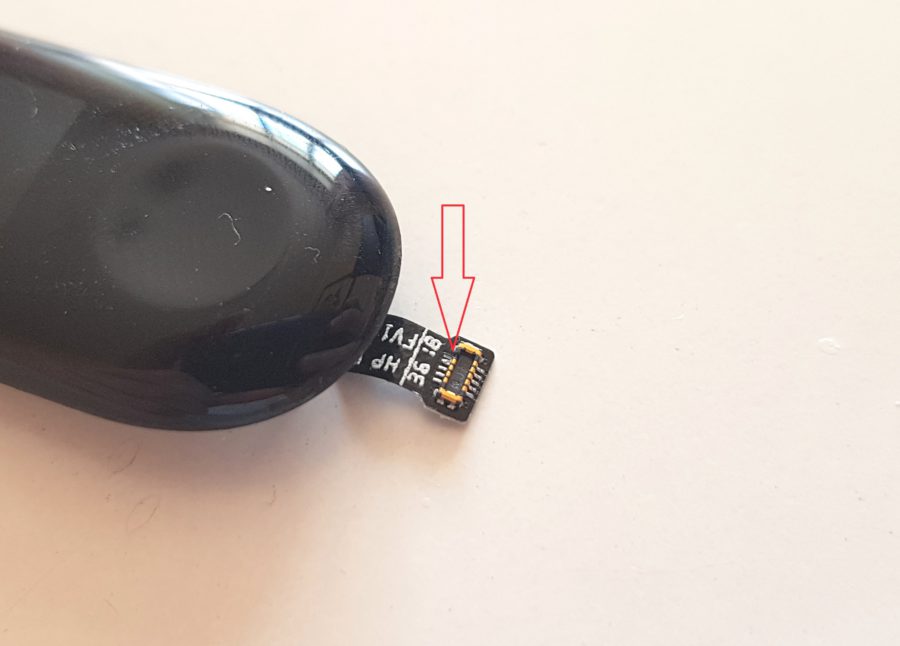
A large amount of excess solder at a nearby contact speaks in favor of the version of the defective connector. It seems that the Chinese is not to blame – there was no contact initially.
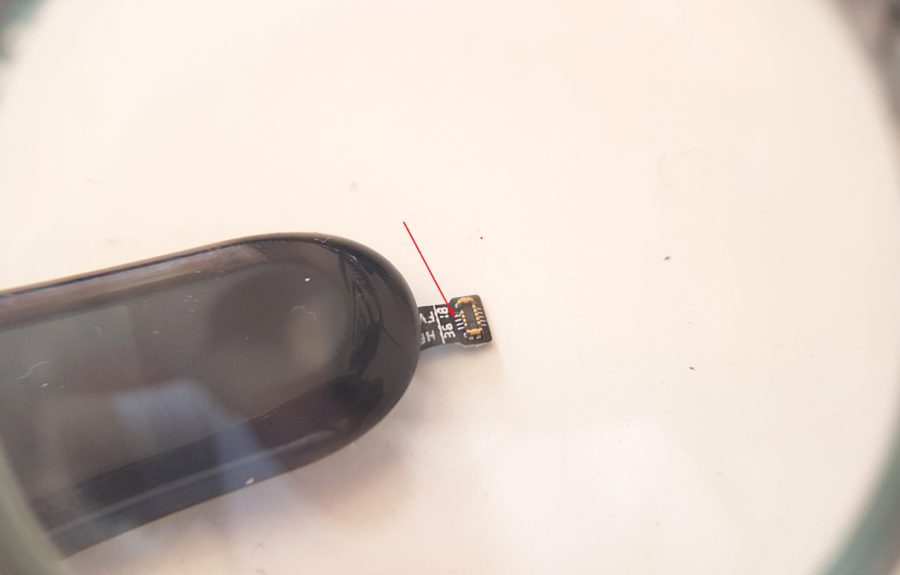
Be that as it may, the connector has lost one contact, and because of this, the control works only in one direction.
There are three ways to resolve the issue:
- Find the same connector and replace it completely.
- Try to restore contact.
- Throw away the bracelet and do not suffer.
Since there is nowhere to take the new connector, and nature does not allow it to be thrown out, you will have to choose the second option and try to restore contact.
We repair
We are looking for a donor with a suitable connector in the bins of the homeland. This donor will be a motherboard from the Galaxy S4 Mini. Yes, the connector is not 100% like that, but for lack of an alternative, we will improvise.
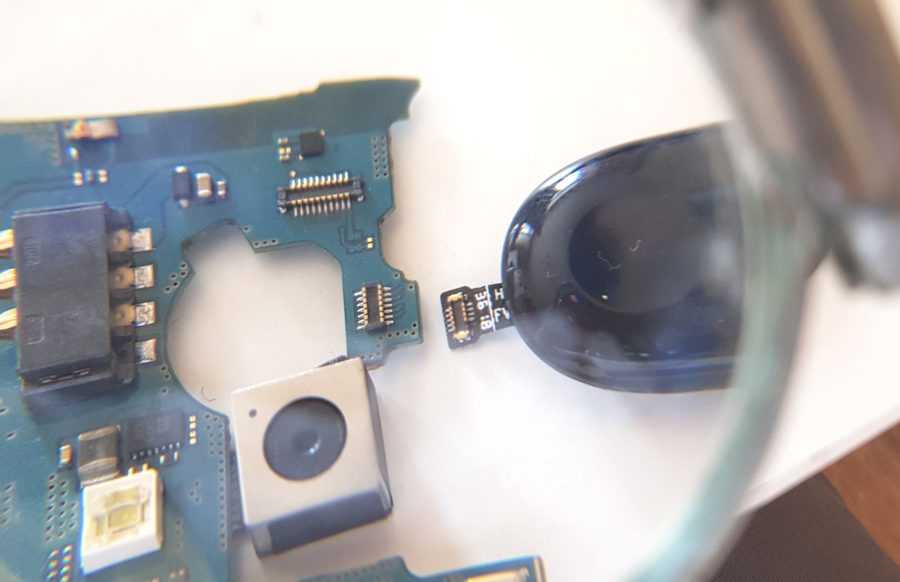
We withdraw contact.
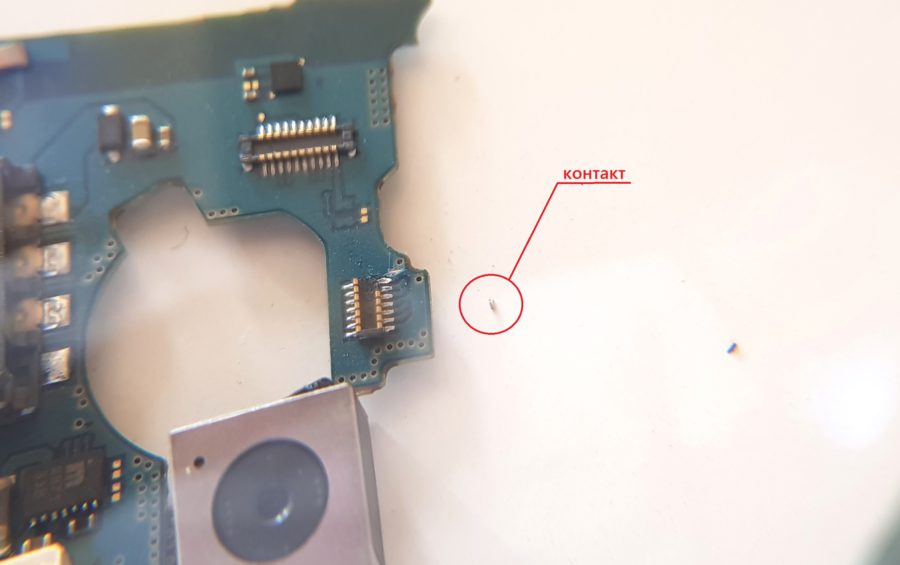
At the moment, I try to do such operations without using a microscope, at most with a magnifying glass, since I am interested in finding out the limit of my capabilities. And the magnifying glass in this case is also a kind of compromise.
Separate it from the excess plastic inside with a blade.
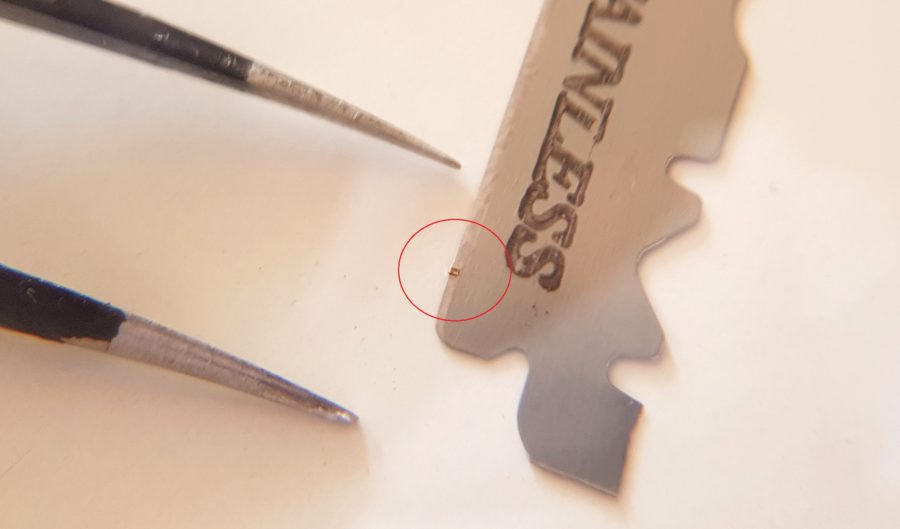
So, the contact is cleared and cleaned.
Here he is, the wretch, in all his glory, lying on my index finger and waiting for the installation.
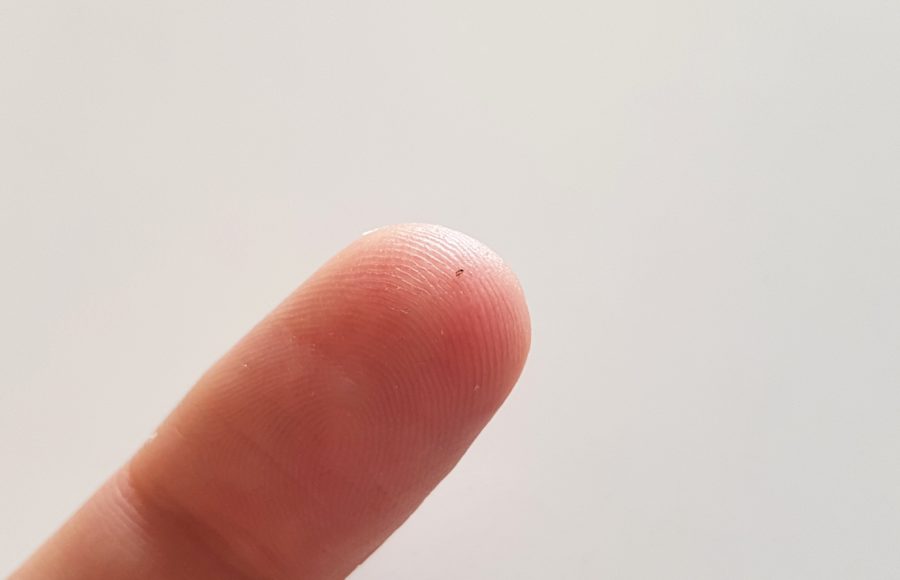
Since the contact will have to be soldered, it is necessary to remove the ribbon cable from the glass.
We remove, fix on the table and try on the contact. It seems to fit.
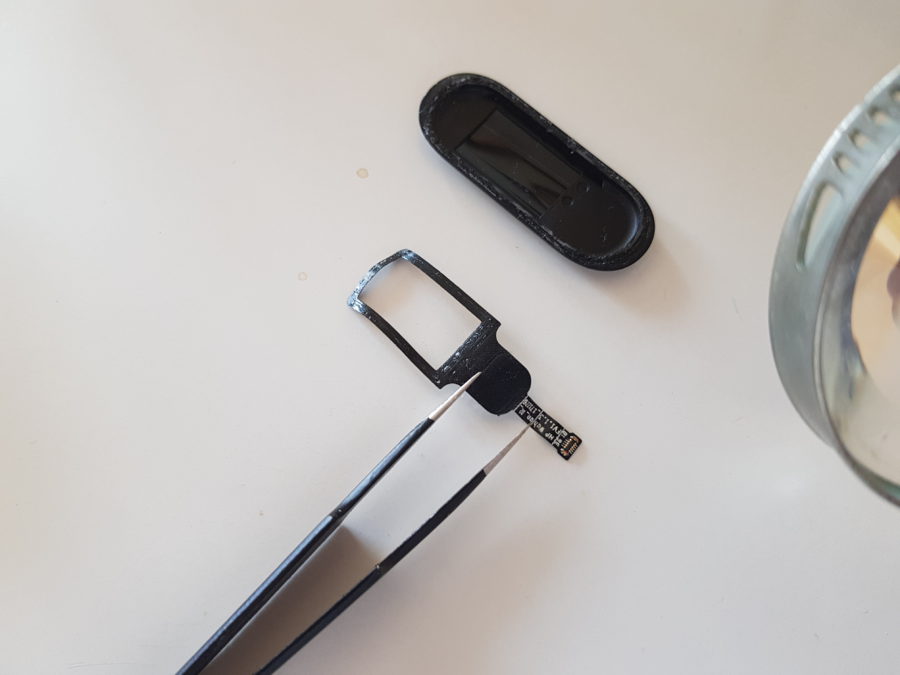
We establish a new contact in its place and solder it. At the same time, we remove the excess solder from the adjacent contact so that it does not short out.
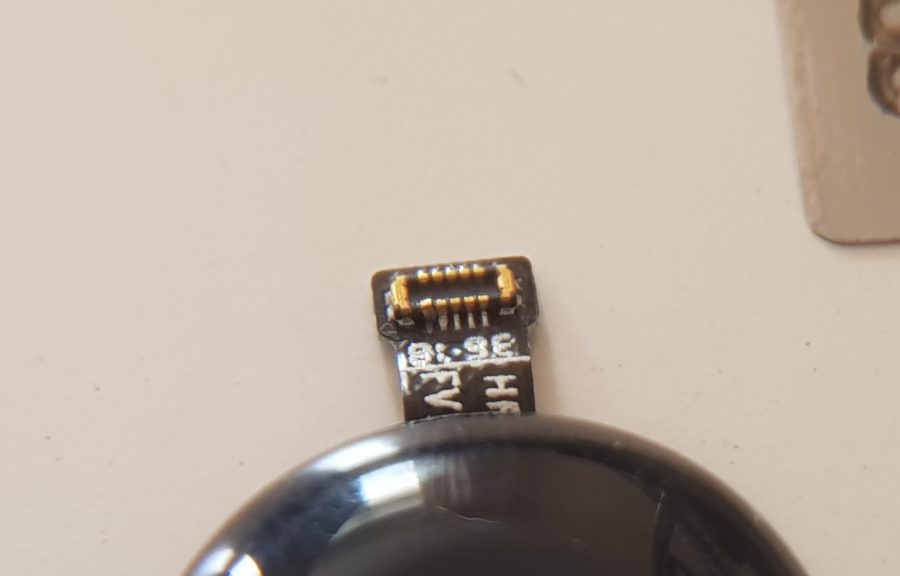
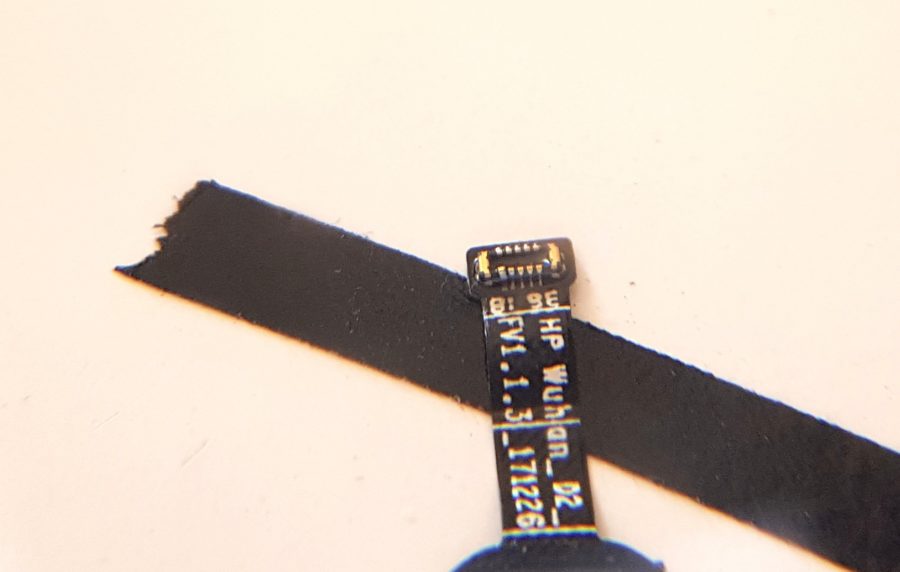
At first glance, everything looks like it should. But we find out about this only at the moment of installation, since I doubt that such a contact will withstand more than one installation. Let's hope that my hands have not let me down and everything will work.
However, just restoring the bracelet would be too easy, and I had already integrated the payment card into the capsule of my bracelet earlier. For a friend, I wanted to come up with something similar, but different.
And since practice has shown that I manage to pay for purchases with a phone more often than with a bracelet, I had to come up with something more convenient and useful.
And then, at the most opportune time, I remembered the old desire to try to make a key from the front door from a bracelet. A friend turned out to have a contactless Mifare key that works at a distance.
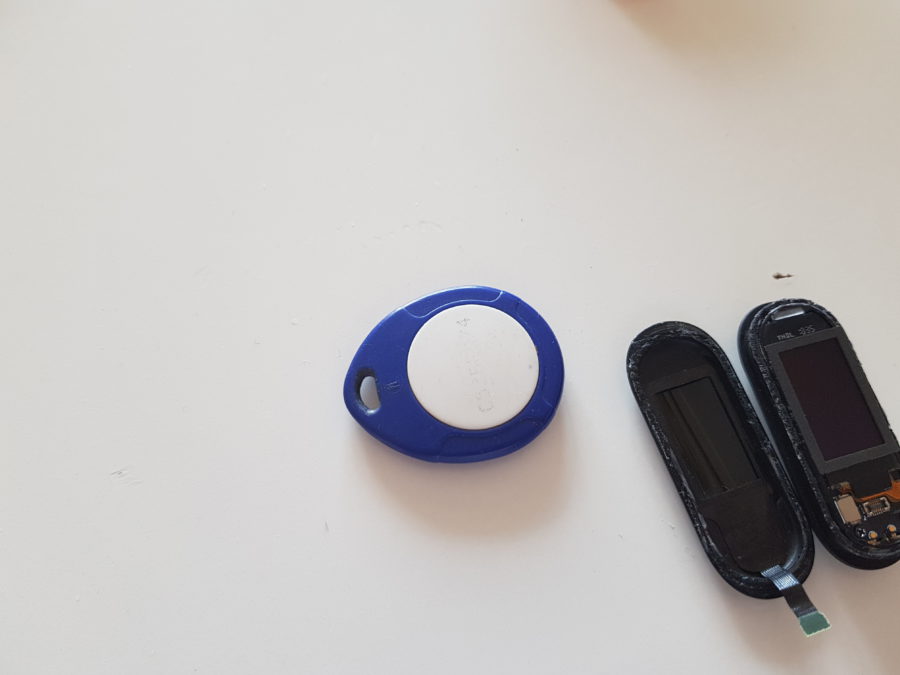
The good for the experiment and the key itself were received, and the action began.
Parse the key
Inside we see a classic coil with a chip, which, however, are filled with a compound and can be damaged during mechanical extraction.
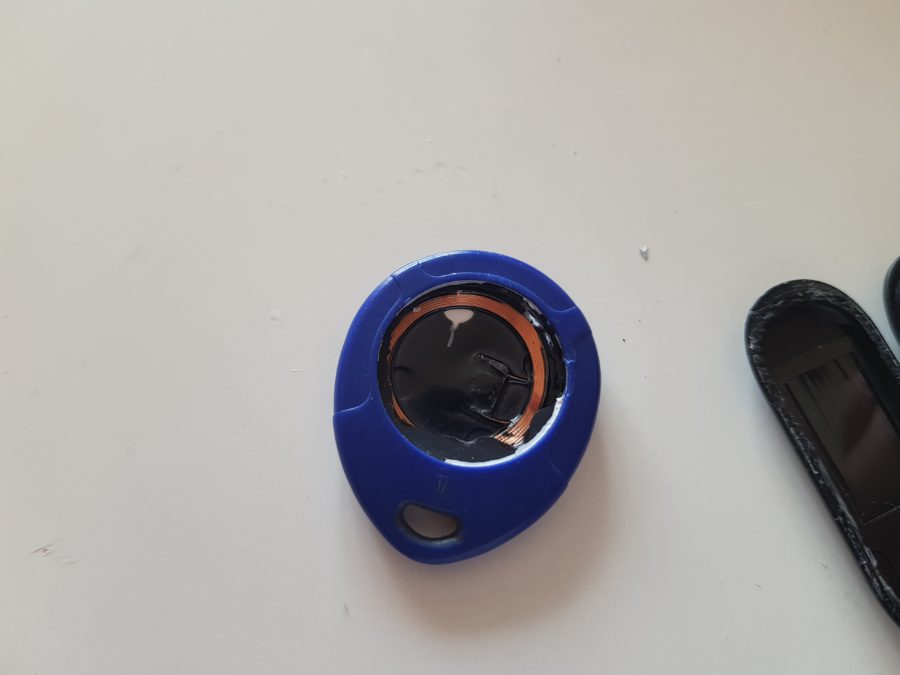
It doesn't matter, we fill everything with acetone and wait a couple of hours.
Acetone painlessly separated the coil and chip from the plastic. Fine.
And here is the already unwound coil (I got carried away a little, so I didn't photograph all the stages of dissolution).
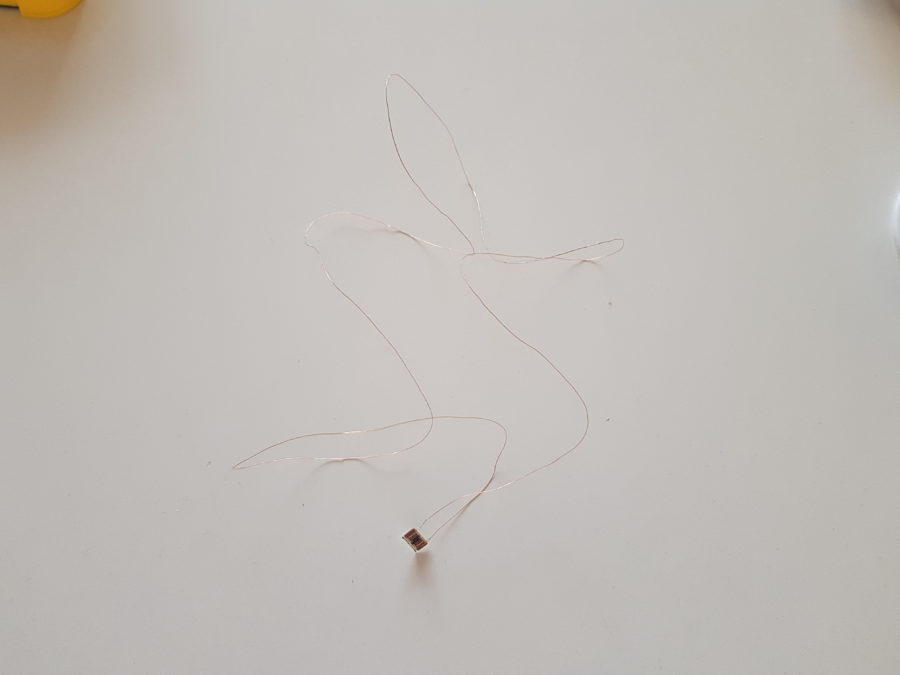
Our task will be to wind this wire inside the bracelet case.
This is best done by disconnecting one contact.
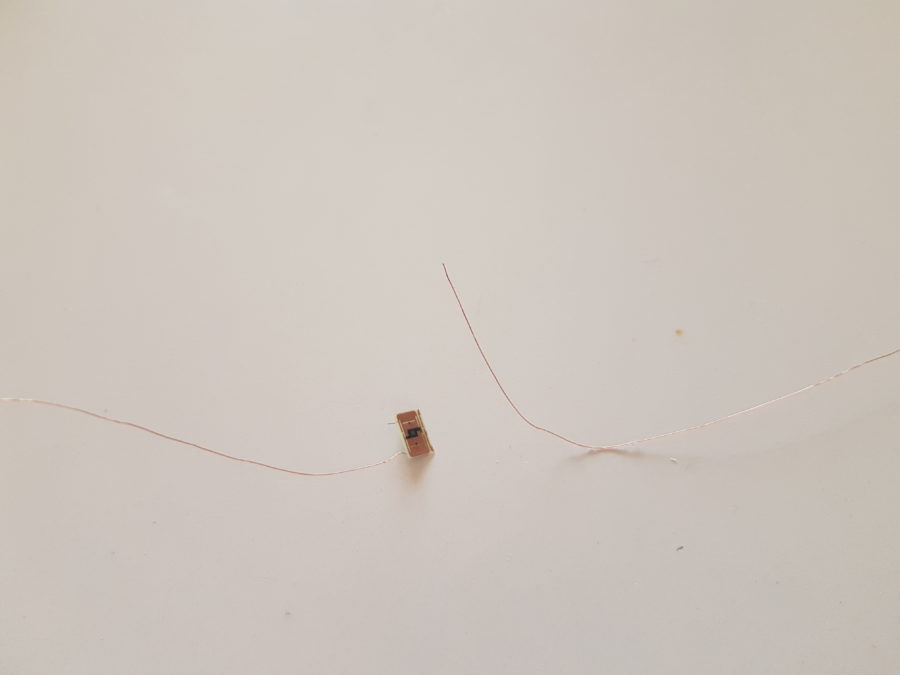
After some deliberation, it was decided to wind directly to the display.
Inhuman experiment
We wind the coil, trying not to tighten too much, so as not to damage the display, and remembering that the lid should close, which means we try to hide the wire behind the sides.
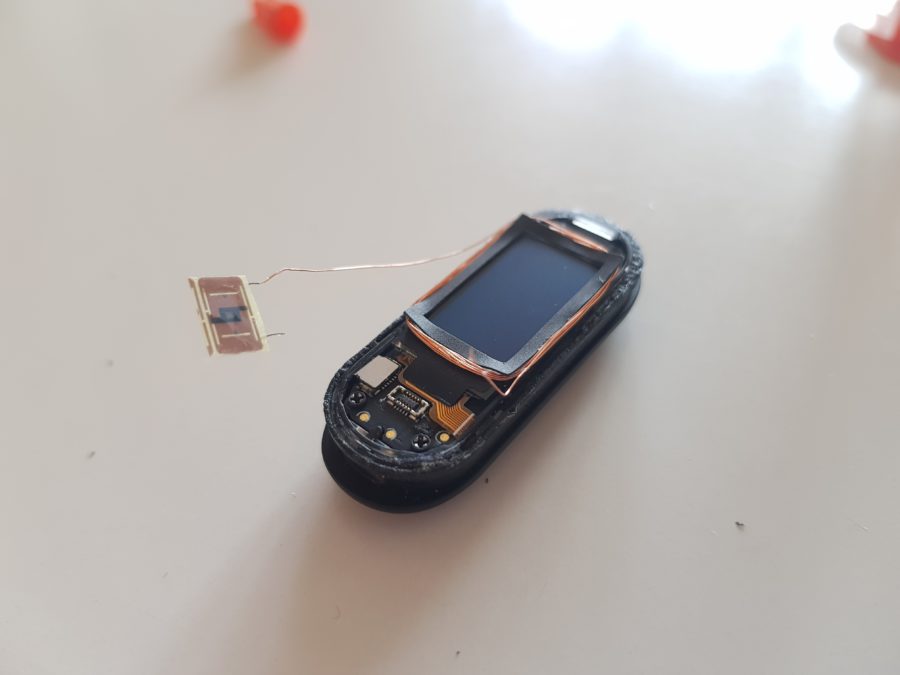
After the wire (antenna) is wound, it's time to solder the second pin back to the chip.
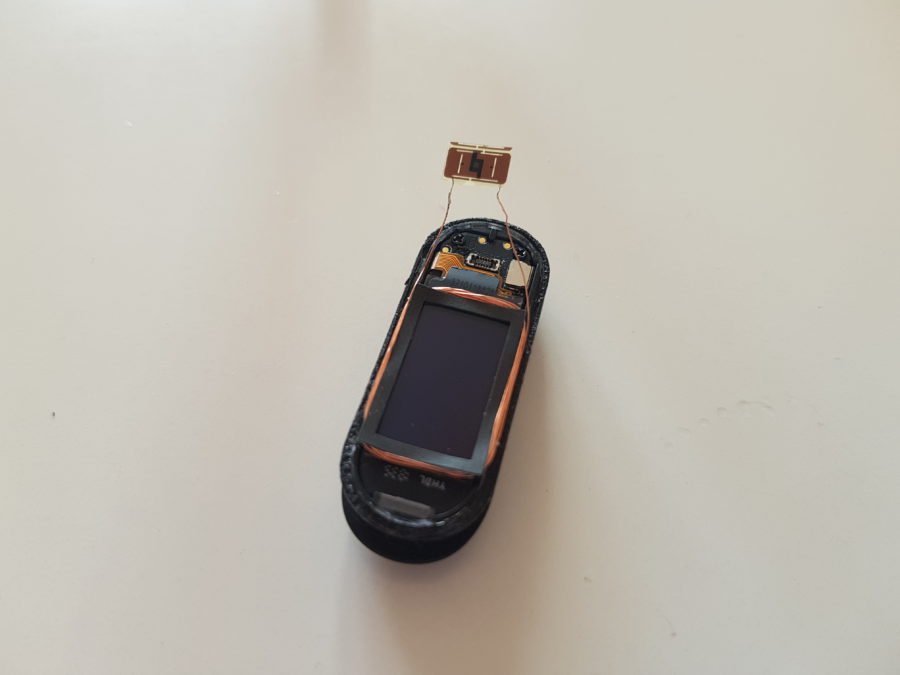
It worked out well.
We put the chip so that it does not prevent the lid from closing and at the same time does not short to other elements.
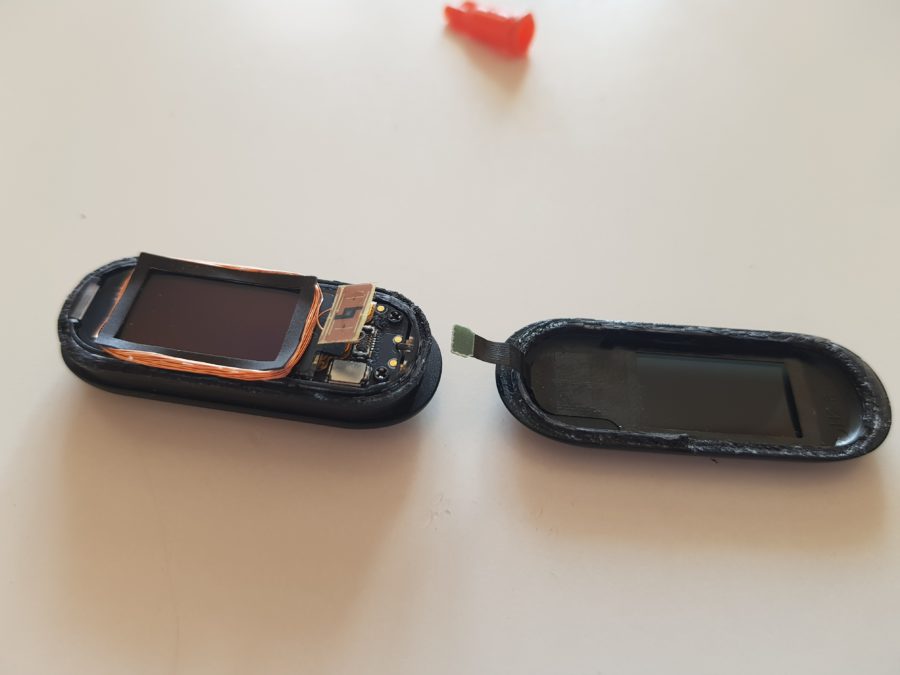
We go to the entrance and check the performance of the structure. Checked – it works (I was in a hurry, so I did not photograph the intermediate result).
Now it's just a small matter – to put everything together and check the performance of the resulting next monster of Frankenstein. We connect the capacitive loop in its place and close the lid, having previously tucked the antenna turns inward. Let's try. Works! So the hands are still growing from the right place, which cannot but rejoice.
This is not the first time I have used superglue to glue parts of a bracelet. I will not cheat on myself this time either.
We connect the halves and drip glue onto the joint, allowing it to spread around the entire perimeter of the joint. Unlike the previous experience with Honor Band 3, here I do not use gel, but liquid glue, since here its fluidity is only for our hands – the glue spreads evenly along the entire perimeter of the joint, filling the gaps and reliably sealing the bracelet .
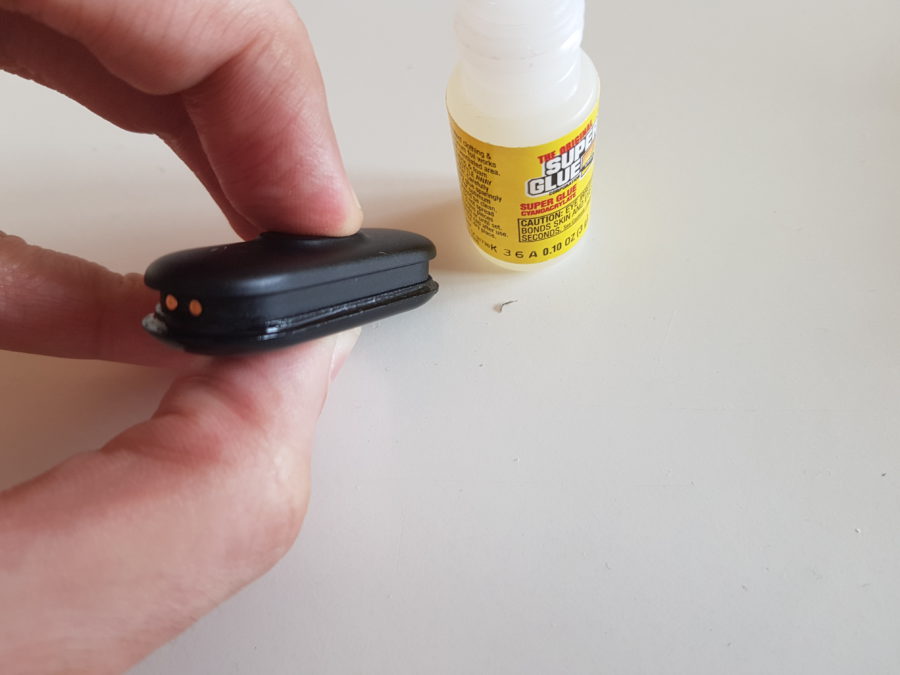
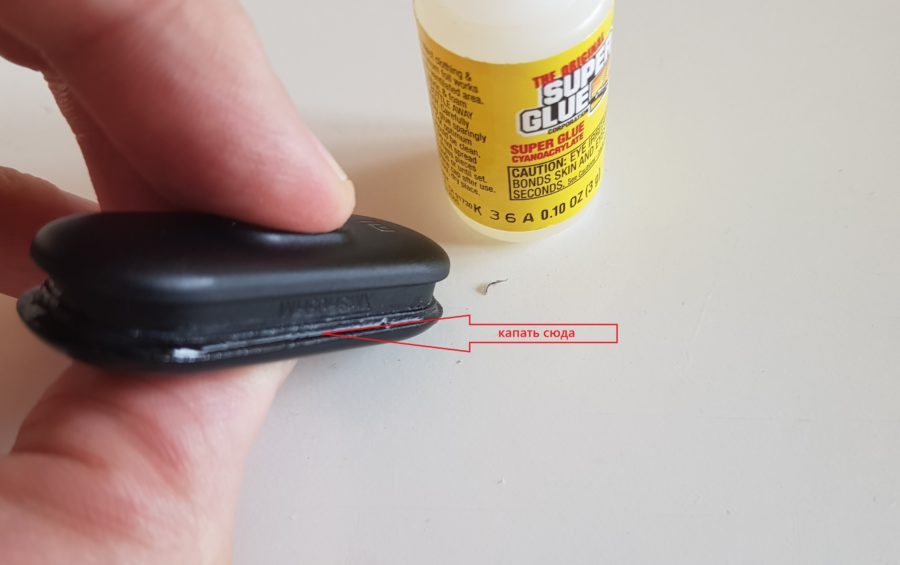
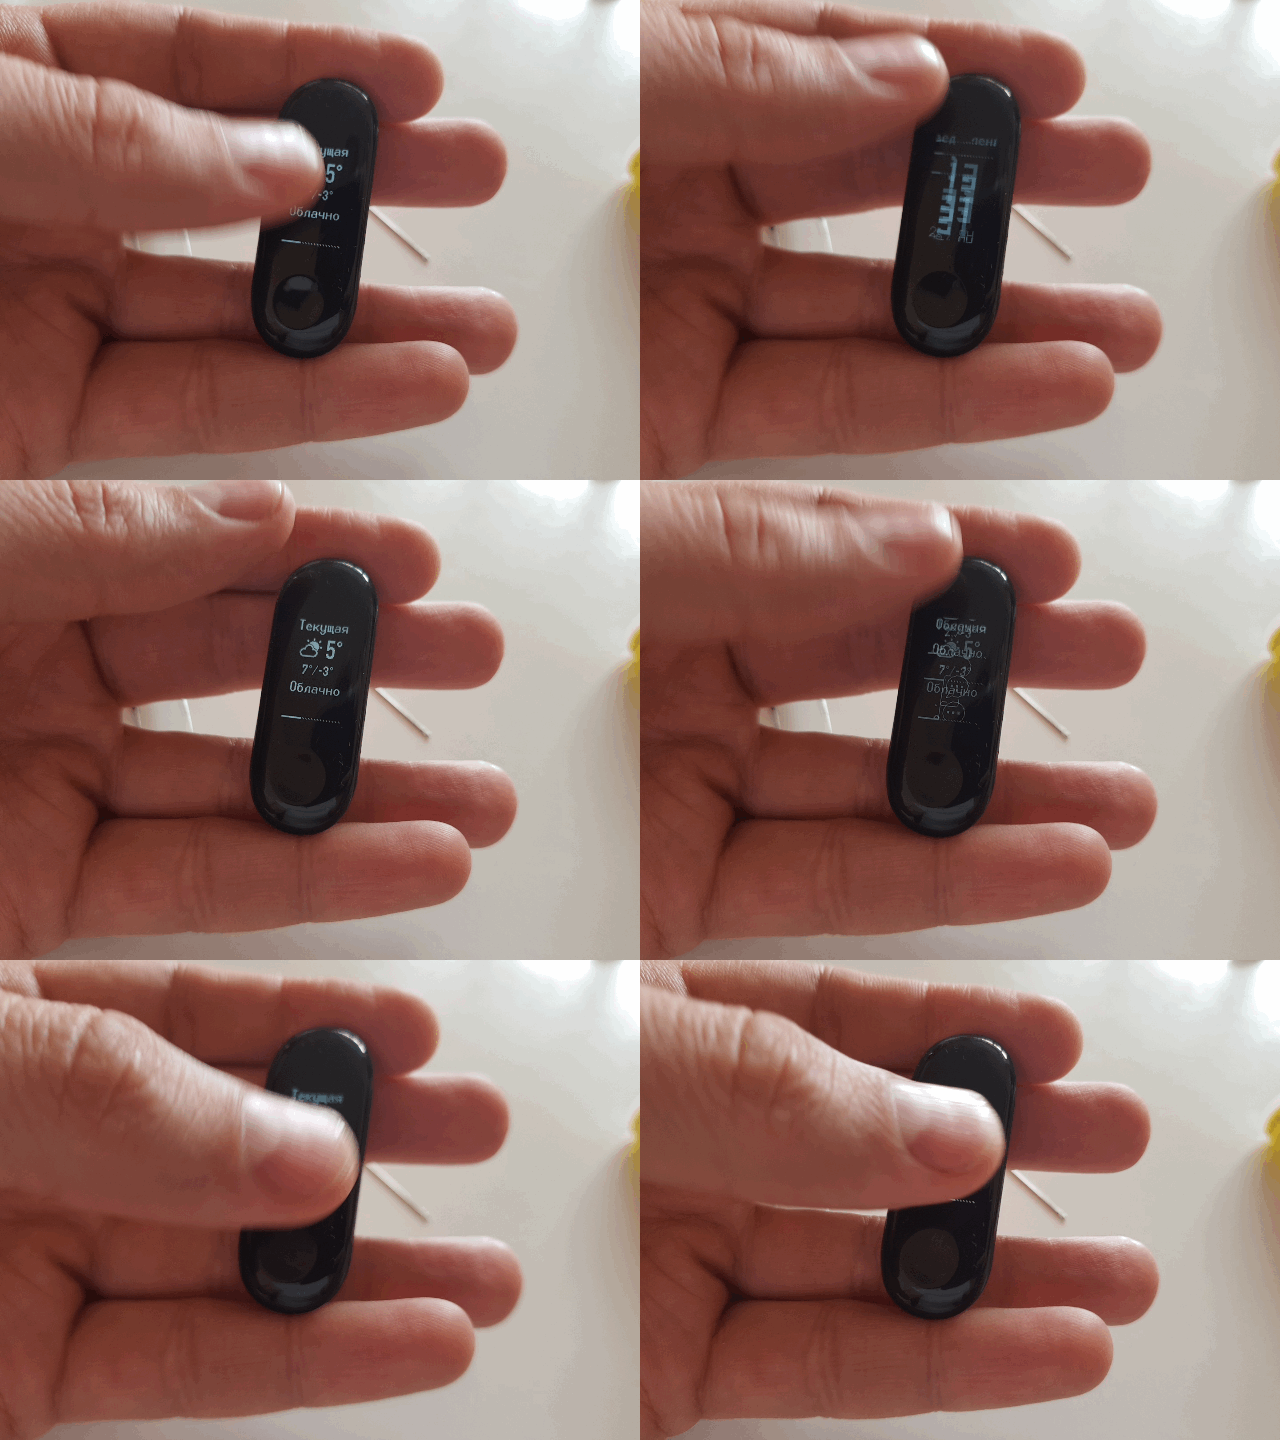
It may happen that immediately after assembly and gluing, the bracelet will not respond to button presses. Do not be alarmed, this is normal – he needs time to recover from such bullying. After a few minutes, he should restore working capacity.
But in this case, it is not this that worries me, but how crooked my hands are. It depends on this whether the control will work after assembly (how reliably the contact was soldered).
Immediately after assembly, the bracelet stopped responding to external stimuli (we are not afraid), but 15 minutes after assembly it came to life, and you can check whether my fuss with the connector's contact yielded results.
Checking. Works!
It remains to check the additional function of opening the doors, which was 'nailed' to the bracelet during the repair process.
We go to the entrance of a friend and … open him with a bracelet!
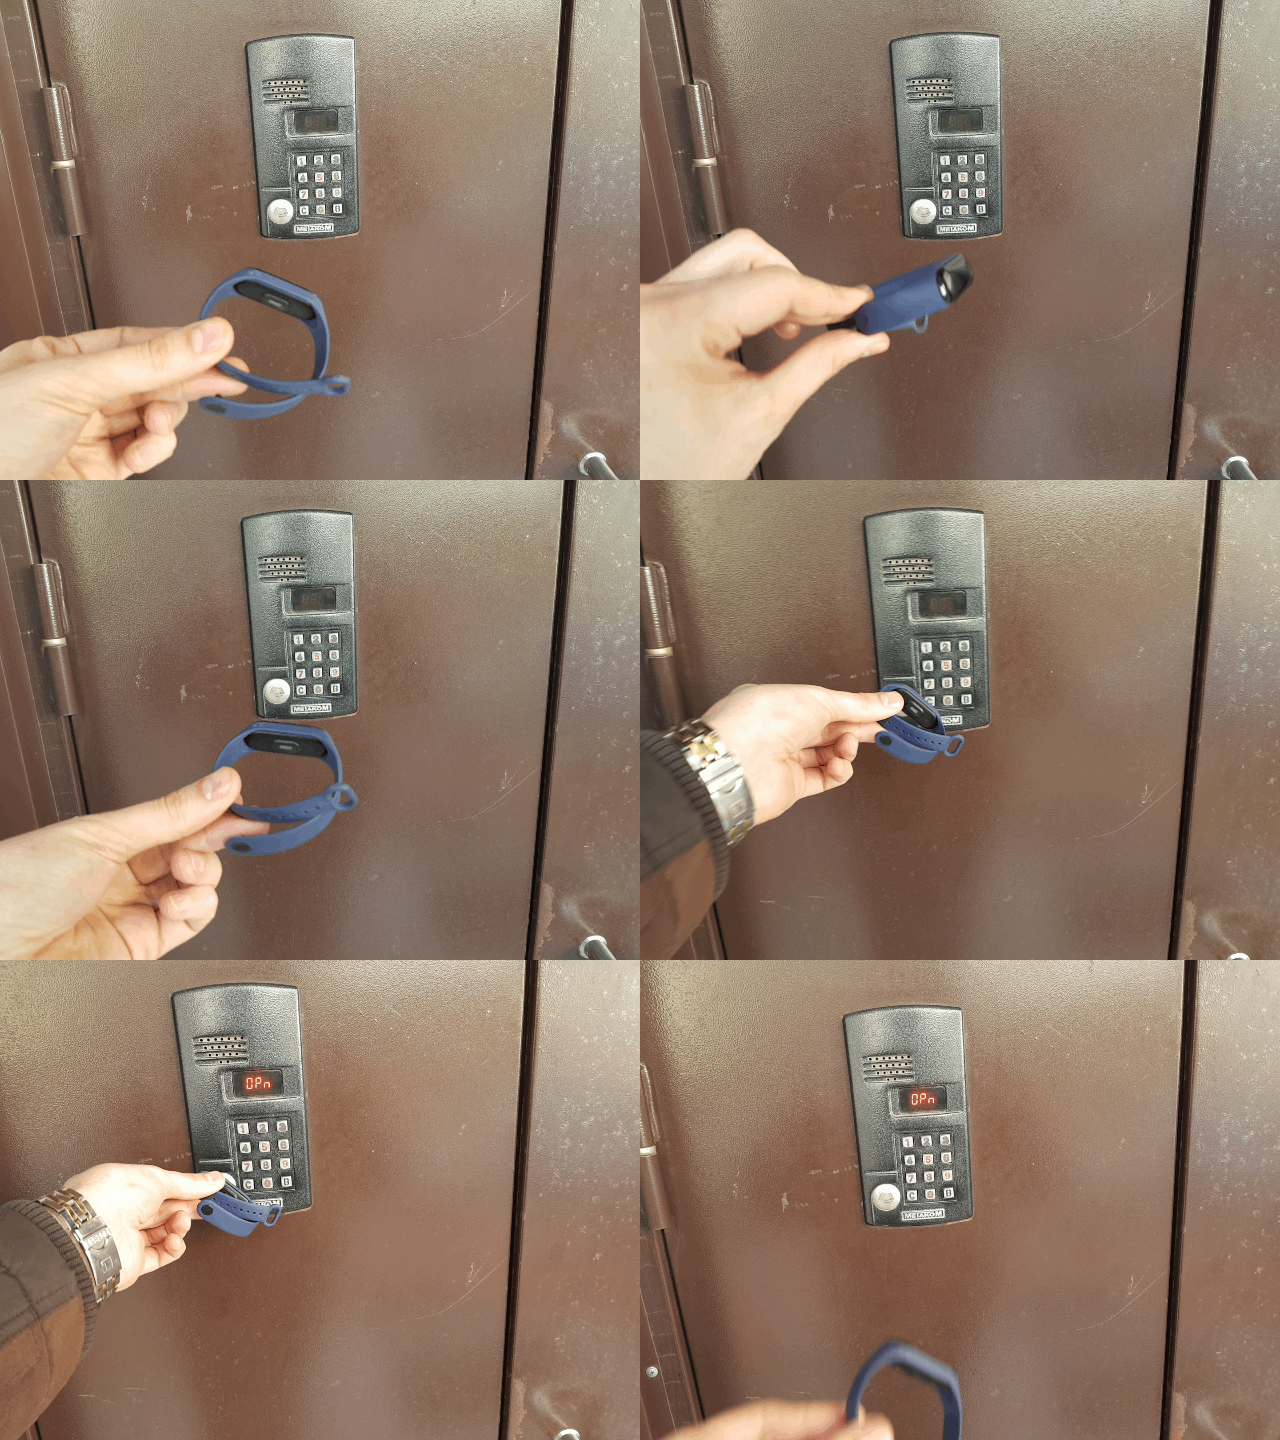
We give the bracelet to the customer and, satisfied with ourselves, we go home to come up with some other useless but interesting experiment.
Conclusion
Another experiment was crowned with success. In addition to the joy of the successful repair, knowledge was gained, as well as the pleasure of doing what you loved.
However, the topic of integrating contactless modules into bracelets has exhausted itself, which means it's time to move on and come up with new options for modifying familiar devices. See you soon!
