Based on materials from androidcentral.com
Many of us have high hopes for shooting in RAW format and the possibilities that open up when editing such images on a computer. But some have very little idea at all what this beast is, RAW, and why photography enthusiasts from the world Android talk so much about it.
In general, if your camera's camera is capable of taking RAW images, these photos will have a better initial set of editing features than regular JPG images. And despite the fact that smartphones have a small sensor and a fixed focal length do not allow you to compare with a 'real' camera, now on Android devices you can take photos that were not possible before. What is HDR alone worth …
But let's take a closer look at what a RAW shot is and what you can do with it.
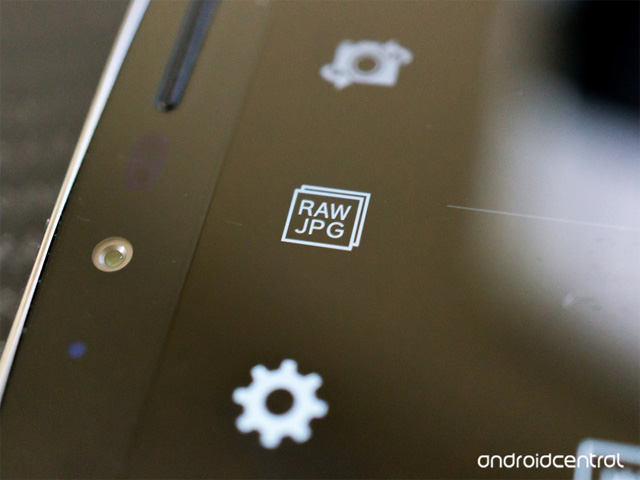
1. What is a RAW shot
If you just take a brand new device out of the box and take a picture, you have a cute photo that goes to your gallery. What you have done is the result of the work of the sensor, which collects information about the smallest points, from which differently colored light comes from – about pixels. Then the image is corrected (adjusting the white balance, sharpness, reducing the noise level, etc.), undergoing final optimization and finally acquiring a look worthy for your screen. When this happens, excess information about the file is removed. The final result is a JPG image, which is much smaller in size and created with special software to look as good as the algorithm suggests. If you have a modern Android machine, most of the time you are satisfied with the output.
If your Android device shoots in RAW + JPG, you get the same result as above, plus a file containing a minimally processed version of all the image information collected by the sensor. The sensor collects it from very dark areas, very light, it receives information about colors that seem different to our eye, and much more, but a significant part of this information is lost after optimization in JPG. It is saved in RAW, and special software can use it.
Perhaps you don't need the RAW format for everyday photography on a Android device. On phones like LG G4, the JPG creation process is well optimized – it works just as well as if you used all the information about the photo and created your JPG in the photo editor. But sometimes you can use RAW to fix a shot that the built-in algorithm couldn't handle. And some of us just love to be confused – for them this format is also ideal.
2. What RAW format is used Android and why is it important
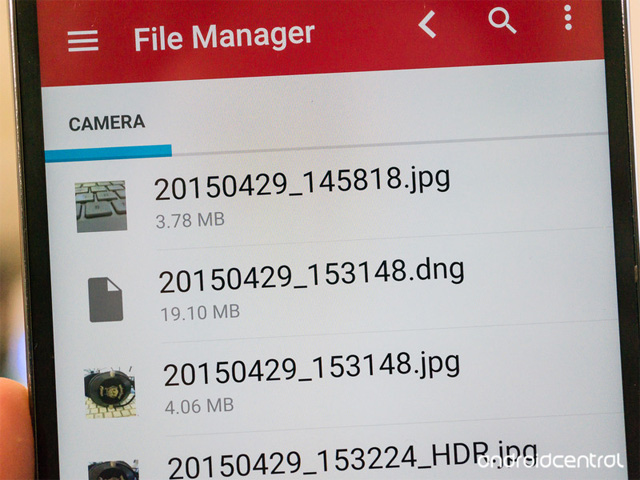
In Android at the time of Lollipop 5.0 there is a method where the camera shoots RAW in DNG format. DNG (Digital Negative) is an open source lossless RAW format written by Adobe in 2004. It is based on the TIFF format, the files contain information about the image, at least one JPG preview, and metadata that allows programs to read and process the files. This is why these files are so large – they contain a lot of data.
For those who write software for Android and develop devices, it is very important to have a file format based on open standards. They can easily and freely distribute software and updates for new versions, as well as count on backward compatibility. Thus, they pay less deductions, because every penny is on the account.
For you and me, this all means only finding programs that will see and read such files. DNG is a widely supported format, you can see that many image editors support it under Windows, Mac, Linux and even lesser known Unix variants. There is a chance that you already have programs that understand DNG and can handle them slightly. We will look at special programs in the section below, but for now we note that for Android RAW is a popular format with good support especially for those who want to seriously delve into image processing.
Keep in mind that while RAW support is massive and allows you to do all sorts of cool things with pictures, this does not change the limitations of a small fixed focal length. We will not get as much information as a large sensor of a conventional camera can collect. So in the near future your 'android' will not replace your digital mirror. Therefore, it is very important to approach business with adequate expectations.
3. How to process RAW files
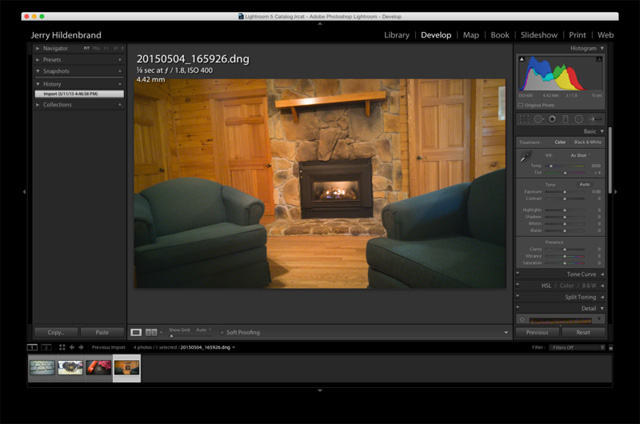
If you are a beginner, you need to understand that the best results will be obtained on a computer. Probably, someone somewhere is developing a super duper DNG editor for Android, but in order to squeeze the best out of your RAW images, you need a large screen and rather complex software. So download the images to your computer any way you want.
There are many options for editing RAW files on your computer. Users Windows and Mac can use Photoshop or Lightroom or the less expensive if not free GIMP or Photoshop Express. Most distributions Linux come bundled with DarkTable, ImageMagick or digiKam, as well as GIMP. There is no single best option.
Now you have the file and the program, and you can play with the settings. You should work with exposure, white balance, sharpness, etc., and you can make harmless changes to the information about the photo. It will take practice for photos to look the same or better than the JPG that the camera produces, but the enjoyment of the process is also not the last argument.
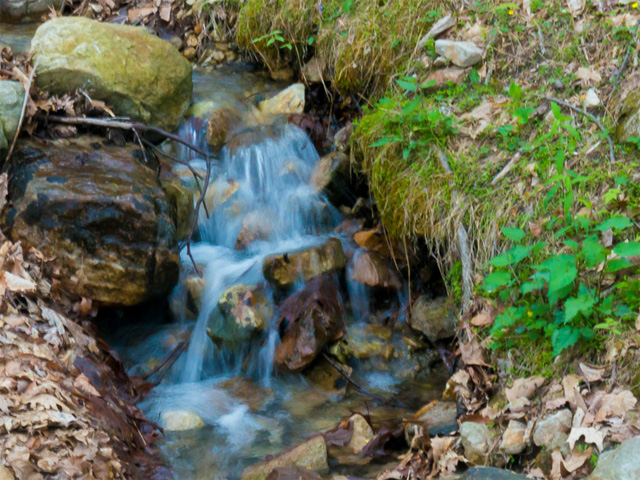
What you can do initially is focus well and make good compositions, and then you have to manually adjust exposure, sharpness, and noise reduction. Spend time playing around with the settings – you can get really spectacular shots. The photo above was taken in manual mode with the shutter open for 1/5 of a second to let the water out that way. The file was then opened in Lightroom and the exposure was slightly 'darkened' (slow shutter makes everything too bright) to get what you see. You can do something similar with automatic modes or JPG.
And if you don't feel like wasting time, don't forget that your camera can automatically take great pictures. Not every frame needs to be shot in RAW and processed, and not everyone is ready for such torment for the sake of a good shot.
4. And my Android shoots in RAW?
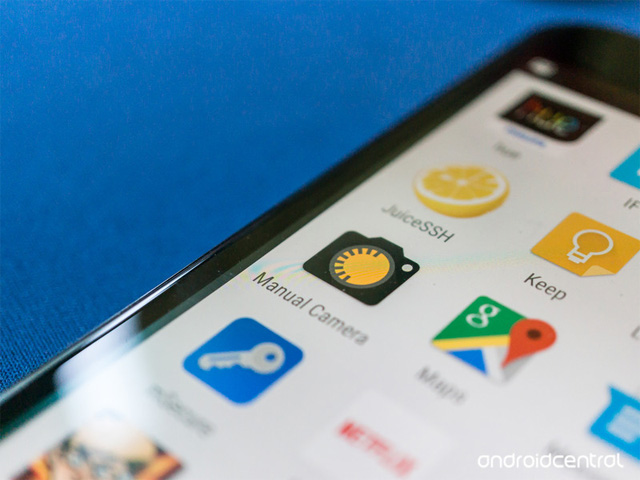
Maybe. Lollipop version is initially required, but not every smartphone with this version is equipped with a set of Camera2 API instructions that allows shooting in RAW, and not every camera application supports this feature, even if the smartphone supports it.
- LG G4 shoots RAW in stock camera app.
- The Nexus 6 shoots RAW using third-party camera software.
- RAW support for the Samsung Galaxy S6 is expected in a future camera app update.
- HTC One M9 shoots RAW in stock camera app.
Other smartphones may also support RAW shooting, and updates may add this feature to devices such as the Note 4 or Moto X, which currently do not fully support the Camera2 API. Therefore, it is best to check the forums for full information on RAW support.
If you're looking for a RAW shooting app, the options are plentiful. Well-known ones are Manual Camera, Camera FV-5 and L Camera. For more detailed explanations here you can also advise referring to the forums.
